
Lost Your Ring Doorbell Security Screws? How To Replace Them Without Damaging The Mount

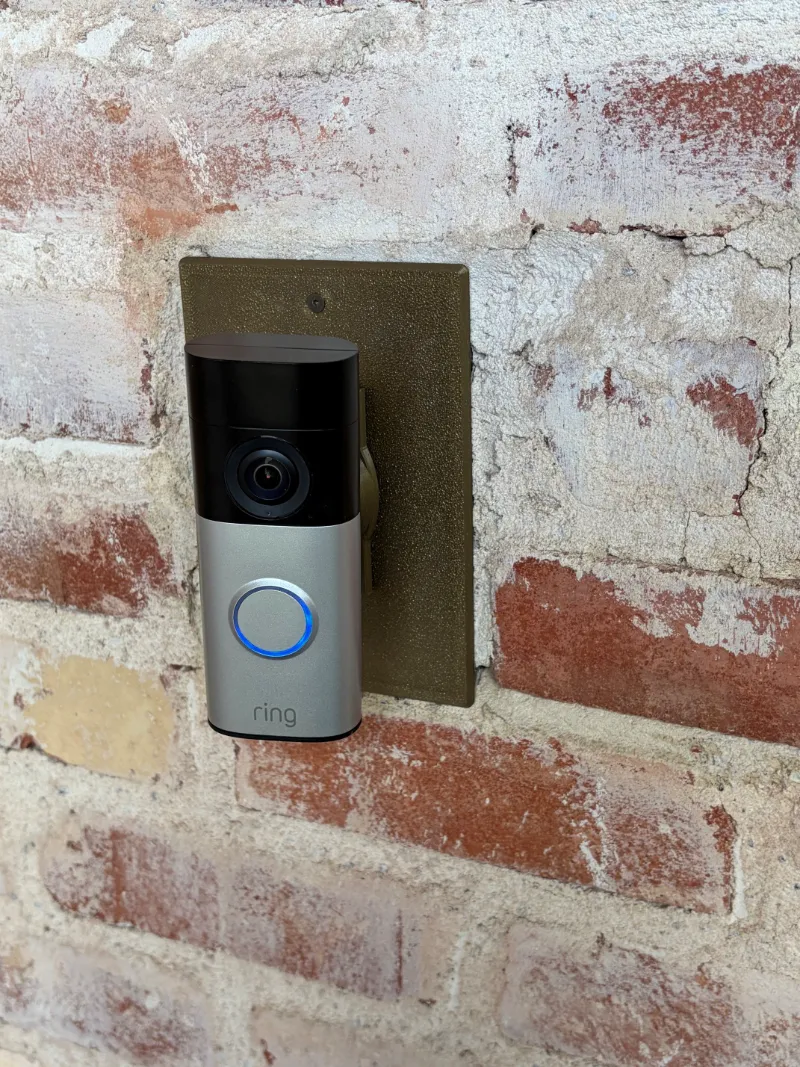
Ring doorbell security screws can be replaced without damaging the mount if you identify the exact screw you need, start the threads by hand, and avoid over-tightening. If your screw is missing, the safest fix is to confirm your model first, then use a proper replacement instead of forcing a similar-looking hardware screw.
Most damage happens when people rush the job, use the wrong driver, or install a screw that is close enough but not actually correct. Below, we walk through what to check, how to remove and reinstall the screw safely, and when local store screws may or may not work.
Why ring doorbell security screws matter
The small bottom security screw does more than keep the faceplate in place. It helps prevent casual tampering and keeps the unit seated correctly against the mount.
If you have ring doorbell security screws missing, you may notice:
- the faceplate loosens or shifts
- the doorbell lifts away from the bracket more easily
- battery access becomes less secure on compatible models
- the mount takes extra strain if the unit is not sitting flush
That is why we do not recommend substituting the first small screw you find in a junk drawer. Even a slight mismatch can chew up the threads or put pressure on the plastic mount.
Identify the exact screw before you buy
Before you order anything, confirm three things:
- Your exact Ring model or generation
- Whether you need the bottom security screw, faceplate screw, or a mounting screw
- Whether your unit is wired or battery powered
This matters because security screws for Ring Doorbell 2nd generation may not match another battery model or an older release. If you are researching replacement screw for Ring doorbell battery units, check the model name printed in the app or on the device itself before shopping.
For background from owners comparing fit and size, this community discussion on Ring Doorbell Gen 2 security screw size is useful as a starting point. It is not a substitute for your exact model specs, but it shows why guessing often goes wrong.
If you are also shopping for accessories, mounts, or tools, it makes sense to check the latest price while you confirm what your setup needs.
How to replace the screw without damaging the mount
The safest method is slow and boring, which is exactly what you want here.
Step-by-step
- Remove power if your doorbell is hardwired.
- Support the doorbell with one hand so the bracket is not carrying the full load.
- Clean the screw hole and the edge of the mount with a dry cloth or soft brush.
- Align the doorbell and faceplate so the screw hole lines up naturally.
- Insert the replacement screw and turn it by hand for the first few threads.
- Only use the driver once you know the screw is threading smoothly.
- Tighten until snug, then stop.
What to avoid
- Do not force the screw if it resists immediately.
- Do not use power tools.
- Do not over-tighten to make up for a poor fit.
- Do not angle the screw into the hole.
A stripped thread usually starts with cross-threading. If the screw does not catch cleanly by hand, back it out and re-align. This is the main difference between a quick fix and a cracked mount.
Local store screws vs exact replacements
A lot of people search for ring doorbell screws Home Depot or look for ring camera screws in store because they want a same-day fix. That can work in some cases, but there is a real tradeoff between convenience and fit.
| Option | Best for | Main risk |
|---|---|---|
| Exact model-specific replacement | Clean fit and lowest chance of damage | May take longer to source |
| Local hardware store screw | Fast temporary solution if you can match it closely | Thread mismatch or wrong head style |
| Generic mixed security screw kit | Useful for testing sizes carefully | Easy to choose the wrong length or pitch |
If you go to a local hardware store, bring:
- the old screw, if you still have it
- your Ring model name
- a clear photo of the bottom screw location
- the matching screwdriver bit if possible
We have seen users in owner groups ask whether a hardware-store screw is good enough, and the answers are mixed because fit varies by model. This post on lost security screw for a Ring Plus doorbell shows how common that confusion is.
What screw problems usually mean
Not every screw issue is just a missing part. Sometimes the symptom points to a different problem.
| Symptom | Likely cause | What to do |
|---|---|---|
| Screw will not start | Wrong thread or poor alignment | Re-check model and start by hand |
| Screw spins but never tightens | Stripped insert or damaged mount | Inspect bracket and hole before retrying |
| Faceplate does not sit flush | Wrong screw length or misaligned plate | Remove and re-seat the doorbell |
| Doorbell feels loose after tightening | Missing bracket support or worn mounting point | Check the full mount assembly |
If you already tried one replacement and it feels wrong, stop there. One more forced turn can do more damage than the original missing screw.
If you are replacing parts around the bracket too, this is a good time to grab the code and compare mount accessories before you reinstall everything.
Choosing the right replacement for your setup
The best replacement depends on how you use your doorbell, not just the model name.
A good match usually suits:
- homeowners who want the cleanest long-term fit
- renters who cannot risk damaging the existing mount surface
- anyone reinstalling after battery charging or moving the unit
- people replacing a worn bottom screw after repeated removals
If your doorbell gets frequent battery access, the screw needs to thread smoothly every time. Repeated removal makes a bad fit show up faster, especially on plastic faceplate mounts.
When comparing options, focus on:
- exact model compatibility
- screw length
- thread pattern
- head shape and driver type
- whether the screw is intended for battery access or bracket security
This is also why we would not treat every online answer as universal. Some forum or support replies are helpful for troubleshooting, but your actual hardware match still matters most.
Best practices to prevent losing the screw again
Once you replace it, a few simple habits make the next battery change or adjustment much easier.
- Use a small magnetic tray or cup during removal.
- Keep the security bit with the charger or doorbell toolkit.
- Loosen the screw over a table instead of on a doorstep.
- Take a photo of the screw type and location for future reference.
- Order a spare if your model tends to need regular battery access.
If you are already buying related accessories, mounts, or replacement hardware, you can also see the current offer before checking out.
In short, replacing a lost Ring screw is usually simple if you slow down and match the part correctly. The mount gets damaged when the wrong screw is forced in, so the safest path is model-first identification, careful hand-threading, and just enough torque to seat the screw securely.
Frequently asked questions
Can I use any small security screw?
No. A random small screw may thread incorrectly, strip the insert, or sit too deep in the faceplate. Match the screw style to your exact Ring model before installing anything.
What if my ring doorbell security screws are missing?
First, confirm your Ring model and whether the missing part is the bottom security screw or a mounting screw. Then source the correct replacement and install it by hand to avoid cross-threading.
Are Ring Gen 2 screws the same as battery doorbell screws?
Not always. Different Ring generations and battery-powered models can use different screw lengths, head styles, or thread patterns, so model matching matters.
Can I buy Ring screws locally in a hardware store?
Sometimes, but local stores may only have close matches rather than the exact security screw. If you try a store option, compare length, head shape, and thread carefully before tightening.
How do I avoid damaging the mount when replacing the screw?
Support the doorbell with one hand, start the screw slowly by hand, and stop as soon as it seats snugly. Forcing the screw is the fastest way to strip threads or crack the mount.