
Nutone Intercom Cover Plate Guide: How To Cover An Old Intercom Opening Cleanly

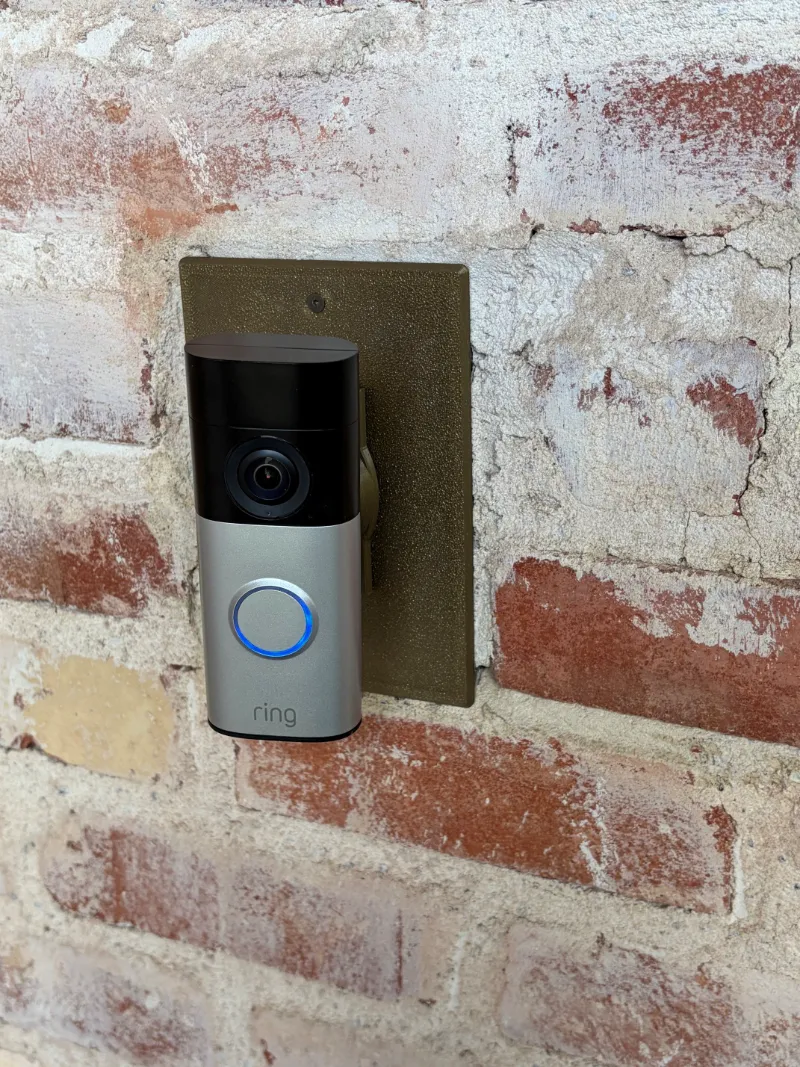
A Nutone intercom cover plate is usually the easiest way to hide an old wall intercom opening cleanly, especially if you do not want to cut drywall and repaint the whole area. If the system is dead or already removed, the right plate can give you a neat finished look in far less time than a full wall repair.
Most people do best by measuring the opening first, choosing a plate with enough overlap, and deciding whether they want a simple blank cover or a more finished trim-style option. If you are comparing availability or want to check the latest price, it is smarter to use the store page than rely on outdated listings.
Nutone intercom cover plate basics
Before you buy anything, focus on what you are actually trying to cover.
Older NuTone intercom units often leave behind:
- A rectangular wall cutout
- Visible screw holes
- Paint lines or wall discoloration around the old unit
- Low-voltage wiring inside the cavity
- An uneven surface where the frame sat against the wall
A good cover plate should do three things:
- Hide the full opening
- Sit flat enough to look intentional
- Allow safe access later if you do not want to permanently close the wall
If you want ideas for how other homeowners finish these old openings, Replacing Your NuTone Door Bell Intercom Cover shows the kind of before-and-after approach that helps you picture the result.
How to measure the opening before you order
Measurement is the step that prevents most buying mistakes. Do not measure only the plastic face of the old intercom. Measure the area that will still show once the old unit is gone.
Use this process:
- Remove the old intercom face or trim if it is still attached.
- Measure the exposed hole height and width.
- Measure the outer area with chipped paint, marks, or wall damage.
- Add enough overlap so the new plate covers both the opening and the ugly edges.
- Check whether the wall surface is flat or if you will need spacers, caulk, or light patching.
A quick sizing rule is simple:
- The plate must be larger than the hole in both directions
- It should also extend past any visible outline left by the old frame
- More overlap usually looks better than trying to cut it close
If you are unsure, sketch the opening on paper and note where the screws, wires, and damaged paint sit. That makes comparison much easier when you grab the code and review current options.
Cover plate options compared
Not every wall needs the same solution. Some people just want the fastest clean cover. Others want a more custom finish that blends into trim and hardware nearby.
| Option | Best for | Watch for |
|---|---|---|
| Blank metal plate | Large openings, rigid coverage, durable finish | Needs correct size and may show wall unevenness |
| Blank plastic plate | Small to medium openings, low-cost fix | Can flex or look less substantial |
| Decorative or trim-style plate | Visible areas like entryways or halls | Harder to match size and style |
| Full wall patch | Permanent remodel-grade repair | More labor, sanding, texture, and paint |
For inspiration on styles people actually use, Nutone Intercom Plate Cover can help you narrow down whether you want plain, decorative, or oversized coverage.
Best materials and finish choices
The best material depends on the size of the opening and how visible the wall is.
Metal
- Usually the best choice for larger intercom openings
- Stays flatter across wider spans
- Feels more solid and intentional
- Better for high-traffic areas where bumps happen
Plastic
- Fine for smaller openings
- Often lighter and easier to handle
- Works best when the wall is already smooth and flat
- May not hide surface irregularities as well
Painted finish
- White is the most common easy match
- Custom paint can help if your wall color is specific
- Satin or semi-gloss can stand out against flat wall paint, so check the sheen before installing
If the old intercom location is near a front entry, a stiffer plate usually looks cleaner over time than a thin flexible one.
Installation tips for a cleaner result
A Nutone intercom cover plate looks best when the wall prep is taken seriously. Even a good plate can look sloppy if it is mounted over crumbling drywall or crooked anchors.
Use these steps:
- Turn off relevant power if the unit has any powered components or shared wiring nearby
- Remove loose brackets, broken plastic, and old anchors
- Secure or cap unused low-voltage wiring appropriately
- Patch major voids or crumbling edges before mounting the plate
- Test-fit the plate before drilling final holes
- Use a level so the plate lines up with nearby trim and switches
For the neatest finish:
- Fill old screw holes that remain visible outside the plate edges
- Lightly sand raised paint ridges from the old frame outline
- Use touch-up paint around the perimeter if needed
- Avoid over-tightening screws, which can bow the plate
If you are dealing with an odd-size opening and want to compare current buying options, use the store page to check the latest price instead of relying on old forum comments or stale listings.
When a cover plate is the right fix and when it is not
A cover plate is the right answer when:
- The opening is stable and dry
- You want access to the cavity later
- You want a faster, cleaner project with less mess
- The old system is gone or fully decommissioned
A full wall repair may be better when:
- You are repainting the whole room anyway
- The drywall around the unit is badly damaged
- You want the intercom location to disappear completely
- The opening is in a very visible designer space where a plate would look out of place
This is where a lot of homeowners get stuck. They think a cover plate is a shortcut, but often it is simply the most practical finish. In hallways, kitchens, mudrooms, and older entry areas, a well-sized plate can look tidy and intentional.
Who this solution suits best
A Nutone intercom cover plate is usually best for homeowners who want a clean result without turning a small problem into a full renovation.
It makes sense if you are:
- Updating an older home room by room
- Removing outdated intercom hardware
- Selling soon and want the wall to look finished fast
- Renting out a property and need a durable low-maintenance fix
- Avoiding the dust, texture matching, and repainting of a full patch job
It may be less ideal if you are already doing a full remodel and can patch the wall properly while everything else is open.
The bottom line is simple: measure carefully, choose a rigid plate with enough overlap, and prep the wall so the final install looks deliberate. That approach gives you the best chance of covering the old opening neatly on the first try, while still letting you compare availability and grab the code when you are ready to buy.
Frequently asked questions
Do I need the exact old NuTone model to cover the opening?
Not always. What matters most is the wall opening size, the screw pattern if you want to reuse it, and how much of the old footprint needs to be hidden.
Can I cover the hole without doing drywall repair?
Yes, in many cases a large enough cover plate can hide the opening cleanly. If the wall is badly damaged or uneven, you may still need minor patching first.
What material is best for an intercom cover plate?
Metal is usually the most rigid and durable choice, especially for larger openings. Plastic can work for smaller areas, but it may flex more on uneven walls.
How do I measure for the right plate size?
Measure the height and width of the exposed opening, then add enough margin so the plate overlaps solid wall on all sides. Also check depth, surface flatness, and any existing screws or brackets.
Should I keep access to the old wiring behind the plate?
If the wiring is still present, it is smart to leave a removable cover rather than permanently sealing it right away. For safety, make sure any unused wiring is handled properly before covering it.