
How to Use EcoPoxy Epoxy Tape for Clean Resin Edges and Leak Prevention

While epoxy resin pigment controls the look of a pour, EcoPoxy epoxy tape helps control the edges, seams, and leaks that can ruin an otherwise clean resin project. We use it as a temporary barrier when casting with FlowCast, sealing forms for epoxy casting resin, and protecting clean edges before a UVPoxy topcoat. The goal is simple: press it down well, seal every overlap, and remove it at the right stage so the resin edge releases cleanly.
Why epoxy tape matters for FlowCast and epoxy casting resin
Resin finds weak spots. If your mold, river table form, coaster barrier, or countertop edge has even a tiny gap, gravity and working time can turn that gap into a slow leak. epoxy tape is designed to help create a resin-resistant boundary, which makes it especially useful when you are working with lower-viscosity casting products like FlowCast.
We use it for three main jobs:
- Leak prevention: sealing seams, corners, screw holes, and form joints before the pour.
- Edge control: creating straight resin borders on tabletops, slabs, trays, and art panels.
- Surface protection: masking areas that should stay clear of drips, smears, or overspread.
It is not a substitute for a poorly built form. The tape works best when the structure underneath is square, clean, and tight. Think of it as the final seal, not the only seal.
If you are planning a larger EcoPoxy order, check the current product pricing and grab the code before you buy.
Materials to gather before taping a resin form
Clean taping starts before the resin is mixed. Once your resin is activated, you do not want to be searching for a scraper, scissors, or extra tape while a leak starts creeping under the form.
Have these ready:
- EcoPoxy epoxy tape
- A clean, dry mold or form surface
- Scissors or a sharp blade
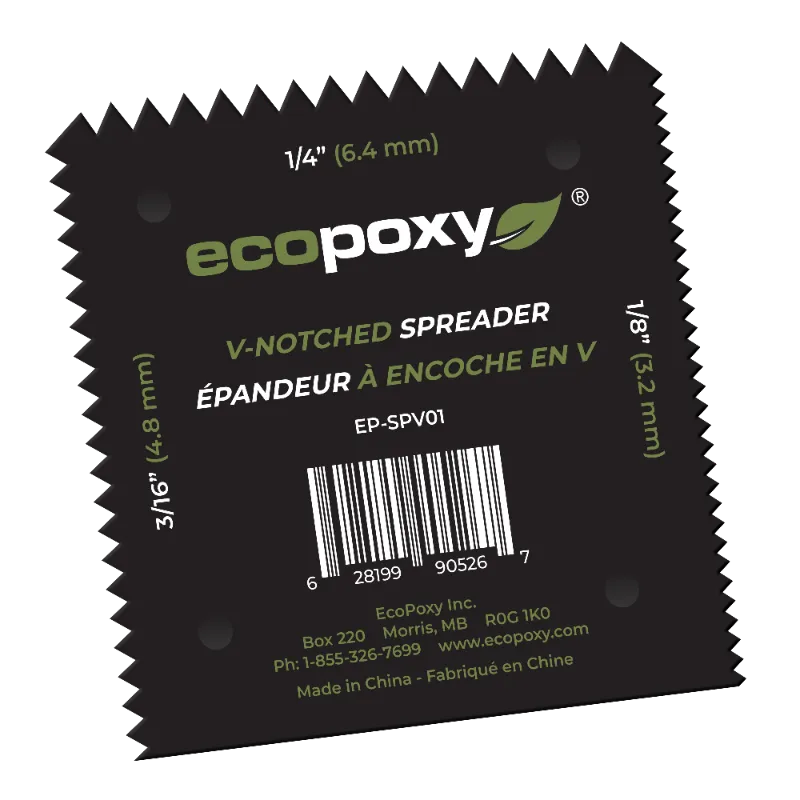
- Plastic spreader, squeegee, or firm card for burnishing
- Lint-free cloth
- Isopropyl alcohol for surface cleaning, if compatible with your form material
- Gloves
- Clamps or fasteners for the form itself
- Mixing supplies for your resin system
- Pigments, if you are making colored epoxy
For resin color, EcoPoxy’s epoxy resin pigment is the more direct option when you want controlled tinting, while metallic effects are better handled with a dedicated shimmer pigment. We would choose colorants after the form is fully taped and checked, because a watertight setup matters more than the prettiest mix cup.
How to apply epoxy tape for clean resin edges
Good tape application is mostly about pressure, overlap, and patience. Rushing this step is one of the easiest ways to create a sticky cleanup job later.
- Clean the surface. Dust, sawdust, oil, silicone residue, and loose wood fibers can weaken adhesion. Wipe the contact area and let it dry completely.
- Plan the tape path. Decide where the resin edge should stop. For tabletops or panels, mark the line lightly so you are not correcting the tape as you go.
- Apply in smooth runs. Lay the tape down without stretching it aggressively. Stretching can make it lift later.
- Overlap corners and seams. Use generous overlap at joints rather than trying to make two edges meet perfectly.
- Burnish firmly. Press the tape down with a spreader, card, or gloved finger, especially along the inside edge that will touch resin.
- Double-check vertical edges. If resin will push against a wall, tape both the face and the corner transition.
- Test with light pressure. Before mixing resin, press along the taped seam and look for lifts, bubbles, or gaps.
For deep pours with ecoPoxy flow cast or any epoxy casting resin, we prefer a conservative approach: build a solid form first, then tape the inside seams, then inspect the outside for possible escape paths. Tape is inexpensive compared with lost resin and damaged work surfaces.
Using epoxy resin pigment without making leaks worse
The epoxy resin pigment you add to a mix can change how easy it is to see bubbles, edges, and small seepage points, so your tape work still matters. Darker colors may hide the bottom of a form, while translucent tints can reveal every gap or dust line.
Here is how we approach pigment and tape together:
- Tape first, color second. Finish all edge prep before opening pigment containers.
- Avoid overloading the mix. Whether using epoxy resin dye, epoxy resin pigment liquid, or epoxy resin pigment powder, follow the product guidance so the resin can cure properly.
- Check visibility. If you are using a very dark colored epoxy, inspect the form with a light before pouring.
- Watch metallic movement. metallic epoxy pigment can create beautiful motion, but that same movement can make small edge flaws harder to spot until resin reaches them.
If you are searching “where to buy epoxy resin pigment” or “epoxy resin pigment near me,” buying directly through the product page is usually the simplest way to confirm compatibility with the EcoPoxy system you are using.
EcoPoxy tape with FlowCast, UVPoxy, and colored epoxy
Different EcoPoxy projects put different demands on tape. A casting form for a river table is not the same as masking a countertop edge before a coating coat.
| Project type | Best tape use | Extra note |
|---|---|---|
| FlowCast deep casting | Seal form seams and vertical edges | Inspect corners carefully before mixing |
| UVPoxy coating | Mask perimeter edges and drip zones | Remove at the right stage for a cleaner line |
| Colored epoxy art panel | Create borders or protected negative space | Burnish edges to reduce bleed-under |
| Metallic pours | Control overflow and edge shape | Watch edges because shimmer can hide seepage |
UVPoxy is typically used where a coating or surface finish is the goal, so tape placement is more about edge neatness and drip control than holding back a large volume. For casting work, especially when using FlowCast, the pressure and duration are more demanding, so your form build quality becomes more important.
If you are comparing supplies for a full project, it is worth checking the EcoPoxy coupon page for the latest offer and to check the latest price before ordering.
When to remove epoxy tape
Tape removal timing can affect the final edge. Pull too early and the resin may slump or smear. Wait too long and you may need trimming, sanding, or more force to remove cured drips.
General removal tips:
- Follow the cure guidance for the resin product you are using.
- For coatings, remove masking when the resin is stable enough not to run but not so hard that the tape is locked in.
- Pull the tape back over itself at a low angle rather than straight up.
- Use a sharp blade only when needed, and avoid cutting into the finished resin face.
- If resin has fully cured over an edge, trim carefully before peeling.
We do not recommend guessing based on another brand’s timing. FlowCast, UVPoxy, bipoxy 36, schoproxy, and other epoxy products can behave differently depending on project thickness, temperature, humidity, and substrate.
Common mistakes that cause resin leaks
Most tape failures come from prep mistakes, not the tape itself. Before you blame the roll, check for these issues:
- Dust under the adhesive: sawdust and sanding powder can create tiny leak channels.
- Untreated porous edges: raw wood can release air or allow resin to creep.
- Sharp inside corners: tape may bridge instead of fully seating.
- Tiny gaps between form parts: resin can run behind tape if the form is not mechanically tight.
- Poor overlap: butt joints are weaker than layered tape joints.
- Stretching the tape: tension can cause lifting during the pour.
- No final inspection: many leaks are visible before resin is mixed if you look closely.
For critical work, we like to inspect the taped form from multiple angles, then run a gloved finger or spreader along every resin-facing edge. That final pass often catches the one corner that would have leaked.
Who should use EcoPoxy epoxy tape?
EcoPoxy tape makes the most sense for makers who want cleaner resin lines and less emergency cleanup. It is especially useful if you:
- Pour river tables, serving boards, charcuterie boards, or slabs
- Use ecoPoxy flow cast in custom molds or forms
- Mask countertops, trays, or panels before a UVPoxy finish
- Work with colored epoxy or epoxy metallic pigment powder
- Need cleaner demolding from temporary barriers
- Want a more controlled setup before adding pigment or effects
It is less useful if the mold itself is warped, dirty, oily, or loosely assembled. In those cases, fix the form first. Good tape can improve a good setup, but it cannot rescue a bad one.
Our bottom line: use EcoPoxy tape as part of a complete resin prep system. Build the form well, seal the seams, burnish every edge, choose compatible pigments, and keep the store coupon page handy if you want to use the current EcoPoxy discount on the supplies for your next pour.
Frequently asked questions
Where should I apply EcoPoxy epoxy tape on a resin form?
Use it anywhere resin could escape or create a messy edge, including form seams, vertical barriers, mold corners, and coating perimeters. It works best on clean, dry, well-supported surfaces.
Can I use epoxy tape with FlowCast?
Yes, epoxy tape is useful with FlowCast because casting resin can find small gaps during long pours. Build a tight form first, then use tape as the final seam and edge barrier.
What epoxy resin pigment should I use with a taped pour?
Use a pigment made for epoxy and follow the product guidance for loading and mixing. EcoPoxy’s epoxy resin pigment is the straightforward choice for tinting, while metallic epoxy pigment is better for shimmer and movement effects.
Why did resin leak under my tape?
Poor adhesion usually comes from dust, oil, moisture, rough fibers, or stretching the tape during application. Clean the surface, apply without tension, overlap seams, and burnish the tape firmly before mixing resin.
When is the best time to remove epoxy tape?
Remove it based on the cure behavior of the resin you are using. In many coating projects, the cleanest edge comes from pulling when the resin is stable but not fully locked over the tape; for castings, trimming may be needed after cure.