

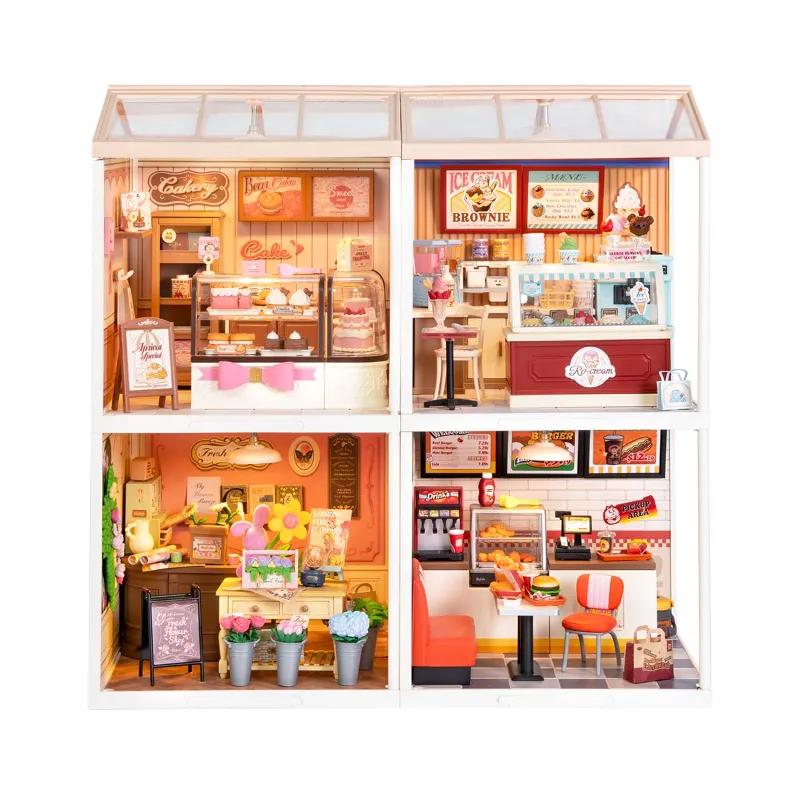
Building miniature house kits requires just a few core tools, but having the right ones transforms the assembly experience from frustrating to enjoyable. Whether you're assembling a book nook kit or exploring rolife miniature kits, beginners often underestimate how much a basic toolkit improves results. This guide covers the exact tools you need, why they matter, and how to use them effectively so your first project looks polished.
Core Tools for Miniature House Kits Assembly
Miniature house kits come with most structural components, but you'll need precision tools to fit everything properly. A hobby knife or craft knife is non-negotiable for trimming excess wood and cleaning edges. Look for one with replaceable blades so you always have a sharp edge—dull blades tear delicate materials and make cuts jagged.
Tweezers or precision pliers let you position small pieces without crushing them or dropping them. Bent-tip tweezers work best for reaching into tight spaces. A small metal ruler helps ensure components align straight, especially important for door and window frames on display pieces like a rolife book nook.
Sandpaper or a sanding block smooths rough edges left after cutting. Start with 120-grit paper for heavy smoothing, then 220-grit for a fine finish. This prep step prevents splinters and makes glue bonds stronger because surfaces fit more snugly.
Adhesives: Choosing the Right Glue
The glue you choose defines how well your miniature house kits hold together. Wood glue is the standard for most Rolife kits—it's strong, dries clear, and cleans up with water before it sets. Apply a thin layer and let it cure for the recommended time (usually 1–2 hours). Over-gluing creates mess and visible seams.
For parts that need instant hold or won't stay aligned while drying, super glue (cyanoacrylate) is fast but permanent—no adjustments after it sets. Use it sparingly on small decorative pieces or joints that take stress. Some builders prefer epoxy two-part adhesive for critical joints; it fills tiny gaps and bonds wood, plastic, and metal equally well.
Always test glue on scrap material first. Different 3d wooden puzzles and miniature kits may use different wood types or finishes, and adhesives don't always perform the same way. Check your kit's instructions for the recommended adhesive—Rolife kits typically ship with glue, but having a backup is smart.
Precision Cutting and Fitting Tools
Miniature house kits demand accuracy. A mat and cutting knife protect your workspace and give you a stable surface for clean cuts. A self-healing cutting mat won't wear down or dull your blade as quickly as wood or plastic.
Small files (needle files) smooth rounded edges and fit pieces that bind slightly. A set includes various profiles—flat, round, triangular—so you can match the edge shape you need. Use gentle pressure in one direction rather than sawing back and forth; this prevents splitting delicate wood.
A small clamp or clothespin temporarily holds pieces in position while glue dries. This is especially useful for tall structures where gravity works against alignment. Even light pressure keeps components square and prevents the shift that ruins fit on book nook displays or architectural details.
Assembly Difficulty Levels and Pacing
Miniature house kits span a range of difficulty levels. Entry-level kits like simpler 3d puzzles have fewer pieces, fewer adhesive joints, and straightforward assembly—most complete in 4–8 hours. Intermediate kits introduce more detail, precise alignment requirements, and lighting options. Advanced builds like detailed cathy's kitchen ferguson may take 20–40 hours and require careful paint work or staining.
Check the kit's estimated assembly time before you start. Beginners often rush, and rushing causes misaligned pieces, broken components, and frustration. Set aside uninterrupted time, work in good lighting, and don't skip steps just to finish faster. Your first miniature house kit teaches you technique; speed comes naturally the second time.
Lighting and Display Setup
Once assembled, miniature house kits shine with proper lighting. Most kits include LED light strings or slots for battery packs, but you control placement and intensity. Warm-white LEDs (2700K–3000K color temperature) create cozy atmospheres; cool white (5000K) shows detail sharply. Test different positions before permanent placement—light from inside looks better than external spotlights for book nook displays.
Use small battery packs rather than cords if possible; they keep your display tidy and portable. For durable display, place your completed miniature house kits on a stable shelf away from direct sunlight, which fades paint and wood over time. Dust occasionally with a soft brush to keep details crisp.
Where to Source Quality Kits and Get Discounts
Quality miniature house kits come from specialized retailers like Rolife, which offers miniature displays, rolife miniature kits, and detailed architectural pieces. Grab the code to get 12% off all orders, making your first build more affordable.
| Skill Level | Typical Time | Best For | Example |
|---|---|---|---|
| Beginner | 4–8 hours | First-time builders | Simple book nook or puzzle |
| Intermediate | 10–20 hours | Builders with one or two kits done | miniature house kits with multiple rooms |
| Advanced | 20–40+ hours | Experienced hobbyists | Detailed architectural kit with paint and weathering |
Start with a beginner-friendly kit from Rolife to learn assembly flow, tool techniques, and how tightly your space allows you to work. Once you finish one, you'll know whether you want to scale up to larger, more complex miniature house kits or explore specialty pieces like 3d wooden puzzles that blend building with art.
Building miniature house kits is as much about process as product. The right tools make assembly smooth, reduce mistakes, and let you focus on the creative satisfaction of watching a detailed world emerge from flat components. Invest in basics now, and you'll use them on every kit you build.
 Shopping at Rolife? See today's verified Rolife discount code
Frequently asked questions
What glue is best for miniature house kits?
Wood glue is the standard for most Rolife kits because it's strong, dries clear, and cleans up with water before setting. Super glue works for small decorative pieces that need instant hold, and epoxy is best for critical joints that take stress.
How long does it take to build miniature house kits?
Beginner kits typically take 4–8 hours, intermediate kits 10–20 hours, and advanced builds 20–40+ hours depending on detail level, lighting installation, and your experience with precision assembly.
Do I need special lighting for miniature house kits displays?
Most Rolife miniature kits include LED light strings or slots for battery packs. Warm-white LEDs (2700K–3000K) create cozy atmospheres, while cool white (5000K) shows architectural detail more sharply.
Can I assemble miniature house kits without tools?
No. You'll need at minimum a hobby knife, tweezers, glue, sandpaper, and a ruler. These tools ensure clean cuts, precise alignment, and a polished final result that hand assembly alone cannot achieve.
What's the best first miniature house kit for a beginner?
Start with a beginner-level Rolife kit like a simple book nook or entry-level puzzle. These teach assembly flow and tool technique in 4–8 hours, preparing you for larger, more complex miniature house kits later.
How do I make sure pieces fit properly in miniature house kits?
Sand rough edges, use precise cutting tools, test fit before gluing, and apply thin glue layers. Small clamps or clothespins hold pieces aligned while glue dries, preventing the shifts that create poor fit on architectural details.