
How to Install a Horow Smart Toilet: A Step-by-Step Buyer's Guide

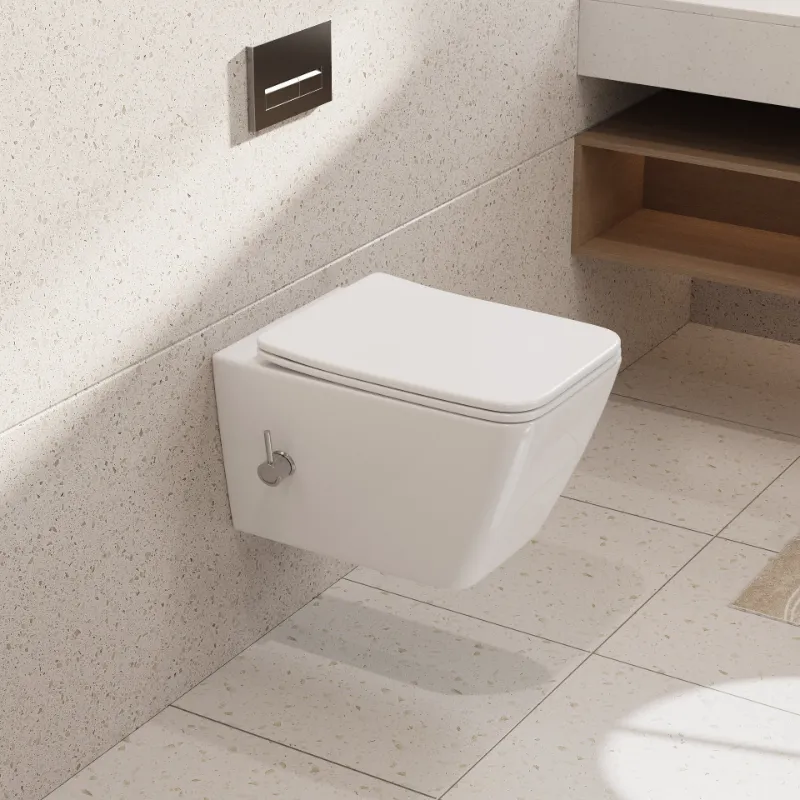
How to Install a Horow Smart Toilet: What You Actually Need to Do
Installing a horow smart toilet is a two-to-three hour job for a confident DIYer, and the main steps are shutting off the water, removing the old toilet, setting the new unit on the flange, connecting the water line and power, then running the setup cycle. It is not harder than fitting a standard toilet, but the electrical connection and the seat's control settings add a few steps that catch people out. This guide walks through the whole process, with the mistakes we see most often in horow smart toilet reviews and installation questions.
Before You Start: Tools, Parts, and Pre-Install Checks
Get everything ready before you open the box. You will need:
- Adjustable wrench and a screwdriver
- Tape measure and level
- New wax ring or rubber seal (most HOROW units include one, but have a spare)
- A grounded GFCI outlet within reach of the toilet
- Plumber's tape and a bucket or towels for residual water
Two measurements decide whether a horow smart toilet will fit your bathroom:
- Rough-in distance: measure from the wall to the centre of the floor bolts. Most HOROW models are built for a standard 12-inch rough-in.
- Outlet position: the toilet needs power for the heated seat, bidet wash, and dryer, so confirm a grounded outlet is within about 1 metre of the installation spot. If it isn't, have an electrician add one before delivery day.
If you are upgrading the whole room, it is worth browsing luxury bathroom elements at the same time so the finishes, taps, and fixtures arrive together.
Removing Your Old Toilet
- Turn off the shut-off valve behind the toilet and flush to empty the tank.
- Disconnect the water supply line at the tank.
- Unscrew the floor bolts at the base and rock the toilet gently to break the wax seal.
- Lift it out (it is heavier than it looks, so get help) and set it aside.
- Scrape the old wax off the flange and stuff a rag in the drain opening to block sewer gases.
Check the flange for cracks or corrosion while it is exposed. Fixing a flange now takes minutes; fixing it after your smart toilet is bolted down is a much bigger job.
Step-by-Step Horow Smart Toilet Installation
1. Seat the new unit
Place the new wax ring or rubber seal on the flange, then lower the toilet straight down onto the bolts. Press down evenly to compress the seal, add washers and nuts, and tighten alternately left and right. Do not overtighten; ceramic cracks. Check with a level and shim under the base if needed before caulking around it.
2. Connect the water line
Attach the supplied supply line to the shut-off valve and the toilet inlet. Hand-tighten plus a quarter turn with a wrench is usually enough. Turn the water back on slowly and check for drips at every connection before moving on.
3. Connect the power
Plug the unit into the grounded GFCI outlet. Do not use an extension cord, and never route the cord where it can sit in standing water. This is the one step we recommend a professional for if you have no outlet nearby.
4. Run the first-cycle setup
Most HOROW models walk you through an initial setup on the control panel or remote: language, water temperature, seat temperature, and a test flush. Run the wash function once with the lid open so you can confirm nozzle position and water pressure. If you want to see the control layout before your unit arrives, the horow smart toilet product page has full photos and specs.
Which HOROW Model Should You Install?
HOROW's range splits into full smart toilets and smart-seat toilets. Here is how the main options compare:
| Model | Type | Best for |
|---|---|---|
| HOROW smart toilet (T03/X70 series) | Full one-piece smart toilet | Complete bidet, heated seat, auto flush in one unit |
| Horow T38 | Smart-seat toilet | Smart features on a familiar, easy-to-service design |
| Horow T30 | Smart-seat toilet | Compact bathrooms and tighter budgets |
The horow t38 suits anyone who wants wash and heated-seat functions without replacing the whole bowl, while the horow t30 is the compact pick for smaller bathrooms. If you are after the full one-piece experience, the flagship horow smart toilet combines everything in a single unit. For a second opinion on how these perform in daily use, this detailed Bob Vila review of the HOROW smart toilet covers real-world washing, drying, and comfort: Move Over, Bidets: The Horow Smart Toilet Does Everything.
Whichever model you pick, check the current horow smart toilet price and grab the code on our HOROW discount page before you order. There is a 10% off offer running on all orders right now.
Common Installation Mistakes to Avoid
- No power plan. The number one horow smart toilet installation problem we hear about is discovering there is no outlet within reach. Sort electricity before the toilet arrives.
- Ignoring the rough-in. A 10-inch rough-in will not fit a 12-inch model. Measure twice.
- Overtightening the floor bolts. Snug is enough. Cracked ceramic is not covered by rushing.
- Skipping the leak check. Let the water run for ten minutes and dry every joint with tissue paper so even a slow drip shows up.
- Forgetting the break-in cycle. Smart toilets need an initial setup pass for the nozzle and sensors to calibrate. Skipping it leads to weak or misaligned washes.
Aftercare: Keeping Your Smart Toilet in Top Shape
Smart toilets need very little maintenance, but a small routine goes a long way:
- Wipe the seat and lid with a soft cloth and mild soap; never use abrasive cleaners on the sensors or nozzle cover.
- Run the nozzle cleaning cycle monthly (most models have a self-clean mode).
- Check the supply line connection every few months for slow seepage.
- If you live in a hard-water area, descale the nozzle per the manual to keep spray pressure consistent.
With that routine, a horow smart toilet should give you years of heated-seat mornings and hands-free flushing. If you are still comparing models or waiting on a deal, bookmark our discount code page so you can apply the current 10% offer the moment you are ready to buy.
Frequently asked questions
Does a HOROW smart toilet need electricity to work?
Yes. The heated seat, bidet wash, dryer, and auto flush all require power, so you need a grounded GFCI outlet within reach of the toilet. Plan for this before installation day.
What rough-in size does the horow t38 need?
The horow t38 is designed for a standard 12-inch rough-in, which is the most common in homes. Measure from the wall to the centre of the floor bolts to confirm before ordering.
Can I install a horow smart toilet myself or should I hire a plumber?
A confident DIYer with basic tools can usually complete the install in two to three hours. Hire a professional only if you need a new outlet added or your flange needs repair.
How do horow t30 and horow t38 differ from the full smart toilet models?
The t30 and t38 are smart-seat toilets that add wash and heated-seat functions to a conventional design, while the full smart toilet models are one-piece units with built-in bidet, auto flush, and lid automation.
How long does a horow smart toilet installation take from start to finish?
Removing the old toilet, setting the new unit, and completing the setup cycle typically takes two to three hours, longer if you need electrical work or flange repairs first.
Where can I find the current HOROW discount code?
We keep the latest offer, including the current 10% off all orders, on our HOROW discount page along with pricing updates for each model.