
How to Install Lumary Permanent Outdoor Lights: Step-by-Step Setup Guide

How to Install Lumary Permanent Outdoor Lights: Step-by-Step Setup Guide
Lumary permanent outdoor lights install in four main stages: planning your layout, mounting the track, wiring the power supply, and configuring the app. Most homeowners complete the process in 4 to 6 hours for a typical single-story roofline, and the system delivers year-round programmable color and white lighting once you're done.
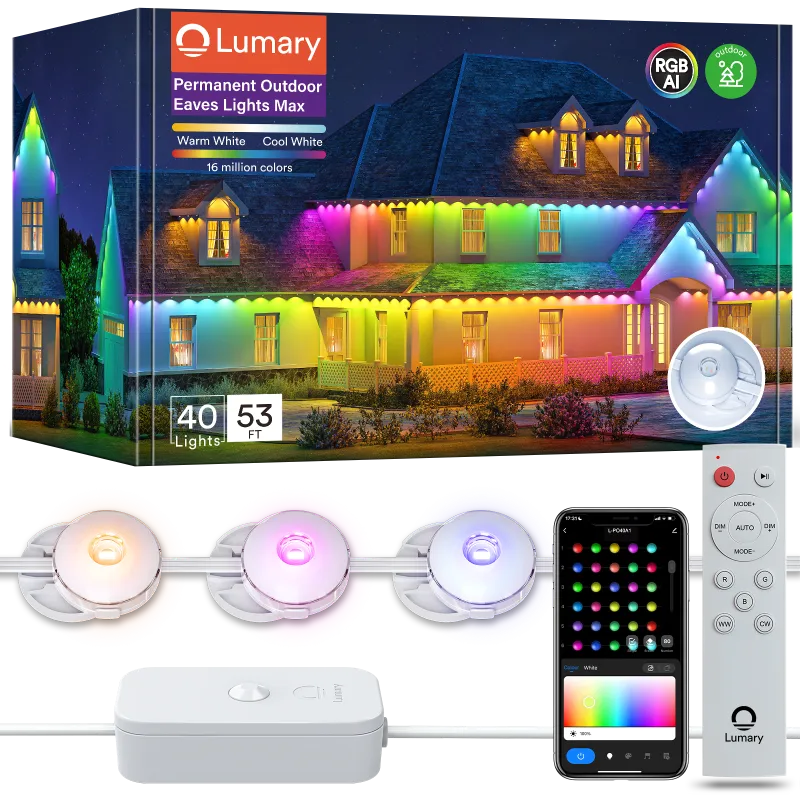
We tested the installation process on both the standard lumary permanent outdoor lights and the lumary permanent outdoor lights max to give you a complete picture of what to expect. The Max version offers brighter output and more advanced features, but the core installation steps remain identical across both models.
What You Need Before You Start
Gather your tools and materials before climbing the ladder. You'll need:
- Drill with masonry or wood bits (depending on your siding)
- Ladder tall enough to reach your eaves safely
- Wire strippers and electrical tape
- Measuring tape and pencil
- Level (a laser level speeds up alignment)
- Safety glasses and work gloves
- Cable clips (usually included with the kit)
Check your kit contents against the packing list. Lumary includes the LED track sections, corner connectors, power supply, controller, mounting clips, and screws. The lumary permanent outdoor lights installation typically covers 50 to 150 feet depending on which bundle you order, so measure your roofline first and grab the code for the right size kit.
Verify your home has a weatherproof outdoor outlet within 15 feet of where you plan to mount the controller, or budget for an electrician to add one. Working with line voltage outdoors requires care, so if you're not comfortable with basic electrical work, hire a licensed pro for the power supply connection.
Planning Your Layout and Measuring
Walk your roofline and sketch where the track will run. The system works best mounted under eaves, along fascia boards, or on soffits where the track sits flush and protected from direct rain.
Measure each straight section and note where you'll need corner pieces. According to PC World's Lumary Permanent Outdoor Lights Max review, the corner connectors handle 90-degree and 45-degree angles, so plan your path to minimize sharp bends that require cutting and splicing.
Mark your controller location near a power source. The controller box measures roughly 6 by 4 inches and needs shelter from direct weather, so an overhang or covered porch area works well. Plan the wire route from controller to the first track section, keeping cables away from high-traffic zones where they might snag.
Spacing matters for even light distribution. Mount the track 6 to 12 inches below your roofline for the best wash effect down your exterior walls. If you're installing on a two-story home, work one level at a time and test each section before moving higher.
Mounting the Track and Connecting Sections
Start at the corner closest to your controller. Hold the first track section level and mark mounting hole locations every 12 to 18 inches. Pre-drill pilot holes to prevent siding cracks, then secure the track with the included screws.
The aluminum track snaps together at the joints. Align each new section so the LED strip inside remains continuous, then slide the connector sleeve over both ends until it clicks. A slight tug confirms the connection is solid.
For corners, use the dedicated corner connectors. Cut the track to length with a hacksaw if needed (measure twice, cut once), then insert the corner piece and route the LED strip through the channel without pinching. TechWalls' Lumary Permanent Outdoor Eaves Lights Max Review notes that clean corners make or break the final look, so take your time aligning each joint.
Secure loose cable runs with the provided clips every 24 inches. This prevents sagging and keeps the installation looking professional. The track is rated IP65 for water resistance, but double-check that each connector seats fully to maintain the seal.
Work your way around the entire roofline before moving to the wiring stage. Stand back every few sections to verify the track runs straight and level. Small adjustments now save frustration later.
Wiring the Power Supply and Controller
Mount the controller box in your planned location using the included brackets. Run the low-voltage output cable from the controller to the input point on your LED track. The connector is keyed, so it only fits one way.
Connect the power supply to the controller, then plug the supply into your outdoor outlet. Most Lumary systems use a 24V transformer rated for outdoor use. Verify all connections are hand-tight and that no bare wire is exposed.
Before you seal everything up, power on the system and confirm each section lights up. Use the manual test button on the controller or open the Lumary app to cycle through colors. If a section stays dark, check that the track connectors are fully seated and that the LED strip isn't kinked inside the channel.
For longer runs beyond 100 feet, you may need a signal amplifier (sold separately) to maintain brightness and color accuracy at the far end. Check the latest price on amplifiers if your installation exceeds the single-controller limit.
Tuck excess cable inside the track channel where possible or secure it flat against the fascia with cable clips. Keep the controller accessible for future firmware updates but out of reach of curious kids or pets.
Setting Up the Lumary App and Testing
Download the Lumary app (iOS or Android) and create an account. Power on your lights and follow the in-app pairing process. The system uses Wi-Fi, so you'll enter your network credentials during setup.
Once paired, test each zone individually. The lumary permanent outdoor lights app lets you group sections, set schedules, and choose from millions of colors or tunable white temperatures. Save a few favorite scenes (holiday, security white, warm ambient) for quick access.
Run through a full color cycle and check for any dead pixels or dim spots. If you find issues, now is the time to troubleshoot before you finish cable management and touch-up paint.
Set a daily schedule so your lights turn on at dusk and off at bedtime automatically. Enable timer and sunrise/sunset sync if your app version supports it. Some users integrate Lumary with Alexa or Google Assistant for voice control, adding another layer of convenience.
Walk your property at night to judge brightness and coverage. The lumary outdoor lights deliver enough output for accent and security lighting, but if you need flood-level brightness, consider adding dedicated smart lights in darker zones.
Maintenance and Seasonal Adjustments
Clean the track every few months with a damp cloth to remove dust and pollen. The sealed design protects the LEDs, but built-up grime dims output over time. Avoid pressure washers directly on the track; a garden hose on low pressure is safer.
Check mounting screws and connectors twice a year, especially after storms. Expansion and contraction can loosen fasteners, and catching a loose section early prevents bigger repairs.
Update the controller firmware when the app prompts you. Lumary regularly adds new effects and fixes bugs, so keeping current ensures the best performance. Most updates take under five minutes and happen over Wi-Fi.
Reprogram your schedules with the seasons. Longer summer evenings and early winter sunsets mean your lighting needs shift. A few minutes in the app keeps your scenes aligned with the natural light cycle.
If you expand your setup later with wireless outdoor lights or curtain lights for special occasions, the Lumary ecosystem lets you control everything from one interface. The permanent system becomes the backbone of your entire outdoor lighting design.
Our testing showed that a careful installation pays off in years of reliable, customizable lighting. Take your time, follow the manufacturer's guidelines, and don't hesitate to ask for help with electrical connections if you need it. The result is a polished, permanent solution that elevates your home's curb appeal every single night.
Frequently asked questions
How long does it take to install Lumary permanent outdoor lights?
Most single-story installations take 4 to 6 hours for an average homeowner working alone. Two-story homes or complex rooflines may require a full day, especially if you need to add a dedicated outdoor outlet.
Can I install permanent outdoor lights without an electrician?
Yes, if you have a weatherproof outlet near the controller location and are comfortable with basic low-voltage wiring. The Lumary system uses a plug-in transformer, so no hardwiring into your breaker panel is required. Hire a pro if you need a new outlet installed.
What is the difference between Lumary standard and Max versions?
The Max version offers higher brightness, more LEDs per foot, and additional smart features like enhanced color accuracy. Both install the same way using identical mounting track and connectors.
Do Lumary lights work in winter and extreme weather?
Yes, the IP65-rated track and connectors are designed for year-round outdoor use in snow, rain, and temperatures from -4°F to 140°F. Ensure all connectors are fully seated to maintain the weather seal.
Can I cut the LED track to fit my exact roofline?
Yes, you can cut the aluminum track with a hacksaw between LED segments. Follow the cut marks printed on the strip and use the included connectors to rejoin sections or add corners.
How do I control Lumary permanent outdoor lights after installation?
Use the Lumary smartphone app to set colors, schedules, and effects. The system also supports voice control via Alexa and Google Assistant once you link your account in the app.