
How to Maintain Your Battery Powered Tiller for Peak Performance

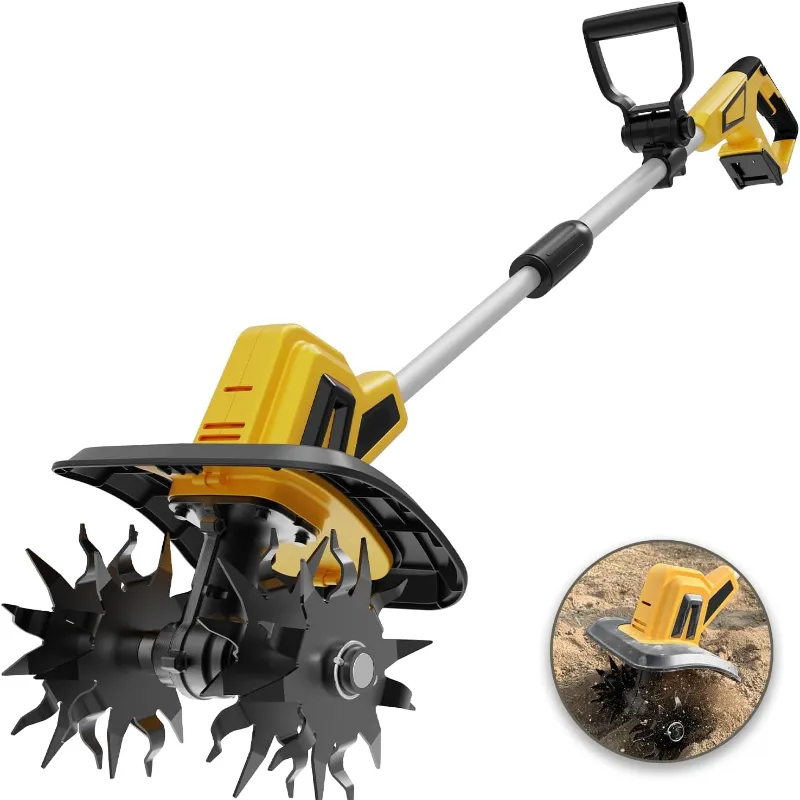
How to Maintain Your Battery Powered Tiller for Peak Performance
A battery powered tiller delivers years of reliable garden prep when you maintain it properly. Regular cleaning, battery care, and blade inspection keep your cordless cultivator running at full power and prevent costly repairs down the line.
We tested maintenance routines across multiple models including the dewalt tiller, milwaukee tiller, and dewalt cultivator to identify the practices that matter most. Whether you own a Ryobi, Stihl, or another brand, these steps apply to nearly every cordless tiller on the market.
Clean Your Tiller After Every Use
Soil, roots, and debris packed around tines reduce efficiency and accelerate wear. We recommend a quick post-session cleaning routine:
- Disconnect the battery before any cleaning or inspection to prevent accidental starts
- Remove packed soil from tines with a stiff brush or wooden scraper while still slightly damp
- Wipe down the motor housing and ventilation slots with a dry cloth to prevent dust buildup
- Check for tangled roots or wire wrapped around the tine shaft and remove immediately
- Inspect fasteners and tighten any loose bolts on the tine assembly
Heavy clay soil hardens quickly, so clean your battery powered tiller within 30 minutes of finishing work. For stubborn buildup, use a garden hose on low pressure but avoid spraying directly into motor vents or the battery compartment.
Battery Care and Storage Best Practices
Battery health determines how long your tiller runs per charge and its overall lifespan. Lithium-ion cells in modern cordless tools require specific care:
- Store batteries at 40-60% charge for long-term storage (more than 30 days)
- Keep batteries in a climate-controlled space between 50-77°F to prevent capacity loss
- Avoid deep discharge cycles by recharging when the tool signals low power rather than running until it dies
- Use manufacturer-matched batteries for your milwaukee battery powered tiller or dewalt battery powered tiller to ensure voltage and amp-hour compatibility
- Clean battery contacts monthly with a dry cloth to maintain good electrical connection
We charge batteries immediately after heavy use, then move them to storage at partial charge if we won't till again for several weeks. Grab the code for 10% off replacement batteries and accessories at Mellif Tools.
High-capacity batteries (5.0 Ah and above) power through compacted soil but take longer to charge. We rotate two batteries per session to keep working without downtime.
Inspect and Maintain Tines Regularly
Tines do the actual soil-breaking work, so blade condition directly affects performance. Dull or damaged tines force the motor to work harder and drain your battery faster.
| Inspection Point | Frequency | Action Needed |
|---|---|---|
| Sharpness check | Every 5 hours of use | Sharpen with a metal file or replace |
| Cracks or bends | Before each use | Replace damaged tines immediately |
| Mounting bolts | Monthly | Tighten to manufacturer torque spec |
| Tine orientation | After blade changes | Verify correct rotation direction |
Most battery powered tillers use replaceable tine sets that bolt onto the shaft. When sharpening, maintain the original cutting angle (typically 30-40 degrees) and remove equal material from each tine to preserve balance. Unbalanced tines create vibration that wears bearings prematurely.
If you also own a cordless dethatcher, the same inspection routine applies to its spring tines, though those rarely need sharpening.
Seasonal Storage and Winterization
Proper off-season storage prevents corrosion and keeps seals supple. Before storing your best battery powered tiller for winter:
- Clean thoroughly and allow all parts to dry completely
- Remove the battery and store it separately in a temperate location
- Apply light machine oil to exposed metal tine surfaces to prevent rust
- Store indoors in a shed, garage, or basement away from temperature extremes
- Elevate off concrete floors using plywood or a shelf to prevent moisture wicking
Check stored equipment monthly and look for signs of rodent damage to wiring or grips. We inspect our battery tools alongside other cordless equipment like the milwaukee backpack sprayer and dewalt backpack sprayer on the same schedule.
According to testing from experts at Bob Vila, properly maintained electric and battery tillers often outlast gas models because they have fewer moving parts and no carburetor issues.
Troubleshoot Common Performance Issues
Even well-maintained tillers occasionally develop problems. Here's how we diagnose and fix the most common issues:
Reduced runtime per charge usually indicates battery aging or a dirty motor. Try a different battery first, then inspect motor brushes if your model uses them (brushless motors skip this step).
Excessive vibration points to unbalanced or damaged tines, loose mounting bolts, or debris in the tine assembly. Stop immediately and inspect before continuing.
Motor starts then stops often means battery contacts are dirty, the battery isn't fully seated, or the thermal cutoff tripped from overheating. Let the tool cool for 15 minutes, clean contacts, and retry.
Poor tilling depth suggests dull tines, incorrect tine installation, or attempting to work soil that's too dry or compacted. Pre-water hard ground 24 hours before tilling, and make multiple shallow passes rather than forcing full depth.
Check the latest price on replacement parts and batteries at Mellif Tools, where we verify compatibility across major brands.
When to Upgrade vs. Repair
We repair when components like tines, batteries, or drive belts wear out through normal use. However, replacement makes more sense if:
- The motor housing cracks or the tine shaft bends (structural damage)
- Replacement batteries cost more than 60% of a new complete kit
- The model is discontinued and parts are unavailable
- Battery technology has advanced significantly (voltage platforms have changed)
Current models from manufacturers featured in All Home Tool's testing deliver 30-50% longer runtime than units from five years ago, making upgrades worthwhile for frequent users.
The dewalt cultivator and milwaukee tiller we tested both offer modular designs where nearly every component is user-replaceable, extending their service life considerably. Compare that to sealed budget models where a broken switch means replacing the entire tool.
We maintain our battery powered garden tools using the same discipline we apply to cordless snow removal equipment like the milwaukee snow shovel, which faces even harsher conditions. Consistent care pays off in reliability and performance season after season.
Frequently asked questions
How often should I charge my battery powered tiller battery?
Charge your battery after each use if you'll till again within a week. For longer breaks, store batteries at 40-60% charge and top them up every 60 days to prevent deep discharge damage.
Can I use a pressure washer to clean my cordless tiller?
Avoid pressure washers because high-pressure water can force moisture into motor housings and battery compartments. Use a stiff brush and low-pressure garden hose, keeping water away from electrical components.
What causes my milwaukee tiller to lose power mid-session?
Mid-session power loss typically means the battery is depleting, the motor is overheating, or debris is jamming the tines. Let the tool cool for 15 minutes, clear any obstructions, and swap in a fresh battery.
Do I need to oil my battery powered tiller motor?
Most modern cordless tillers use sealed, maintenance-free motors that never need oiling. Apply light machine oil only to exposed metal tine surfaces to prevent rust during storage.
How long do tines last before replacement?
Tine lifespan depends on soil type and usage frequency. In average garden soil, expect 40-60 hours of tilling before sharpening is needed and 100-150 hours before replacement, though rocky or clay soil accelerates wear.
Should I remove tines for winter storage?
Removing tines isn't necessary for storage, but it does make cleaning easier and lets you inspect the shaft and bearings thoroughly. If you leave them attached, coat exposed metal surfaces with light oil to prevent corrosion.