
How to Care for and Seal Your Dot Artwork So It Lasts

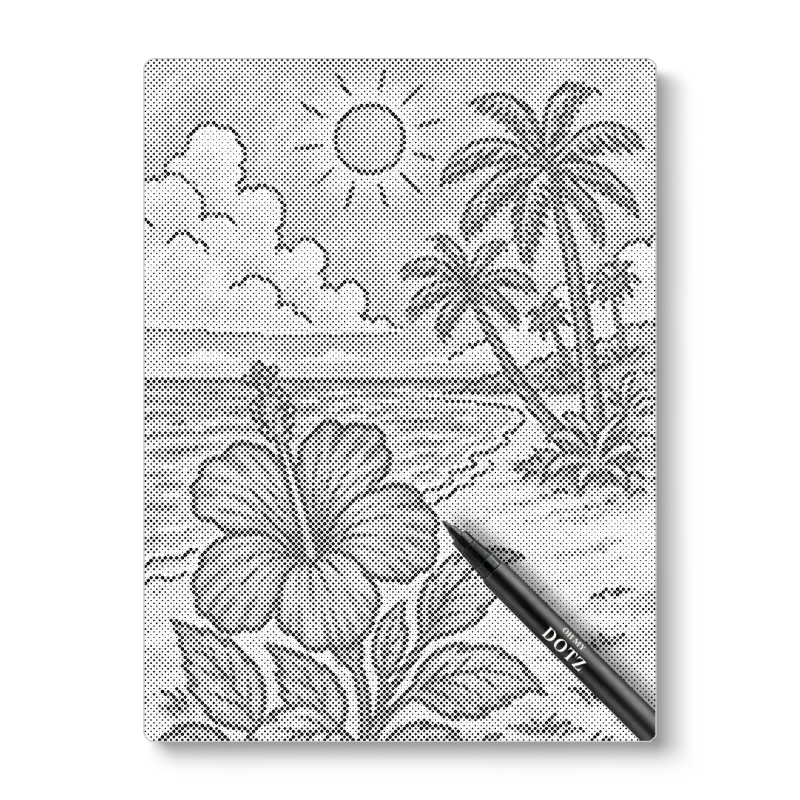
Properly sealed and cared for, your dot artwork will stay bright and raised for years, whether it hangs on a wall or sits on a shelf. The good news: sealing dot painting is one of the easiest finishing steps in the whole process, and it takes less than an hour of hands-on work once your piece is dry. This guide walks you through drying times, sealant choices, application, framing, and day-to-day care so nothing on your canvas cracks, fades, or smudges.
Why Sealing Your Dot Artwork Matters
Dot art is built from layers of acrylic paint sitting in raised dabs on the surface. Left unsealed, those dabs can pick up dust in the crevices, scuff against frames, and fade if they hang in direct sunlight. A clear sealant locks in the colour, evens out the sheen, and adds a thin protective skin over every dot. If your piece leans toward dot mandala art for beginners style, where dozens of tiny dots form rings around a centre, sealing also helps those fine points resist chipping at the tips.
The technique itself has deep roots. Modern dot painting belongs to the same family as Pointillism, where images are built entirely from small marks of pure colour, and sealants protect that kind of work just as well today as varnish protected it a century ago.
Step 1: Let the Paint Dry Fully
Sealing wet or even tacky paint is the number one mistake we see. Trapped moisture causes cloudiness, drips, and sometimes the sealant pulling colour off the canvas.
- Wait at least 24 hours after your last dot, longer in humid rooms or if you painted thickly.
- Test with a fingernail in an inconspicuous corner. If the paint dents or feels cool and tacky, wait more.
- Skip hairdryers and heaters. Fast, uneven heat can crack the surface of large dots. Room temperature air is fine.
If you used a palm dot tool or the styluses that come with most dot art kits, check the edges of each dot where paint pooled slightly. Those edges dry last.
Step 2: Clean and Prep the Surface
Dust is your enemy here. Once sealant touches it, it is stuck under the finish forever.
- Gently blow dust off the canvas or wipe with a barely damp, lint-free cloth. Let it dry again fully.
- Work in a clean, well-ventilated space away from pets and open windows.
- If you painted on a canvas stretched over a wood frame to stretch canvas, wipe the frame too so sawdust does not drift onto your finish.
Step 3: Choose Your Sealant
You have two main options, and both work well on acrylic dot painting. The right choice depends on your workspace and the finish you want.
| Sealant type | Finish | Best for | Watch out for |
|---|---|---|---|
| Spray (aerosol) | Even, no brush marks, gloss or matte | Raised dots, textured pieces, beginners | Needs good ventilation; light coats only |
| Brush-on varnish | Thicker protective layer, glossy or matte | Flat areas, canvases you want extra-durable | Brush marks; can flatten fine dot tips if applied heavily |
A few tips for choosing:
- Spray is safest for texture. It floats over the raised dots without dragging them. Hold the can 25 to 30 cm away and use several light coats rather than one heavy one.
- Brush-on gives the most protection for pieces that will be handled a lot, but use a soft, wide brush and minimal pressure so you do not squish your cute dot art details.
- Gloss brings out colour depth; matte reduces glare on pieces hung opposite windows. There is no wrong answer, just the look you prefer.
Current pricing on sealants and full craft bundles varies by season, so check the latest price on our coupon page before you buy, and grab the code while you are there.
Step 4: Apply the Sealant
- Shake the can or stir the varnish according to the label instructions.
- Test on a spare surface first, ideally the edge of the canvas or a practice board from your dot art kits.
- Apply your first light coat and let it dry for the time on the label, usually 1 to 2 hours for spray.
- Rotate the canvas 90 degrees between coats so you cover every angle of the texture.
- Apply 2 to 3 thin coats total. Thin coats cure harder and clearer than one thick coat.
- Cure for 24 to 72 hours before hanging, stacking, or wrapping the piece. The finish feels dry quickly, but full hardness takes longer.
Step 5: Frame, Display, and Store
How you display a sealed piece matters almost as much as the sealant itself.
- Keep it out of direct sunlight. Even sealed acrylic fades over years of UV exposure. A shaded wall is ideal.
- Avoid steamy rooms. Bathrooms and above-the-kettle spots put constant moisture stress on canvas.
- Store spares flat and separate. If you stack finished canvases, slip paper or foam between them so sealed surfaces do not press into each other.
- Mount or stretch before sealing heavy pieces. If your canvas has gone wavy, a wood frame to stretch canvas pulls it taut again; do this before the final coat so the finish does not crack.
Keeping Your Dot Painting Looking Fresh Long-Term
Once cured, sealed dot art needs very little upkeep.
- Dust with a soft, dry brush or microfibre cloth. Never scrub.
- No water or cleaning sprays. Household cleaners can dull or cloud the finish.
- Recoat every few years if a piece lives in a bright or high-traffic spot. One light spray coat restores the sheen.
A Note on Kids' Projects and Other Dot Styles
The same rules apply to children's versions of the craft. If your kids worked through a dot coloring book with dauber markers, the pages themselves do not need sealing, but finished poster-board pieces do, and the same light spray coats keep them fingerprint-free. Families who want structured activities can also try a dot painting set designed for younger hands, and resources like Do-A-Dot Art offer marker and activity book systems built for exactly that age group. For digital fun, plenty of people share dot art images made from text characters online, which need no sealant at all but make great inspiration for your next canvas.
Final Checklist Before You Hang It
- Paint fully dry: at least 24 hours
- Surface dust-free
- 2 to 3 thin sealant coats, rotated between coats
- 24 to 72 hours cure time
- Hung out of direct sunlight, away from steam
Follow those six points and your dot artwork will look as vivid on day one thousand as it did the day you finished it. If you are stocking up on tools or starting a new piece, grab the code on our discount page for 10% off all orders, then get dotting.
Frequently asked questions
How long should dot painting dry before sealing?
Wait at least 24 hours after your last dot, longer in humid rooms or if you applied thick paint. The paint should feel hard and not tacky anywhere before you seal.
What is the best sealant for dot artwork with raised dots?
Spray sealant is best because it floats over the raised dots without dragging or flattening them. Use several light coats from about 25 to 30 cm away rather than one heavy coat.
Can I use brush-on varnish instead of spray?
Yes, if you use a soft, wide brush and light pressure. Brush-on varnish gives a thicker protective layer, but heavy application can flatten fine dot tips, so spray is usually safer for textured pieces.
How do I clean finished dot artwork?
Dust it with a soft, dry microfibre cloth or brush and never use water or household cleaners, which can cloud the finish. Keep the piece out of direct sunlight to prevent fading.
Where should I display my dot art so it lasts?
Keep it out of direct sunlight, avoid steamy rooms like bathrooms, and store spare canvases flat with paper or foam between them so sealed surfaces do not press together.
Do I need to seal pieces from a dot coloring book?
Yes. Dauber marker pages from a dot coloring book do not need sealing, but poster-board or canvas pieces kids finish should get the same light spray coats to protect them from fingerprints and dust.