
Why Your Dot Paint Isn't Forming Clean Dots (And How to Fix It)

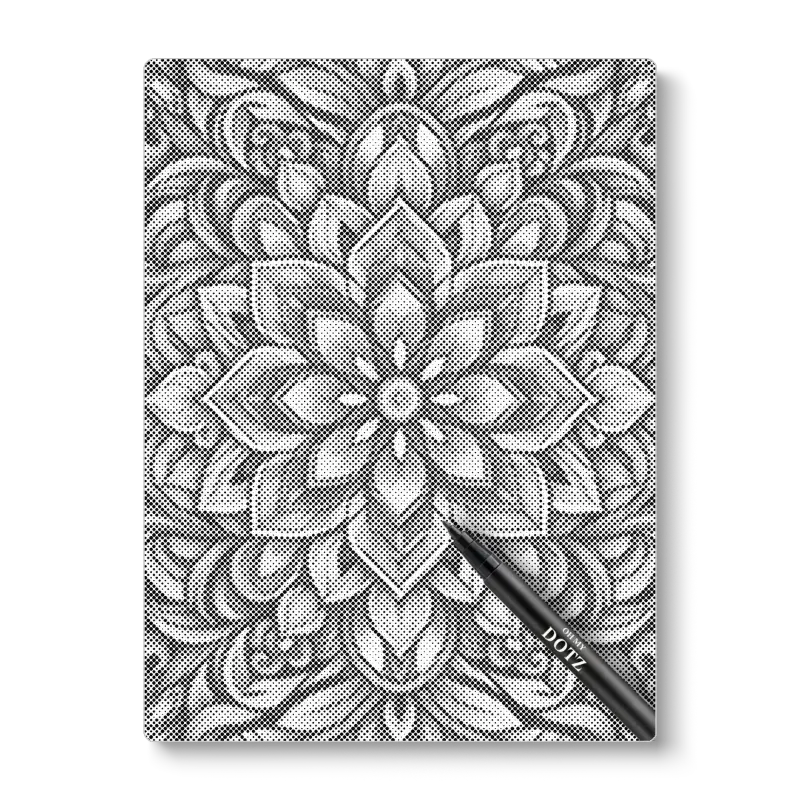
If your dots are coming out flat, blurry, or shaped like splats instead of clean circles, the fix is almost always one of three things: paint consistency, pressure, or drying between layers. A dot coloring book makes this frustrating fast, because every circle in the design shows the wobble. Here is how we diagnose and fix messy dots, whether you are working through a dot coloring book with markers or painting a full canvas piece.
Why Your Dots Fail (The 3 Main Causes)
Most broken dots come down to paint behavior, not your skill. We see the same three culprits in nearly every test:
- Paint that is too thin. Runny paint pools on contact and dries with a ring or puddle edge instead of a raised dome.
- Too much pressure or a rocking motion. Pressing hard or wiggling the tool spreads the paint sideways, which is exactly what causes the classic "splat" edge.
- Layering on wet paint. Dipping a damp tool back into your paint cup or dotting onto a wet base drags pigment and turns crisp circles into smears.
Fix these three things and about 90 percent of dot problems disappear.
Getting the Paint Consistency Right
Dotting needs thicker paint than brush painting. Aim for a texture closer to yogurt than milk. If paint drips off your tool on its own, it is too thin. Practical fixes:
- Let the paint cup sit open for a few minutes so excess water evaporates.
- Work on a palette or paper towel first; thirsty surfaces wick away runny paint.
- If you are using paint markers (common in any dot coloring book with markers), prime the tip on scrap paper until the flow is controlled, not gushing.
- Shake and squeeze pens gently before a session so the pigment is mixed but not watery.
One more tip: reload after every two or three dots. A dry tool produces faded, patchy dots that look dirty even when your technique is perfect.
Pressure and Technique: The Palm Dot Fix
The single biggest upgrade most beginners can make is learning the palm dot motion. Instead of pressing down and pulling away, think of it as a light tap:
- Hold the tool vertically, straight over the surface.
- Touch down with almost no force; the paint should transfer on contact.
- Lift straight up. No tilt, no roll, no twist.
Keep your wrist relaxed and move from the elbow for larger dots. If you notice a tail or an egg shape on one side of your dots, your tool is tilting as you lift. Resting the side of your palm on the page (like you would when writing) steadies the angle. This is the motion behind most satisfying dot art, and it works the same whether the surface is paper, canvas, or wood.
Matching Tools to Surface
Not every dotting tool suits every surface, and using the wrong pairing is a hidden cause of messy work:
- Paper and coloring books: Cotton swabs, pencil erasers, and fine-tip markers all work. For book work specifically, a dedicated dot colouring book with heavier pages bleeds less than thin printer paper. If you want to try designs before committing to a book, there are free printable dot art pages available online, and retailers like Staples stock Do-A-Dot style coloring books built for marker flow.
- Canvas: The texture grabs paint nicely, but only when the canvas is taut. Loose fabric bounces under your tool and distorts dots. A wood frame to stretch canvas solves this and keeps your finished dot artwork flat for display.
- Wood, rocks, and crafts: Seal the surface first with a coat of acrylic; raw wood drinks paint and leaves you pressing harder, which causes splats.
Step-by-Step: Clean Dots in Practice
Here is the routine we use when testing dot painting sets and dot art kits:
- Test on scrap first. Ten dots on paper towel tell you everything about paint consistency before you touch your project.
- Work light to dark. Dark dots placed over light ones read as mistakes; the reverse blends cleanly.
- One dot, one reload. Reload after every dot or two rather than trying to stretch a single dip.
- Let layers dry. Give wet sections at least a few minutes before dotting beside or over them. Patience here matters more than any tool upgrade.
- Fix mistakes the right way. For small slips, wait until fully dry, then dot over in the base color before re-dotting. Never wipe wet paint; it smears into the surrounding dots.
If you are building decorative pieces rather than filling book pages, planning a repeating pattern first (a simple mandala of concentric rings) keeps spacing even and hides minor inconsistencies. Many people turn this kind of pattern into cute dot art for gifts and shelves once the basic motion clicks.
Which Dot Coloring Book Should You Choose?
Books differ in page weight, dot size, and how forgiving the designs are for beginners:
| Option | Best for | Watch out for |
|---|---|---|
| Thicker-page dot colouring book | Marker and wet paint work | Slightly higher cost |
| Basic thin-page coloring book | Quick practice, kids | Bleed-through with heavy paint |
| Canvas or blank designs | Finished dot artwork to display | Needs a taut surface |
| Full dot art kits | Beginners who want tools included | Tool quality varies by kit |
For adults especially, a dot coloring book for adults with larger, denser designs is a good middle ground: the guides show you where dots go, so you can focus entirely on technique. Search "dot coloring book near me" or check our store directly; you can also grab the code for 10% off all orders before you buy.
When to Replace Your Tools
Sometimes the problem is the tool, not you:
- Frayed cotton swab tips dump uneven paint blobs. Swap them after a few uses.
- Marker tips that are squashed or fuzzy produce oval dots no matter how careful you are.
- Cheap ball styluses with rough burrs scratch paper and drag paint. A smooth metal or acrylic tool glides and lifts clean.
If your current setup fights you, a purpose-built kit costs less than you might think, and our code on the discount page brings the price down further. Clean tools plus thicker paint plus the light-tap motion will get you gallery-clean dots within a single practice session.
Frequently asked questions
Why do my dots have ragged edges when using a dot coloring book?
Runny paint and heavy pressure are the two usual suspects. Thicken your paint slightly, tap lightly instead of pressing, and lift the tool straight up with no tilt or rocking motion.
What should I use to make dots in a coloring book?
Cotton swabs, pencil erasers, and round styluses all work on paper. For heavier pages and paint, purpose-built dotting tools give you the most consistent circles.
How thick should paint be for dot art?
Dot painting needs thicker paint than brush painting. If it drips off the tool on its own, let it sit open for a few minutes to thicken before you start dotting.
Can I do dot painting on surfaces other than paper?
Yes, but seal raw wood with a base coat first so it stops absorbing paint, and keep canvas taut, ideally stretched on a frame, so it does not bounce under the tool.
How do I fix a misplaced dot?
Wait until the area is fully dry, then dot over the mistake in your base color and re-dot once that dries. Wiping wet paint smears pigment into surrounding dots.
Where can I buy a dot coloring book with a discount?
Our store carries dot coloring books, paint sets, and full dot art kits for all levels. Check the current price and apply our 10% off code on the discount page before ordering.