
How to Start Dot Painting: A Beginner's Guide to Mandala Dot Art Kits

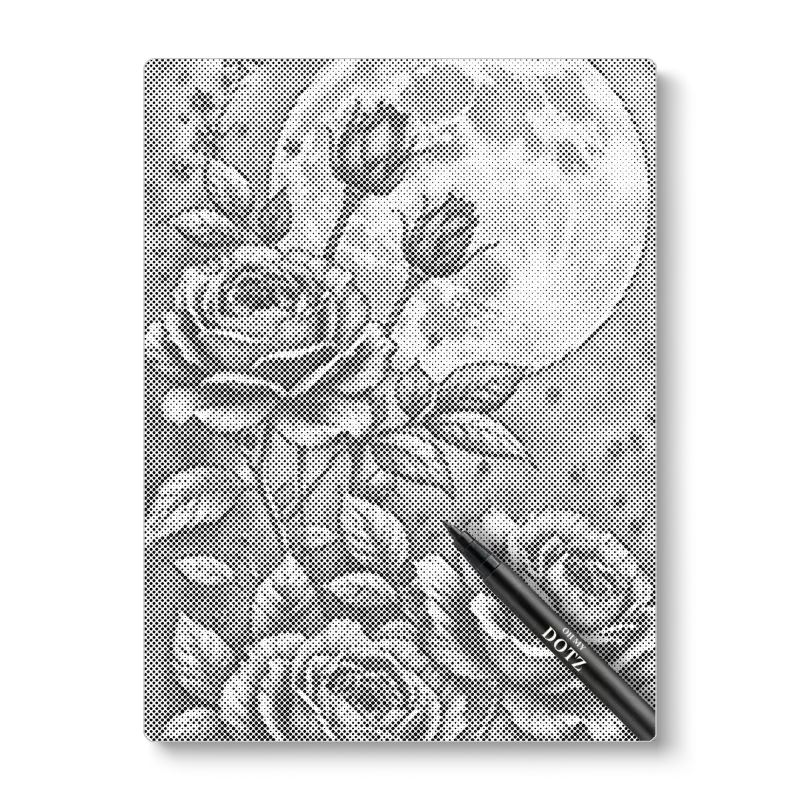
# How to Start Dot Painting: A Beginner's Guide to Mandala Dot Art Kits
Have you ever scrolled past a mesmerizing mandala made of hundreds of colorful dots and thought, "I could never do that"? Here's the good news: you absolutely can. Dot painting—also known as dot art or dotillism—is one of the most beginner-friendly art forms out there, and modern dot art kits make getting started easier than ever.
In this guide, we'll walk you through everything you need to know to start your dot painting journey, from choosing your first kit to completing your very first piece of dot artwork.
What Is Dot Painting?
Dot painting is the art of creating images and patterns using small, distinct dots of paint. While it has roots in Indigenous Australian art traditions, modern mandala dot art has evolved into a popular relaxing hobby worldwide. Artists use tools to place perfectly spaced dots in concentric rings, building intricate mandalas, florals, animals, and abstract patterns.
The result is a stunning, meditative piece that looks far more complicated than it actually is—which is exactly why so many beginners fall in love with it.
Why Dot Painting Is Perfect for Beginners
Unlike drawing or painting, which can feel intimidating, dot painting has a low barrier to entry:
- No drawing skills required – If you can make a dot, you can make dot art.
- Forgiving medium – A misplaced dot can be reworked or incorporated into the design.
- Deeply relaxing – The repetitive motion is almost meditative, making it a favorite activity for stress relief.
- Affordable to start – A quality kit contains everything you need in one box.
What Comes in a Dot Art Kit?
A good dot art kit takes the guesswork out of getting started. Here's what you can typically expect inside:
- Pre-printed canvas or template – Many kits include a canvas with a faint mandala outline so you know exactly where to place each dot.
- Acrylic paints – Pre-selected color palettes that work beautifully together.
- Dotting tools – Tools with rounded tips in various sizes for different dot diameters.
- A comfortable grip tool – Some artists prefer an ergonomic tool like a palm dot for extended painting sessions, which reduces hand fatigue.
- Instructions – Step-by-step guidance for your first design.
Dot Art Kits vs. Diamond Painting Kits: What's the Difference?
If you've been researching this hobby, you've probably come across diamond painting kits, diamond dotz, and diamond dot art kits. While they look similar, they're different crafts:
- Dot painting uses wet acrylic paint applied with dotting tools. It's a true painting technique, and each piece is one of a kind.
- Diamond painting uses small resin "drills" that you place onto a sticky, pre-printed canvas—more like a mosaic or cross-stitch experience.
Both are wonderful, meditative hobbies. If you enjoy precise, tactile placement work, diamond-style kits are fantastic. If you want the feel of real paint and complete creative freedom, traditional dot painting is the way to go. Many hobbyists end up loving both!
How to Start Dot Painting: Step by Step
Step 1: Choose Your First Kit
Start with a kit designed for beginners—look for a clear template, a limited color palette, and medium-sized dots. Large, detailed designs can come later. A starter dot art kit is the simplest way to begin because everything is matched and ready to go.
Step 2: Set Up Your Workspace
Cover your table, set up good lighting, and keep a cup of water and paper towels nearby. Comfort matters—if you plan long sessions, consider propping your canvas on a wood frame to stretch canvas so it stays stable and at a comfortable angle.
Step 3: Practice Your Dots
Before starting the main design, practice on scrap paper. The technique:
- Dip your dotting tool lightly in paint.
- Touch it straight down onto the surface.
- Lift straight up—no swirling!
Consistent pressure gives you consistent dots. Reload paint every one or two dots for crisp results.
Step 4: Work from the Center Outward
Most mandala designs start at the center and radiate outward. Follow the guide dots or faint outline on your canvas, completing one ring at a time. This keeps your spacing even and your symmetry on point.
Step 5: Let It Dry and Layer
Acrylic paint dries quickly—usually within 15–30 minutes. If your design includes dots layered on top of other dots, let the base layer dry first to keep your dots round and clean.
Step 6: Finish and Display
Once dry, your finished dot artwork is ready to display. Seal it with a clear acrylic varnish for durability, then hang it, gift it, or prop it on a shelf. Smaller finished pieces also make charming cute dot art decorations for desks, galleries walls, or nurseries.
Practice Between Projects: Dot Coloring Books
Want to sharpen your dotting technique without committing to a full canvas? A dot coloring book (also called a dot colouring book) is a fantastic low-pressure practice tool. These books feature dotted patterns and templates you can fill in with markers or paint pens—perfect for building rhythm, spacing, and color confidence before tackling your next masterpiece.
Tips from Experienced Dot Artists
- Consistency is everything. Even spacing matters more than perfectly round dots.
- Thin your paint slightly if dots aren't forming cleanly—a drop of water or flow medium helps.
- Clean your tools between colors to keep colors vibrant and true.
- Work in good light. Shadows can distort your perception of spacing.
- Take breaks. Part of the joy of dot art is the calm—don't rush it.
- Don't fear mistakes. Many "errors" become design opportunities.
Where to Get Your First Dot Art Kit
Ready to begin? Browse a range of dot art kits for adults and beginners at Oh My Dotz, where kits come complete with canvases, paints, and tools. And here's a little bonus: you can currently get 10% OFF All Orders by visiting the Oh My Dotz discount code page before you check out.
Final Thoughts
Dot painting is proof that you don't need years of training to create something beautiful. With a beginner-friendly kit, a little patience, and a comfortable workspace, you can go from "I could never do that" to a finished mandala in a single weekend. Pick a design, dip your tool, and start dotting—your first masterpiece is closer than you think.
Frequently asked questions
What do I need to start dot painting as a beginner?
Start with a beginner-friendly dot art kit that includes a pre-printed canvas, acrylic paints, and dotting tools. Kits remove the guesswork of choosing supplies and let you start painting right away.
Is dot painting the same as diamond painting?
Dot painting uses wet acrylic paint applied with dotting tools, creating a hand-painted, one-of-a-kind piece. Diamond painting uses small resin drills placed on a sticky pre-printed canvas, more like a mosaic. Both are relaxing, but dot painting offers more creative freedom.
How long does a dot painting project take?
A typical mandala dot art project takes anywhere from 2 to 6 hours depending on size and detail. Many beginners finish their first design in a single weekend.
Can I practice dot art without a full canvas kit?
Yes! A dot coloring book (or dot colouring book) lets you practice spacing, rhythm, and color combinations with markers or paint pens — great low-pressure practice before starting a full canvas.
How can I get a discount on dot art kits?
Visit the Oh My Dotz discount code page to grab the current offer of 10% off all orders before checkout.