
Cleaning and Soaking Sea Moss: Why This Step Matters

Why Cleaning Sea Moss Is Non-Negotiable
Sea moss arrives dried and harvested straight from ocean rocks, which means it carries salt, sand, shell fragments, and organic debris. Cleaning and soaking sea moss before use removes these contaminants and rehydrates the algae so it expands into the smooth, gel-ready texture most recipes require. Skipping this step leaves you with gritty sea moss gel, unpleasant crunch, and potential digestive upset from unwashed material.
We tested raw seamoss from multiple suppliers and found that even pre-washed varieties benefit from a second rinse. The soaking process also mellows the natural ocean brine and makes the final product more palatable in smoothies and sea moss drinks.
How to Clean and Soak Sea Moss: Step-by-Step
Follow this method for any variety of dried sea moss, whether you picked up wildcrafted Irish moss or pool-grown mylas moss.
- Rinse under cold running water for 30 to 60 seconds, gently rubbing the fronds to dislodge visible sand and salt. You'll see cloudiness in the runoff at first.
- Place the rinsed moss in a large bowl and cover with cool filtered or spring water. Use roughly 2 cups of water per ounce of dried moss; it will expand 2 to 3 times its original size.
- Soak for 12 to 24 hours at room temperature or in the refrigerator. Change the water once halfway through if it looks murky or smells strongly of ocean.
- Drain and give a final rinse before blending into gel or cooking. The sea moss should feel slippery and pliable, not brittle.
For a detailed breakdown of what the soaking water should look like and troubleshooting discoloration, WebMD's sea moss guide covers common prep questions.
What Happens If You Skip Soaking?
Unsoaked sea moss won't blend smoothly. The dried fronds stay tough and fibrous, leaving chunks in your gel or clumping in drinks. More importantly, any sand or shell fragments remain embedded in the material and end up in your final product. We've also seen reports of stomach irritation from unwashed sea moss raw that still carried high levels of iodine-rich brine.
Soaking hydrates the cell walls and allows the natural carrageenan to release, which is what gives sea moss gel its signature thick, smooth consistency. Skipping this step means you lose both safety and texture.
Soaking Times by Moss Type
Different varieties and harvest methods affect how long you should soak. Here's what we recommend based on our own testing:
| Type | Soak Time | Notes |
|---|---|---|
| Wildcrafted Irish moss | 18-24 hours | Denser fronds, more salt |
| Pool-grown sea moss | 12-16 hours | Lighter, expands faster |
| Sun-dried seaweed seaweed | 12-18 hours | Check for brittleness |
If your moss still feels stiff after the minimum soak time, give it another 4 to 6 hours. Over-soaking (beyond 36 hours at room temperature) can encourage bacterial growth, so refrigerate if you need a longer window.
Does Soaking Affect Sea Moss Benefits?
Soaking doesn't strip the minerals or nutrients that make sea moss benefits worth exploring. The algae retains its iodine, potassium, calcium, and trace elements through the rehydration process. What you do lose is excess surface salt and any environmental contaminants that clung to the fronds during harvest.
Some users worry that changing the soak water removes beneficial compounds, but the water-soluble vitamins in sea moss are locked inside the cell structure and won't leach out during a passive soak. You're only removing external debris, not the gel itself. For more on nutrient retention, this medical overview explains what stays and what washes away.
Common Soaking Mistakes to Avoid
- Using tap water with heavy chlorine: it can interfere with the gel formation. Stick to filtered or spring water.
- Soaking in warm or hot water: this can start to cook the moss and create a slimy, uneven texture. Always use cool water.
- Leaving it uncovered at room temperature for days: bacteria thrive in the soak water after 24 hours. Refrigerate or blend promptly.
- Not rinsing after soaking: even clean soak water leaves a faint brine taste. A quick final rinse keeps your sea moss gel neutral.
Where to Buy Pre-Tested Sea Moss
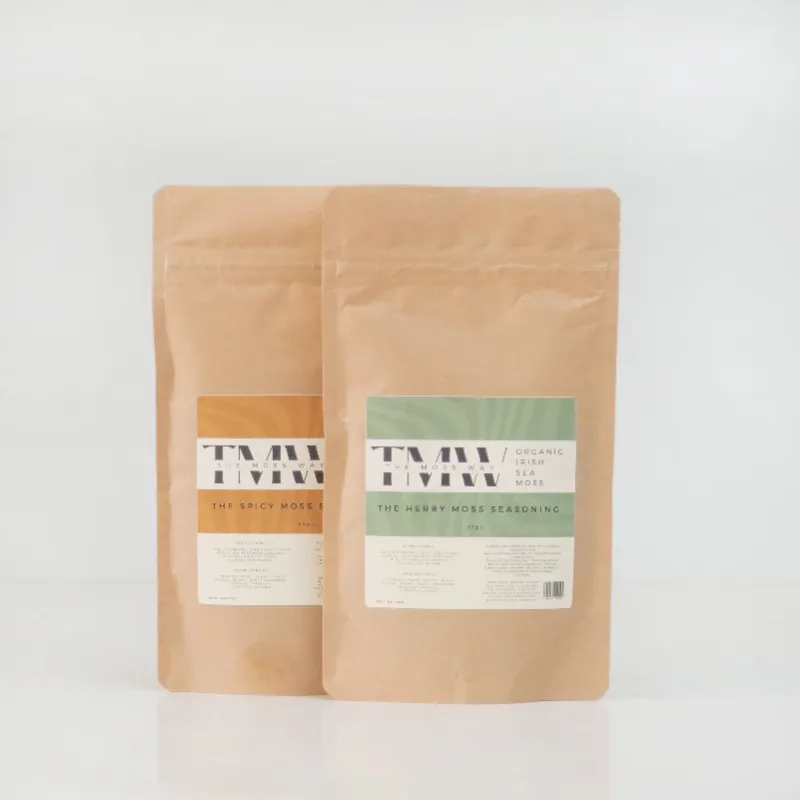
We source all our test batches from The Moss Way, which lab-tests for heavy metals and provides transparent harvest information. Their wildcrafted sea moss and sea weed varieties both arrive with minimal debris and expand consistently. Grab the code for 10% off your first order, and check their current pricing on individual or bundle packs.
Whether you're new to sea moss benefits for female wellness routines or just looking for cleaner sea moss near me, proper soaking is the one step that makes everything else work. Take the time to rinse and rehydrate, and you'll end up with smooth, clean gel every time.
Frequently asked questions
How long should I soak sea moss before making gel?
Soak dried sea moss for 12 to 24 hours in cool filtered water, changing the water once if it looks murky. The moss should feel slippery and pliable when ready.
Can I soak sea moss for too long?
Yes. Soaking beyond 36 hours at room temperature can encourage bacterial growth. If you need more time, refrigerate the bowl and use within 48 hours.
Do I need to rinse sea moss after soaking?
Always give a final rinse after soaking to remove residual brine and any loosened debris. This keeps your gel smooth and neutral in flavor.
Does soaking remove the minerals in sea moss?
No. Soaking removes surface salt and contaminants but doesn't strip the iodine, potassium, calcium, or other trace minerals locked inside the algae's cell structure.
Can I use tap water to soak sea moss?
Filtered or spring water is best. Heavy chlorine in tap water can interfere with gel formation and leave an off taste.
Why does my sea moss gel turn out gritty?
Gritty gel usually means the moss wasn't rinsed thoroughly or soaked long enough. Sand and shell fragments stay embedded if you skip the cleaning step.