
The Complete Beginner's Guide to Using a Charm Bracelet Kit

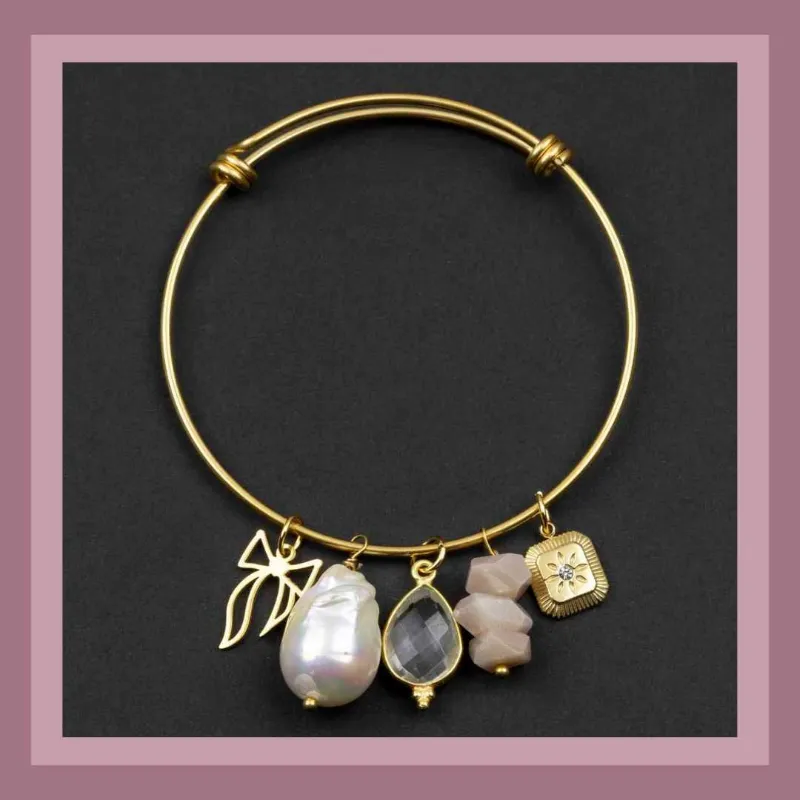
A charm bracelet kit gives you everything you need to make a finished, wearable bracelet in one sitting: beads, charms, cord or wire, and clasps, plus usually a few design ideas to get you started. The trick to getting good results fast is understanding what each component does before you string anything, and that is exactly what this guide walks you through. We have tested plenty of kits at The Planet Deals, and the difference between a bracelet that lasts and one that falls apart in a week almost always comes down to materials and technique, not talent.
What Comes in a Charm Bracelet Kit
Most kits, including the charm bracelet kit we recommend from Cherry Tree Beads, include a core set of components:
- Beads in mixed colors and sizes, often a blend of beaded glass beads and acrylic or wood
- Charms, the small pendants that give the bracelet its personality
- Cording or wire, such as stretch cord or thin stainless steel wire
- Clasps, crimp beads, and jump rings for finished ends
- Basic instructions or design cards
Higher-end versions aimed at grown-ups (search "charm bracelet kit for adults" and you will see the difference) use genuine gemstones, stronger stringing material, and better clasps. Budget kits tend to rely on elastic cord, which is fine for kids but less durable for everyday wear.
How to Make Your First Bracelet, Step by Step
- Measure your wrist. Wrap a piece of string around it, mark the overlap, and lay it flat against a ruler. Add about half an inch for comfort if you are using a clasp, or almost nothing if you are using stretch cord, which should sit snug.
- Plan the layout before stringing. Arrange your beads on a towel or bead board in the order you want them. This is where a kit with jewelry making beads in assorted styles shines: you can mix glass, metal, and clay shapes until the pattern looks balanced.
- String the beads. If you are using wire or cord with a clasp, attach one end first with a crimp bead so nothing slides off mid-project.
- Add the charms. Open a jump ring sideways (never pull it into an oval), hook the charm on, and close it back into a circle.
- Finish the ends. Tie a secure knot for stretch cord or crimp and clasp the wire. Give it a gentle tug test before you call it done.
Total time for a first bracelet: about 30 to 45 minutes. Your second one will take half that.
Choosing Beads: Glass, Clay, or Gemstone?
The bead type changes the look, the weight, and how long the bracelet lasts. Here is how the most common options compare:
| Bead type | Look and feel | Best for |
|---|---|---|
| Glass beads | Glossy, colorful, some weight | Everyday bracelets with a polished finish |
| Clay beads | Matte, lightweight, flat or round shapes | Stacked, casual looks and letter-name designs |
| Gemstone beads | Natural variation, heavier | Heirloom-style pieces and gifts |
Beaded glass beads are our default pick for a first charm bracelet because they look expensive without costing much. Clay beads are the better choice if you want lightweight stacks or spelling out names. If you want something with real natural character, sardonyx jewelry shows what banded gemstones can do, and loose geode rocks make striking statement charms for a chunkier design.
For background on how charm bracelets became a jewelry staple, this Charm Bracelet Kit overview is a solid starting point.
Sizing: Getting the Fit Right
A bracelet that is even slightly too tight is the most common beginner mistake. Quick guidelines:
- Average adult wrist: 6.5 to 7.5 inches for a clasp bracelet, a touch smaller for stretch
- Kids: measure directly; there is huge variation between ages
- Charm-heavy designs: add extra length, roughly a quarter inch, because charms add bulk and reduce drape
If the bracelet is a gift and you cannot measure the wearer, err on the side of slightly larger. An adjustable extender chain solves the rest.
Common Beginner Mistakes to Avoid
- Skipping the tug test. Stretch cord knots and crimps both need a firm pull before wear.
- Overloading elastic. Too many heavy beads on stretch cord will snap it. Use wire for heavy designs.
- Pulling jump rings open wrong. Twist them sideways with two pairs of pliers; opening them into an oval weakens the ring.
- Mixing cord types. Match the stringing material to the bead weight, not the other way around.
Who a Charm Bracelet Kit Is Right For
Kits suit three groups well. First, complete beginners: everything is pre-matched, so there are no compatibility decisions to make. Second, gift makers: a handmade bead bracelet with personal charm choices beats anything store-bought. Third, craft night hosts: a good bracelet making kit for adults doubles as a friendship bracelet kit for a group, and everyone leaves with something finished.
If you have browsed big-box options, you have probably compared a michaels charm bracelet kit or searched for a charm bracelet kit walmart or charm bracelet kit near me. Those are reasonable places to look, but specialty bead shops tend to offer better materials per dollar. We keep our current Cherry Tree Beads recommendations, along with the code for 10% off all orders, on our coupon page, so check there for the latest price before you buy.
Caring for Your Finished Bracelet
A few habits will keep a charm bracelet looking new for years:
- Remove it before swimming, showering, or applying lotion; moisture is the enemy of both cord and metal findings
- Store it flat in a soft pouch so charms do not scratch glass beads
- Re-knot or re-crimp every year or two if you wear it daily
For a more polished gift option that skips the DIY step entirely, a finished leather necklace or gemstone piece from the same store pairs nicely with a handmade bracelet.
Once you finish your first one, the design possibilities open up fast: themed charm runs, birthstone layouts, or layered stacks with contrasting clay and glass strands. Grab the charm bracelet kit while the current discount is live, string your first design, and you will have the technique down well enough to improvise the second.
Frequently asked questions
What is included in a typical charm bracelet kit?
Most kits include beads, charms, stringing material (stretch cord or wire), clasps, jump rings, and basic instructions. Check the listing for bead count and whether tools like pliers are included, since crimp-style finishes need them.
Which beads should a beginner use for a charm bracelet?
Glass beads offer the best balance of durability, weight, and polished look for a first project. Clay beads are better for lightweight stacked designs, and gemstones suit heirloom-style gifts.
How do I know what size charm bracelet to make?
Measure your wrist with a string and a ruler, then add about half an inch for a clasp bracelet. For stretch cord, keep the length close to your actual wrist measurement so it sits snug.
Are charm bracelet kits suitable for adults, or just kids?
Yes, if you use quality materials and finish the ends properly with a crimp and clasp or a well-tied stretch knot. Elastic-only versions are less durable for daily wear.
Where can I find the best charm bracelet making kit?
Look for genuine glass or gemstone beads, metal findings instead of plastic, and clear sizing guidance. We compare current options and note where the discount code applies on our Cherry Tree Beads coupon page.