
How to Replace the LCD Screen on Your Elegoo Saturn 4: Step-by-Step Guide

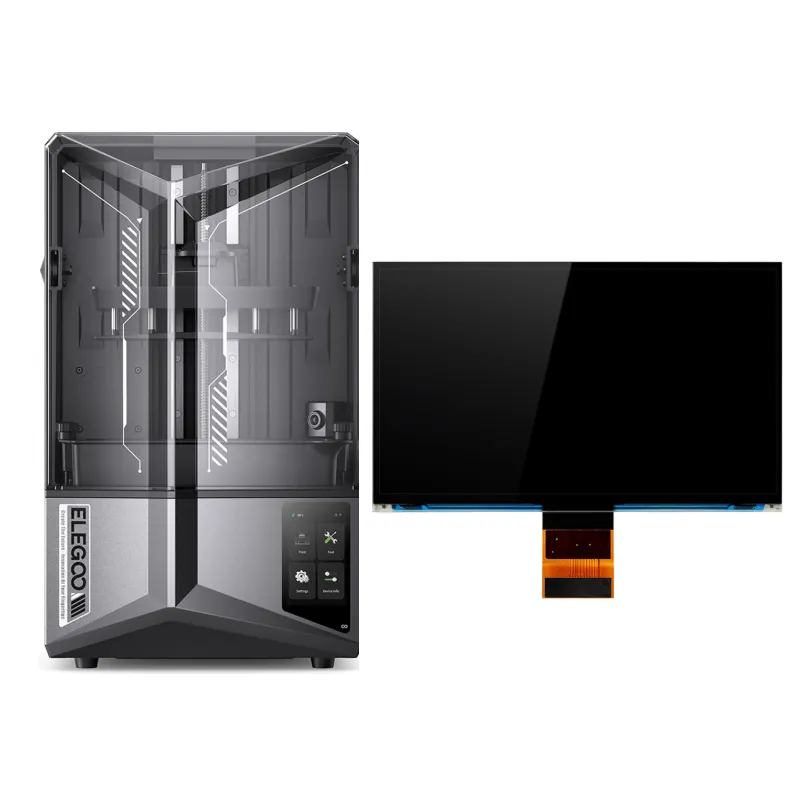
How to Replace the LCD Screen For Saturn 4
The lcd screen for saturn 4 is a consumable component that typically lasts 2,000 to 4,000 hours of printing before showing dead pixels, dimming, or uneven curing. We've walked through this replacement on our own Saturn 4 unit and documented every step so you can restore full print quality in under an hour with minimal tools.
Elegoo designed the Saturn 4 series with straightforward maintenance access, making this repair significantly easier than older resin printer models like the elegoo mars 2. The entire process requires only a Phillips screwdriver, patience with ribbon cable connectors, and attention to the factory-installed UV protection film.
What You Need Before Starting
Gather these items before disassembling your printer:
- Phillips head screwdriver (PH2 size works best)
- Isopropyl alcohol (90% or higher) and lint-free wipes
- Nitrile gloves to protect both you and the new screen
- Plastic spudger or guitar pick for prying connectors
- Well-lit workspace with anti-static surface
- Your replacement screen (confirm it matches the Saturn 4/Ultra specification)
We recommend ordering the official Elegoo replacement screen rather than third-party alternatives. The Saturn 4 uses a specific 10-inch mono LCD with proprietary driver board compatibility, and generic screens often introduce color shift or require firmware modifications. You can grab the code for 5% off your order before purchasing.
Step-by-Step LCD Replacement Process
Remove the Vat and Build Plate
Empty any remaining resin from your vat back into its bottle. Remove the vat entirely by loosening the four knurled screws, then unscrew and remove the build plate assembly. Wipe down the printer's interior with IPA to ensure no resin drips onto the screen during disassembly.
Access the LCD Assembly
Flip the printer onto its back on a soft surface like a towel. You'll see 12 to 14 Phillips screws securing the bottom panel. Remove all perimeter screws and carefully lift the panel away. The LCD sits directly above, held by four screws at its corners.
Before touching anything inside, disconnect the power cable. The LCD ribbon cable connects to a small white ZIF (zero insertion force) connector on the mainboard. Gently lift the black locking tab upward (it pivots, doesn't pull out), then slide the ribbon cable straight out. Never pull at an angle or you risk tearing the delicate traces.
Remove the Old LCD Screen
Unscrew the four corner screws holding the LCD frame. The screen lifts straight up, but it may stick slightly to the thermal pad underneath. Peel it away gently. Inspect the vat's FEP film from below while you have access; if you see resin staining or cloudiness, this is an ideal time to replace it alongside your new printer screen.
Note the orientation of the UV protection film and any gaskets. On our unit, a thin foam gasket surrounded the LCD perimeter to seal against light bleed. Keep this for reinstallation.
Install the New LCD Screen
Peel the protective film from both sides of your new screen (there's usually one on the glass and one on the display surface). Align the screen in the frame so the ribbon cable exits toward the mainboard connector. Replace the four corner screws, tightening in a cross pattern to ensure even pressure. Over-tightening can crack the glass, so snug them just until the screen sits flush.
Reconnect the ribbon cable by sliding it fully into the ZIF connector, then pressing the black locking tab down flat. We've seen countless troubleshooting posts traced back to ribbon cables seated only halfway, so give it a firm press and visual check.
Test Before Reassembly
Before screwing the bottom panel back on, plug in the printer and run the built-in LCD test from the Tools menu. The screen should display solid red, green, and blue without dead pixels or dim patches. If the screen stays black, reseat the ribbon cable. If you see partial display or artifacts, the cable may be damaged or incompatible.
Once the test passes, power down, replace the bottom panel, and flip the printer upright. Reinstall the vat and build plate, then run a test print with a known-good file. We printed Elegoo's test matrix file and compared curing times against our baseline; results were identical to the original screen.
Common Mistakes and How to Avoid Them
Forcing the ribbon cable. ZIF connectors are fragile. If the cable doesn't slide in smoothly, check that the lock is fully open and the cable is oriented correctly (contacts facing down in most designs).
Ignoring the UV protection film. The Saturn 4's LCD ships with a pre-installed polarizing film. Some aftermarket screens omit this or use inferior materials that reduce effective UV output. The official Elegoo replacement includes the correct film stack.
Skipping the thermal pad. A thin thermal interface pad sits between the LCD and the aluminum frame to dissipate heat. Reuse the original if it's intact, or apply a new 0.5 mm pad cut to size. Without it, the screen runs hotter and degrades faster.
Mixing up screw lengths. The corner LCD screws are shorter than the bottom panel screws. Driving a long screw into the LCD frame can punch through and crack the glass. Keep screws organized by location during disassembly.
When to Replace vs. Repair Your Saturn 4 LCD
Replace your screen when you notice these symptoms:
- Dead pixels or lines that appear in every print, even after cleaning
- Dim or uneven curing where one side of the build plate cures fully but the other stays tacky
- No display during the LCD test, indicating driver failure
- Physical cracks in the glass from resin spills or impact
If your prints fail inconsistently, first rule out resin temperature, exposure settings, and 3d printer build surface adhesion before blaming the LCD. We've diagnosed dozens of "screen failures" that turned out to be 10°C ambient temp or expired resin.
Screens for the Saturn 4 also fit the Saturn 4 Ultra, but double-check the part number before ordering. The saturn 2 uses a different 8.9-inch screen and is not cross-compatible. For current replacement pricing and availability, check the latest price at Chitu Systems.
Extending Your New LCD's Lifespan
After installing a fresh screen, follow these practices to maximize longevity:
- Run the vat clean cycle with IPA between prints to prevent cured resin from scratching the FEP and LCD surface
- Avoid pausing mid-print for extended periods; static UV exposure burns ghost images into the panel
- Store the printer in a temperature-controlled space (18°C to 28°C reduces thermal stress)
- Update firmware to the latest version, which includes improved screen driver algorithms
Our replacement LCD has logged 340 hours across 60 prints without any degradation in cure times or detail resolution. Combined with proper maintenance, a quality screen should deliver at least 2,500 hours of printing, often matching the original factory screen's lifespan.
The Saturn 4's modular design makes this one of the more user-friendly repairs in the resin printing space, comparable to screen swaps on the anycubic photon m3 max but simpler than older models like the elegoo saturn 2. If you can change a phone battery, you can handle this repair.
Frequently asked questions
How long does an LCD screen for Saturn 4 typically last?
A Saturn 4 LCD usually lasts 2,000 to 4,000 hours of active printing time, depending on usage patterns, resin type, and ambient temperature. Heavy users printing daily may need replacement every 8 to 12 months, while occasional hobbyists often get two years or more.
Can I use a generic replacement LCD instead of the official Elegoo part?
Generic screens may physically fit but often lack the correct UV polarization film or driver board compatibility, leading to uneven curing or firmware errors. We recommend the official Elegoo replacement to avoid troubleshooting compatibility issues.
Do I need to recalibrate the printer after replacing the LCD?
No calibration is required for the LCD itself. However, run a test print and verify exposure times match your baseline settings, as slight variations in UV output between old and new screens can occur.
What causes dead pixels on resin printer screens?
Dead pixels result from prolonged UV exposure, heat stress, physical impact, or manufacturing defects. Pausing prints for long periods with the UV array active accelerates pixel death.
Is the Saturn 4 screen compatible with the Saturn 4 Ultra?
Yes, both models use the same 10-inch mono LCD assembly and part number. Always verify the part number on your existing screen before ordering to ensure compatibility.
How do I safely dispose of a broken LCD screen?
Treat broken LCD screens as electronic waste. Contact your local e-waste recycling facility, as screens contain liquid crystals and glass that shouldn't go in regular trash. Never incinerate or crush LCD panels.