
Stop the Squeak: A Beginner's Guide to Floorboard Repair Kits

A squeaky floorboard repair kit is the fastest way to silence creaking floorboards without pulling up your floor, and the squeaky floorboard repair kit from Floor Fix Pro handles most jobs in an afternoon. These kits work by driving specially designed screws down through the board and into the subfloor, then snapping off the head so nothing sits proud of the surface. If you can find the squeak, you can fix it, and this guide walks you through exactly how to do it.
Why Floorboards Squeak in the First Place
A squeak is just two surfaces rubbing together. In most homes, one of four things causes it:
- Loose nails. The nails holding the board down have worked loose, so the board rocks on them as you walk.
- Gaps between the board and the subfloor. When the plywood or chipboard beneath has shrunk or settled, the board flexes and the two surfaces grind against each other.
- Joist movement. The subfloor is no longer tight against the floor joists, so every step flexes the sheet.
- Seasonal shrinkage. Dry winter air pulls moisture out of timber, shrinking boards and opening gaps that squeal underfoot.
Understanding the cause matters because it tells you where to place the screws. A board that rocks on loose nails needs screws along its edges. A gappy floor needs screws driven into the joists so the board is clamped tight.
What Comes in a Squeaky Floorboard Repair Kit
A good kit to fix squeaky floors gives you everything for a room's worth of repairs:
- Snap-off screws. These are the heart of the kit. They have a scored shaft so the head breaks away below the surface once you drive the screw deep enough. You get roughly 50 screws in most kits, which covers a small room or a dozen bad spots.
- Alignment and depth-control fixture. A plastic guide that positions each screw and stops it at the right depth, so the head snaps cleanly instead of piercing through the top of your board.
- Driver bit and step drill bit. For pre-drilling hardwood without splitting it, then driving the screw.
That last part is what separates a proper kit from just buying screws. Without depth control, you either leave a proud head to stub your toe on or drive clean through the board.
How to Use a Squeaky Floorboard Repair Kit, Step by Step
- Find the squeak. Walk slowly across the floor and have someone watch for movement. Mark every spot with masking tape.
- Locate the joists. Use a stud finder, or tap the floor; solid areas are joists, hollow areas are between them. Screws driven into joists hold best, but the kit's screws work in the field of the board too.
- Set the fixture. Place the alignment fixture on the marked spot, especially if you have carpet. The guide holds carpet fibres out of the way and screws can be driven straight through carpet without cutting it.
- Drive the screw. Drill down slowly until the screw hits the score point and the head snaps off below the surface. If you are working on hardwood, use the step bit first so you do not split the board.
- Move on to the next mark. Work systematically. Most rooms need three to six screws per squeaky area.
The whole job for a typical room takes an hour or two with no special carpentry skills. If you want to see the technique before you start, this How to Fix Squeaky Floors walkthrough is worth ten minutes of your time.
Squeaky Floorboard Repair Kit vs Other Floor Repair Options
Squeaks are not the only floor problem a repair kit can solve, and our floor fix pro range covers the rest. Here is how the options compare:
| Problem | Best fix | What you need |
|---|---|---|
| Creaking or rocking boards | Squeaky floorboard repair kit | Snap-off screws plus alignment fixture |
| Gaps between floorboards | Suction cup floor gap tool | Pulls boards tight before fixing |
| Loose or lifting planks | Plank grabber | Grips and re-seats planks |
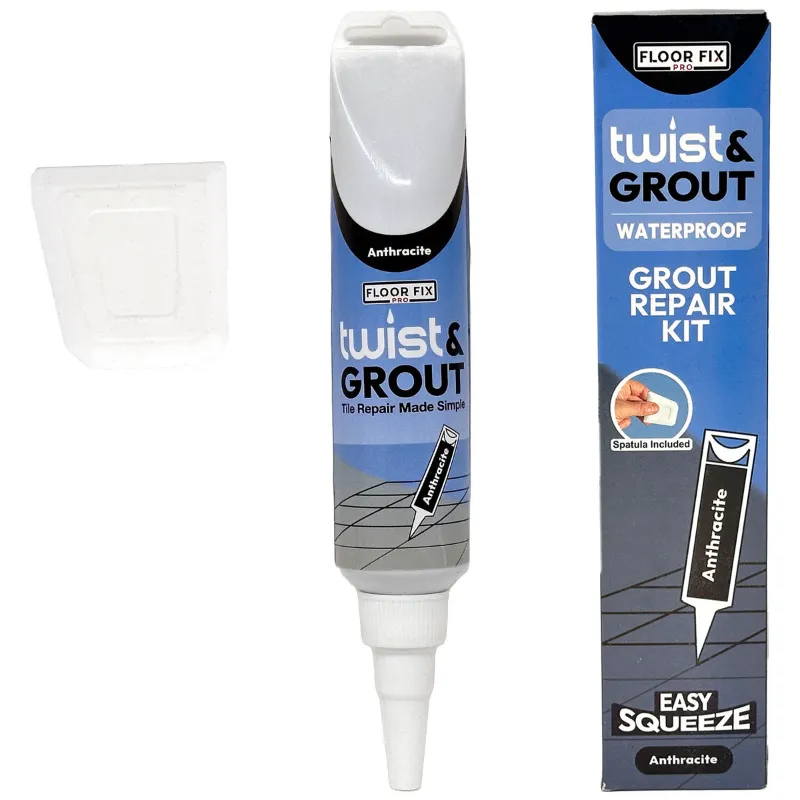
| Cracked or missing grout | Grout repair kit | Grout patch and applicator |
| Re-bedding loose tiles | Floor tile adhesive | Adhesive to re-bond tile to subfloor |
The point is that a squeaky floorboard repair kit solves the noise problem, but a floor with wider movement often needs the gap-closing tools too. A floor gap fixer tool uses suction to pull a gappy board flush against its neighbour before you screw it down, which is a much more permanent fix than screws alone.
Which Kit Is Right for Your Floor Type
- Carpeted floors. Any squeaky floorboard repair kit works, because the alignment fixture lets you screw straight through the pile. The snap-off heads end up under the carpet where nobody will ever find them.
- Hardwood. You need the step drill bit to pre-drill, and you want screws driven at a slight angle into the board's tongue if possible. This is the classic use case for squeak no more screws, which pioneered the snap-off design.
- Vinyl and laminate. Be careful here. These floors are often floating, so screwing through them can pin them to the subfloor and cause buckling. Fix squeaks at the subfloor or joist level instead, or use shims from above the crawl space.
- Tiled floors. Squeaks under tile usually show up as hollow-sounding tiles rather than creaks. A grout patch kit fixes the cosmetic grout damage, but the real repair is re-bonding the tile with floor tile adhesive injected into the void.
If your floor is tiled and loose rather than wooden and squeaky, our guide to tile grout repair covers that job separately.
Common Beginner Mistakes to Avoid
- Skipping the joist check. Screws driven blindly between joists still help, but screws into joists stop the squeak dead. Spend five minutes with a stud finder.
- Using ordinary screws. Decking screws leave proud heads and can split boards. The scored snap-off screws are the reason the kit works.
- Drilling too fast. Snap the head off too early or drive the screw too shallow and you are back to square one. Slow and steady on the trigger.
- Ignoring the seasonal factor. A floor that squeaks in February may quieten in July as timber reabsorbs moisture. That does not mean you should wait; the screws fix it permanently either way.
Plenty of big-box shoppers search for a squeaky floor repair kit home depot or a squeaky floor repair kit lowe's run first, and those stores stock solid options. We keep recommending the Floor Fix Pro kit because the depth-control fixture is more forgiving for first-timers, and you can check the latest price and grab our code for 10% off sitewide.
Aftercare: Keeping Your Floor Quiet
Once fixed, your floor should stay silent for years, but a little care goes a long way:
- Keep indoor humidity stable between about 35% and 55% to stop seasonal shrinkage from opening new gaps.
- Re-tighten any board that starts rocking again; a fresh screw takes seconds.
- If a squeak returns in the same spot, the underlying cause is usually subfloor movement, so add a screw into the joist line rather than repeating the same placement.
The Bottom Line
A squeaky floorboard repair kit turns a frustrating, noisy floor into a two-hour DIY job with no demolition. Get the squeaky floorboard repair kit from Floor Fix Pro, mark your squeaks, find your joists, and drive the screws until the heads snap off clean. And before you buy, grab the code so you are not paying full price.
Frequently asked questions
Can I use a squeaky floorboard repair kit through carpet?
Yes. The alignment fixture guides the screw through carpet without cutting it, and the screw head snaps off below the surface, so the repair is completely hidden once you replace the carpet.
How many screws do I need per squeaky spot?
Most kits include around 50 snap-off screws, which is enough for a small room or a dozen bad spots. Count your squeaky areas and budget three to six screws per area.
Will the kit work on laminate or vinyl floors?
Be careful. Floating vinyl and laminate floors can buckle if pinned to the subfloor. Fix the squeak at the subfloor or joist level from below, or use shims instead of screws through the surface.
Why does my floor squeak more in winter?
Squeaks usually come from loose nails, gaps between the board and subfloor, or movement against the joists. Two surfaces rubbing together is the mechanical cause in every case.
Do I need to pre-drill before using squeak no more screws on hardwood?
Yes. Pre-drill with the step bit and drive the screw at a slight angle into the board's tongue so you do not split the timber. The snap-off head then sits below the surface.
How do I find the joists before driving the screws?
Locate the floor joists with a stud finder and drive screws into the joist line wherever possible. Screws between joists help, but joist screws stop the squeak dead.