
Clip-In vs Tape-In vs I-Tip Extensions: Which Method Is Right for You?

Understanding the Three Main Extension Methods
Tape in hair extensions sit between clip-ins and I-tips, offering a balance of longevity and flexibility that suits most lifestyles. Clip-ins deliver instant transformation you attach and remove daily, while I-tips use micro-beads for months-long wear. Each method works best for different hair types, budgets, and time commitments.
We tested dozens of extension styles from googoo hair extensions across all three application methods to help you choose the right fit. Whether you need volume for thin hair, length for a special event, or a color boost with burgundy color or purple hair extensions, the application method matters as much as the hair quality itself.
Clip-In Extensions: Maximum Flexibility
Clip-in extensions attach to your natural hair with small pressure clips sewn into wefts. You snap them in each morning and remove them before bed.
Best for:
- Beginners who want zero commitment
- Occasional wear for events or weekends
- Anyone who changes hairstyles frequently
- Budget-conscious shoppers who want DIY application
Pros:
- No salon visit required
- Completely removable and reusable
- Zero damage to natural hair when applied correctly
- Ideal for testing colors like 613 hair color before committing
Cons:
- Daily application takes 10-15 minutes
- Clips can feel uncomfortable during sleep or exercise
- Less secure for active lifestyles
- Visible clips if hair is too thin or pulled up
Our hair extensions in clip collection includes wefts in multiple widths, so you can customize placement based on your natural density. For a quick style boost without full wefts, a human hair ponytail clips in seconds and stays secure through workouts.
Tape-In Hair Extensions: The Semi-Permanent Sweet Spot
Tape-ins use medical-grade adhesive strips sandwiched around thin sections of your natural hair. A stylist applies them in rows close to the scalp, and they stay put for six to eight weeks before you need a move-up appointment.
Best for:
- Daily wear without daily application
- Fine to medium hair textures
- Active lifestyles that need secure hold
- Anyone wanting natural movement and blend
Pros:
- Lightweight and lay flat against the scalp
- Last six to eight weeks with proper care
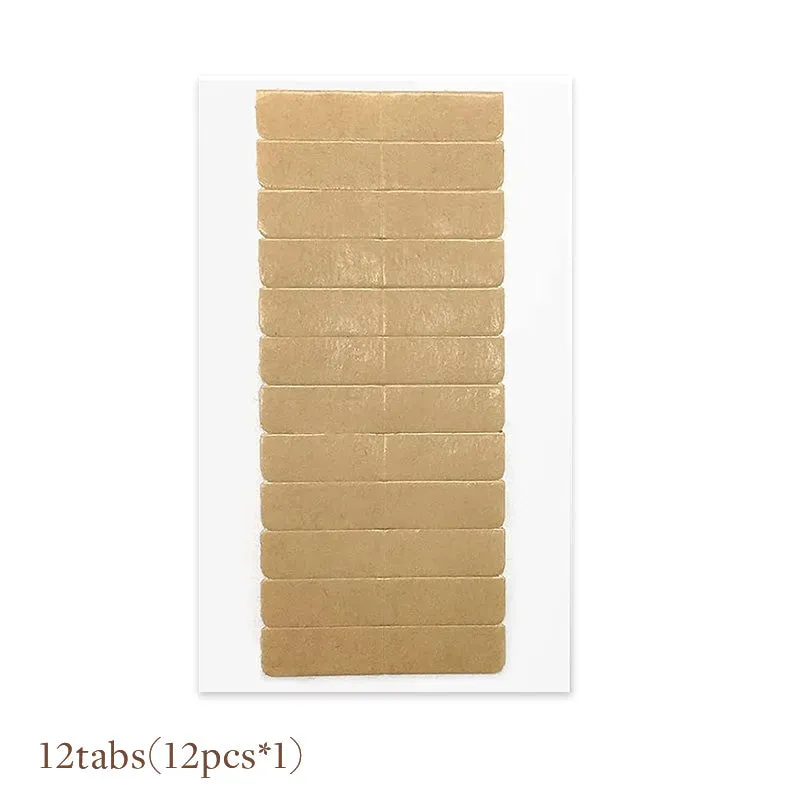
- Reusable for three to four applications with fresh tape for extensions
- Faster salon application than I-tips (one to two hours)
- Work well for tape in extensions for black hair with proper sectioning
Cons:
- Require professional removal and reapplication
- Need sulfate-free products to protect adhesive
- Visible tape lines if hair is too thin or pulled into high ponytails
- Cost adds up with move-up appointments every six to eight weeks
We recommend tape in hair extensions for anyone ready to commit to daily wear but not ready for the multi-month timeline of I-tips. Check the latest pricing and grab our code before booking your first tape-in appointment.
I-Tip Extensions: Maximum Longevity
I-tip extensions (also called micro-bead or micro-link) attach individual strands to small sections of natural hair using tiny metal beads. A stylist threads your hair through the bead, adds the extension, then crimps the bead flat to secure it.
Best for:
- Long-term wear (three to four months)
- Thick to medium hair that can support bead weight
- Anyone wanting the most natural movement
- Heat-sensitive hair that can't tolerate fusion bonds
Pros:
- No heat or glue, just mechanical attachment
- Last three to four months before move-up
- Individual strand placement allows maximum customization
- Completely reusable with bead replacement
Cons:
- Longest application time (three to five hours for a full head)
- Most expensive upfront salon cost
- Beads can slip if hair is very fine or slippery
- Require careful brushing to avoid tangling at the bead
I-tips work beautifully for color experimentation. You can place burgundy red hair strands strategically for dimension without full commitment, or blend multiple tones for a custom balayage effect.
Comparing All Three Methods Side-by-Side
| Method | Wear Time | Application | Best Hair Type |
|---|---|---|---|
| Clip-In | Daily removal | DIY, 10-15 min | All types, especially thick |
| Tape-In | 6-8 weeks | Salon, 1-2 hours | Fine to medium |
| I-Tip | 3-4 months | Salon, 3-5 hours | Medium to thick |
Choosing Based on Your Hair Type and Lifestyle
For thin or fine hair: Tape-ins distribute weight across wider sections than I-tips, reducing stress on individual strands. Look for tape in hair extensions for thin hair specifically designed with thinner wefts. Clip-ins work if you place them strategically and avoid the crown area.
For thick or coarse hair: All three methods work well. I-tips give the most natural blend because you can place strands exactly where needed. Clip-ins in extension human hair match texture better than synthetic options and hold clips more securely in dense hair.
For active lifestyles: Tape-ins and I-tips stay secure through workouts, swimming (with proper aftercare), and daily styling. Clip-ins risk slipping during high-impact activities and should be removed before sleep. Grab the discount code to stock up on a tape-in hair extensions kit if you work out frequently.
For budget-conscious buyers: Clip-ins have the lowest entry cost and no salon fees. Tape-ins sit in the middle with moderate upfront cost plus move-up appointments. I-tips cost the most initially but spread that cost over three to four months of wear.
Care Requirements for Each Method
Clip-In Care:
- Remove before sleeping and store flat or hanging
- Wash every 15-20 wears or when product builds up
- Style with heat tools on low to medium settings
- Brush before each application to prevent tangling
Tape-In Care:
- Use only sulfate-free, oil-free shampoo and conditioner near the tape bonds
- Avoid applying conditioner or masks directly to adhesive strips
- Brush gently with a loop brush, starting from ends and working up
- Sleep with hair in a loose braid to prevent matting
- Return every six to eight weeks for professional move-up and fresh hair tape
I-Tip Care:
- Brush two to three times daily with a loop brush to prevent bead tangling
- Avoid heavy oils near the beads (they cause slipping)
- Sleep in a loose braid or low ponytail
- Return every eight to twelve weeks for bead tightening as hair grows
All three methods benefit from quality extension tape or proper installation tools. Never skip recommended salon appointments, as overgrown extensions cause tangling and potential damage.
Making Your Final Decision
Start with your daily routine. If you style your hair differently each day or prefer flexibility, clip-ins give you that freedom without commitment. If you want to wake up with full hair every morning but don't want a three-month commitment, tape-ins hit the sweet spot. If you're ready to invest in long-term length or volume and have the hair density to support it, I-tips deliver the most natural result.
We recommend trying hair extensions in clip first if you've never worn extensions before. You'll learn how extensions feel, how to care for them, and what density you actually need before investing in salon application. Once you understand your preferences, you can graduate to tape-ins or I-tips with confidence.
Color experimentation is easier with removable methods. Test a burgundy hair shade with clip-ins for a few weeks before committing to tape-in application. If the color works with your skin tone and lifestyle, move to a more permanent method.
Your hair texture and density will ultimately guide the best choice. Fine hair thrives with lightweight tape-ins, thick hair handles any method, and medium hair benefits from the customization of I-tips. Book a consultation at a tape in hair extensions salon to assess your specific needs before purchasing.
All three methods work beautifully when matched to the right hair type and lifestyle. Visit our store page to explore the full range of options and current promotions before making your choice.
Frequently asked questions
How long do tape in hair extensions last compared to clip-ins?
Tape-in extensions last six to eight weeks before requiring a move-up appointment, while clip-ins are removed daily and can last six months to a year with proper care. Tape-ins offer semi-permanent wear, whereas clip-ins provide maximum flexibility for occasional use.
Can I install tape-in extensions myself or do I need a salon?
Tape-ins require professional salon application for proper placement and blending. Clip-in extensions are designed for DIY application at home. Attempting to apply tape-ins yourself risks uneven placement, visible bonds, and potential damage to your natural hair.
Which extension method works best for very fine or thin hair?
Tape-in extensions distribute weight across wider sections, making them gentler on fine hair than I-tips, which can stress individual strands. Clip-ins also work well if you avoid the crown and use fewer wefts. Always choose lightweight, thin wefts designed specifically for fine hair textures.
Are I-tip extensions more damaging than tape-ins?
Neither method damages hair when applied and maintained correctly. I-tips use no heat or glue, just metal beads, while tape-ins use medical-grade adhesive. Damage typically occurs from improper removal, skipped maintenance appointments, or using the wrong hair care products.
Can I swim and exercise with tape-in hair extensions?
Yes, tape-ins stay secure through swimming and exercise when properly installed. Use a sulfate-free, oil-free shampoo after swimming to protect the adhesive, and avoid applying conditioner directly to the tape bonds. Clip-ins should be removed before high-impact activities.
How much do tape-in extensions cost compared to other methods?
Tape-ins typically cost less upfront than I-tips but more than clip-ins. Factor in move-up appointments every six to eight weeks for tape-ins, which add to the total cost. Clip-ins have no ongoing salon fees, while I-tips spread their higher initial cost over three to four months of wear.