

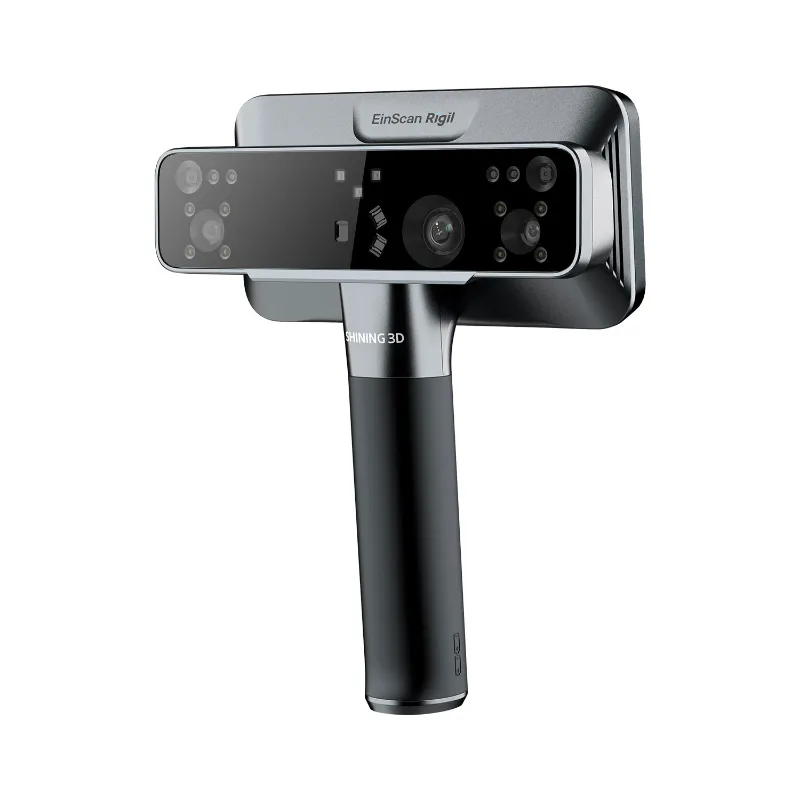
A 3d slicer is the software that converts a solid model, or a mesh you captured with a handheld 3D scanner, into the layer-by-layer instructions your printer can actually run. Nothing prints without it. This guide walks through what the software does, which settings matter on your first few jobs, and which hardware makes the whole process less painful.
What a 3d slicer actually does
Think of it as a translator. Your model arrives as a surface mesh: triangles, no thickness, no instructions. The printer needs motion commands, temperatures, fan speeds, and travel paths in a language called G-code. Slicing cuts the model into horizontal layers, generates a toolpath for each one, and writes that G-code file.
- Imports STL, 3MF, OBJ, and often STEP files.
- Orients and scales the model on a virtual build plate.
- Generates supports wherever overhangs would otherwise sag.
- Calculates time and material so you know what a print costs before you commit.
- Exports G-code to a card, a USB stick, or straight over the network.
Most modern slicers also preview the toolpath layer by layer, which is the single best debugging tool a beginner has. If the preview looks wrong, the print will look wrong.
The beginner workflow, start to finish
The order you do things in matters more than any single setting. Work through this sequence every time and your failure rate drops fast.
- Capture or download the model. If you scanned an object, run any cleanup in the scanner's included scanning software first. Fixing holes is far easier before slicing.
- Check the mesh. A watertight, correctly scaled mesh slices cleanly. Non-manifold edges cause missing layers and mystery gaps.
- Choose the right printer profile. Profiles carry nozzle diameter, bed size, and temperature limits. A profile built for the wrong machine is the most common cause of a failed first print.
- Orient for strength. Layer lines are the weak direction. Lay a part so the load runs along the layers, not across them.
- Pick a layer height. Start around 0.2 mm for general parts, drop to 0.12 mm only when surface detail genuinely matters.
- Add supports and adhesion. Tree supports for organic shapes, brims for tall thin parts.
- Preview, then print. Scrub through the layers in preview mode before you send the file.
If you would rather skip the hardware guesswork, the bambu labs 3d printer ships with factory-tuned profiles that already match its own machine, which removes an entire category of beginner error.
How scanning and slicing fit together
A 3D print is only as good as the mesh going in. Scan accuracy and detail set the ceiling on what the slicer can produce, so it is worth understanding the capture side even if you mostly download models.
- Handheld 3D scanner basics: you move the scanner around the object while software builds the mesh live. Blue-light and infrared units handle different surface types, and matte, non-reflective objects scan most reliably.
- Scanning small objects: use a turntable and scan in a single pass where possible. Tiny parts pick up more noise, so a light smoothing pass helps more than a heavy one.
- Scanning large objects: scan in sections and merge the point clouds with marker targets. Trying to capture a whole car in one pass rarely works.
- Setup and calibration: run the calibration routine before a project, not after a bad scan. Lighting and a stable surface matter as much as the hardware.
Once the mesh is clean, drop it into your slicer and treat it like any downloaded model. Export as STL or 3MF and check the scale immediately, since scanners sometimes output in unexpected units. The 3d slicer software handles both formats without complaint, and the layer preview makes scale errors obvious before you waste filament.
Matching the slicer to your machine
You do not need the most feature-heavy slicer. You need one whose profiles match your printer and whose interface you can read at a glance.
| Setup | Best first choice | Why |
|---|---|---|
| Single printer, stock profiles | Manufacturer's own slicer | Profiles are pre-tuned, fewer variables |
| Multiple printers, mixed brands | Open-source community slicer | Broad machine library, deep control |
| Detail work and miniatures | Slicer with strong support painter | Manual support placement matters most |
If you are stepping up to a larger, enclosed machine like the bambu lab h2d pro 3d printer, stay inside the manufacturer's slicer for the first month. Learn the printer before you learn a new interface.
Settings that actually change your results
Beginners tend to change too many things at once. These six settings do most of the work.
- Layer height: the biggest lever on print time and surface finish. Halving it roughly doubles time.
- Wall count and infill: strength comes from walls, not infill. Three walls at 15 percent infill beats two walls at 40 percent on almost every part.
- Print temperature: follow the filament manufacturer's range. Too hot causes stringing, too cold causes layer separation.
- Retraction: tune this to kill stringing between travel moves. Change it in small steps.
- First layer speed: slow it down. A slow, squished first layer prevents more failures than any other single change.
- Cooling: full fan on overhangs, reduced on the first few layers and on ABS-style materials.
Change one setting at a time and keep a note of what worked. A slicer profile is a personal document, not a download.
Hardware that makes slicing less of a chore
Software comfort is a real productivity factor. Navigating a 3D model with a mouse wheel gets old fast on complex geometry.
- A 3dconnexion spacemouse compact lets you orbit, pan, and zoom the model in one hand while the other hand edits settings. It genuinely shortens the orientation step.
- A 3d connection space mouse is the same idea for people who work across several CAD and slicing apps and want one consistent control scheme.
- Computer system requirements: slicers are CPU-heavy but not usually demanding. Expect a modern quad-core chip, plenty of RAM for large meshes, and a discrete GPU only if you slice very dense scan data. Check your slicer's stated minimum before you blame the software for lag.
- Accessories and mounts: spare build plates, a calibrated digital caliper for verifying scale, and a nozzle brush cover most of what a beginner needs.
Calibration, care, and file housekeeping
Print quality drifts. Calibration is not a one-time task, it is a habit.
- Re-check bed level and first-layer squish after moving the machine or changing plates.
- Run a temperature tower whenever you open a new brand of filament.
- Store profiles with descriptive names, including filament brand and nozzle size.
- Keep a folder of known-good G-code so a repeat job does not need re-slicing.
- Clean the nozzle and check belt tension every few weeks, especially on machines that get daily use.
Warranty and returns are worth reading before you buy any scanner, printer, or accessory. Policies on consumables and nozzle wear vary widely, and shipping and delivery windows matter if you are waiting on a replacement part mid-project.
When you are ready to buy, grab the code on the store page and check the latest price before you order. Bundling a scanner or printer with the accessories you will need anyway is the cheapest way to start, and the current offer is straightforward: $50 off all orders, no complicated tiers.
Slicing is the part of 3D printing nobody markets and everybody needs. Learn the workflow once, keep your profiles organized, and the software stops being a barrier and starts being the place where you actually design the result.
 Shopping at EINSTAR? See today's verified EINSTAR discount code
Frequently asked questions
Do I need a paid 3d slicer to start printing?
No. Most printers ship with a capable slicer included, and strong open-source options exist for free. Paid versions mainly add advanced support generation, scripting, and multi-printer fleet management, which beginners rarely need in the first months.
Can I slice a mesh I captured with a handheld 3D scanner?
Yes, provided the mesh is watertight and correctly scaled. Run cleanup in the scanner's included scanning software, export as STL or 3MF, then import it and check dimensions against the real object before printing.
Why does my sliced model look hollow in the preview?
That is normal. The preview shows walls and infill rather than the outer surface, so a part with three walls and 15 percent infill will look mostly empty. If entire layers are missing, the mesh likely has holes that need repairing.
What computer system requirements do I need for slicing?
A modern quad-core processor and 8 GB or more of RAM handle most work. Dense scan data and very high polygon counts benefit from 16 GB and a dedicated graphics card, so check the slicer's stated minimums if you work with large meshes.
Is a 3D mouse worth it for slicing work?
If you spend more than an hour a week orienting models, yes. The 3dconnexion spacemouse compact lets you rotate and zoom with one hand while editing settings with the other, which speeds up the setup and calibration side of every job.