
Best Way to Mount Your Starlink Dish: Wall Mount Installation Tips

Best Way to Mount Your Starlink Dish: Wall Mount Installation Tips
A starlink wall mount is the most space-efficient way to install your dish when ground mounting is not practical. Wall mounting keeps your dish elevated for clear sky view, frees up yard or roof space, and provides a stable platform that withstands wind and weather. We tested multiple configurations and compiled this guide to help you choose the right hardware, prep your surface, and complete a secure installation.
Whether you own a Gen 2, Gen 3, or standard dish, the principles remain the same: pick a mount that fits your dish model, find a wall with unobstructed sky access, and anchor into solid structure. Below we walk through mount types, tools, installation steps, and troubleshooting so you can get online faster.
Starlink Mount Options: Short Wall Mount vs Long Wall Mount
Starlink offers two factory wall mounts, and aftermarket options add more flexibility. Here is how they compare.
| Mount Type | Reach | Best For |
|---|---|---|
| Short wall mount | 10-12 inches from wall | Single-story walls, clear eaves, tight spaces |
| Long wall mount | 20-24 inches from wall | Overhangs, multi-story buildings, obstructed eaves |
| Roof mount (pivot) | Varies by pole | Roof edges, attics, maximum height |
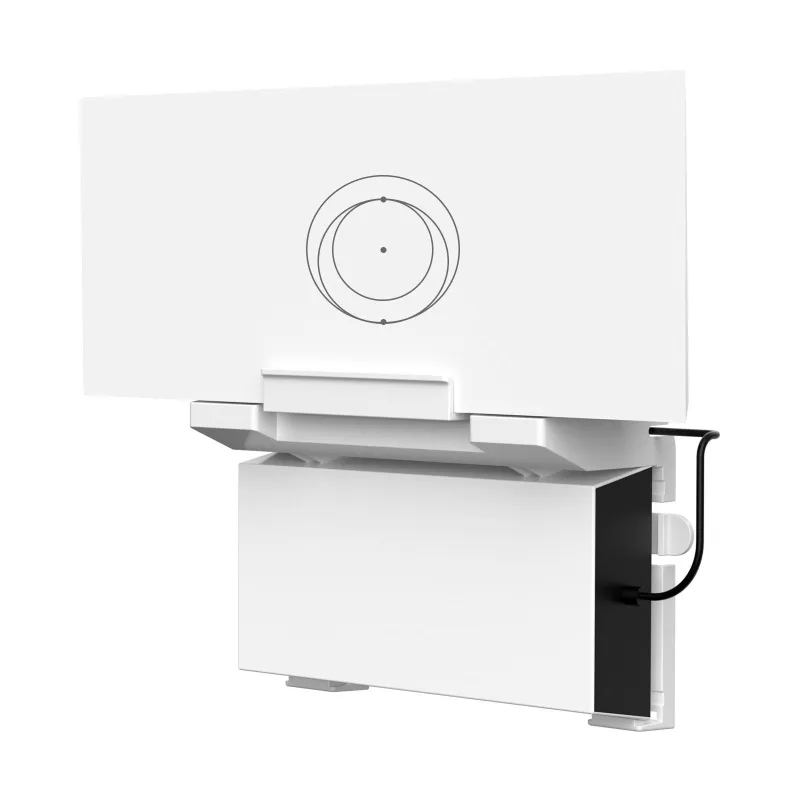
The starlink short wall mount keeps the dish close to the wall and works well when you have a clear line of sight without eaves or overhangs blocking the dish. The starlink long wall mount extends further, letting you clear obstacles like gutters, soffits, or neighboring structures. Both mounts are compatible with Gen 2 and Gen 3 dishes, though you should verify the mounting bracket matches your dish's connection type.
Aftermarket starlink wall mount kits often bundle weather-resistant hardware, cable clips, and adjustable arms that simplify leveling. If you are mounting on brick, stucco, or siding, aftermarket options may include masonry anchors or backing plates that distribute weight better than the factory kit.
For detailed compatibility by generation, Starlink's official mount guide breaks down which mounts fit each dish model.
Choosing the Right Wall and Location
Not every wall is suitable. Your mounting surface must support 15 to 25 pounds of equipment plus wind load, and the location must offer an unobstructed view of the northern sky (in the Northern Hemisphere) or southern sky (in the Southern Hemisphere).
Surface requirements:
- Solid wood studs, concrete, brick, or CMU block
- Avoid hollow vinyl siding or thin metal panels without backing
- Minimum two-stud span or equivalent masonry area
Sky view checklist:
- Use the Starlink app's obstruction tool to scan for trees, buildings, or power lines
- Aim for zero obstructions in the dish's active field of view (roughly 100 degrees)
- Avoid walls shaded by roof overhangs unless you use a long wall mount
Elevation also matters. Mounting 8 to 12 feet high reduces ground clutter and pets or debris interfering with the dish, but make sure you can safely reach the mount for adjustments. If your only clear wall is above the second story, consider hiring a licensed contractor or using a roof mount instead.
Step-by-Step Starlink Wall Mount Installation
Before you drill, gather your tools: a power drill, 5/16-inch masonry bit (for brick or concrete) or 1/4-inch wood bit (for studs), level, socket wrench, and the mounting hardware included with your kit. Starlink's video guide demonstrates the full sequence for standard and mini dishes.
1. Mark and level the bracket Hold the mounting bracket against the wall at your chosen height. Use a level to ensure it is perfectly horizontal; even a few degrees of tilt can affect signal quality. Mark each hole with a pencil.
2. Drill pilot holes For wood studs, drill 1/4-inch pilots 3 inches deep. For masonry, switch to a 5/16-inch masonry bit and drill 3 to 4 inches deep, then insert the provided anchors. If you hit hollow space, move the bracket to the next stud or use toggle bolts rated for your wall type.
3. Secure the bracket Fasten the bracket with lag bolts (wood) or masonry screws (concrete/brick). Tighten each bolt incrementally in a cross pattern to distribute pressure evenly. Check level again after the first pass.
4. Attach the dish and mast Slide the Starlink mast into the bracket's receiver and tighten the set screws. Attach the dish to the mast, route the cable along the wall using the included clips, and plug into your router indoors. Power on and let the dish auto-orient for 10 to 15 minutes.
5. Run a final obstruction check Open the Starlink app and confirm zero obstructions. If you see intermittent blockage, adjust the mast angle slightly or consider relocating the mount.
Grab the hardware you need and check the latest price for accessories that simplify cable management and weatherproofing.
Common Mistakes and How to Avoid Them
Even experienced DIYers run into trouble. Here are the pitfalls we see most often.
Skipping the stud finder Mounting into drywall alone will fail within weeks. Always anchor into studs or masonry. If studs are not where you need them, use a backing board (a 2x8 plank) screwed across multiple studs, then mount the bracket to the board.
Ignoring cable entry Plan how the cable enters your home before you mount. Drilling through siding or brick requires a 3/4-inch hole and a weatherproof grommet. Seal the entry with silicone caulk to prevent water infiltration and pest entry.
Over-tightening bolts Lag bolts should be snug, not torqued to maximum. Over-tightening can strip threads in wood or crack masonry anchors, weakening the mount over time.
Mounting too low A dish at eye level is vulnerable to accidental bumps, vandalism, and ground-level obstructions like snow drifts. Mount at least 8 feet high whenever possible.
If you are working on a multi-story building or complex roofline, a licensed installer can save time and ensure code compliance, especially for penetrations through fire-rated walls.
Gen 2 vs Gen 3 Wall Mount Compatibility
The starlink wall mount gen 2 and starlink wall mount gen 3 are largely interchangeable, but the mast diameter and cable routing differ slightly.
- Gen 2 (rectangular dish): Uses a 1.5-inch diameter mast with an integrated cable that cannot be disconnected at the dish
- Gen 3 (round dish): Uses a 1.4-inch mast with a detachable cable and a slimmer mounting collar
Most standard wall mount kits accommodate both generations using adjustable clamps or rubber shims. If you purchased a Gen 3 dish recently, confirm your mount specifies Gen 3 compatibility or includes adapter bushings. Aftermarket mounts often bundle both sizes in one kit.
For other satellite internet accessories and installation hardware, browse our store where you will find 5% off sitewide with our current discount code.
Maintenance and Seasonal Adjustments
Once installed, a wall mount requires minimal upkeep. Inspect the mounting bolts every six months, especially after high winds or heavy snow. Tighten any loose hardware and check that the mast remains level.
Snow and ice: The dish has a built-in heater that melts light snow, but heavy accumulation can block the signal. If you live in a high-snowfall area, position the mount on a south-facing wall (Northern Hemisphere) to maximize sun exposure, or angle the dish slightly steeper than default to shed snow faster.
Cable wear: UV exposure degrades the cable jacket over time. Use adhesive cable clips every 12 inches and consider wrapping the cable in split loom tubing if it runs across an exposed wall. Replace clips annually or whenever they crack.
Firmware updates: Starlink pushes firmware automatically, but updates can temporarily interrupt service. Schedule any mount adjustments or cleaning during low-use windows to avoid conflicts.
A properly installed wall mount will last years with only occasional checks. The same attention to detail applies whether you are mounting a satellite dish or installing a tesla charger in your garage: solid anchors, weatherproofing, and regular inspections prevent costly repairs down the road.
Who Should Use a Wall Mount Installation
Wall mounting suits homeowners and renters who need a semi-permanent setup without penetrating a roof or pouring a concrete pad. It works especially well for:
- Apartments and condos where roof access is restricted
- Rental properties where landlords prohibit ground equipment
- Urban lots with limited yard space or buried utilities
- Temporary installations at RVs, cabins, or job sites
If you move frequently or anticipate relocating your dish, a wall mount is easier to remove and reinstall than a roof mount or in-ground pole. Patch the bolt holes with exterior filler, touch up paint, and you are done.
For permanent installations on owned property, compare wall mounting to a starlink roof mount or pole mount. Roof mounts offer the highest elevation and least obstruction risk, but they require flashing, sealant, and occasional roof maintenance. Pole mounts avoid wall penetrations entirely but need a concrete footing and guy wires in windy areas.
Wall mounting strikes the best balance of installation simplicity, cost, and performance for most users. With the right hardware, a clear sky view, and careful placement, you will enjoy fast, reliable satellite internet for years.
Frequently asked questions
Can I install a starlink wall mount on vinyl siding?
Yes, but you must anchor into the wood studs behind the siding, not the siding itself. Use longer lag bolts that pass through the siding and bite at least 2.5 inches into solid wood. Consider a backing board if studs are not aligned with your ideal mount location.
How far should the dish extend from the wall?
Use a short wall mount (10 to 12 inches) if you have no overhangs or obstructions. Choose a long wall mount (20 to 24 inches) if eaves, gutters, or neighboring structures block the sky view. Run an obstruction scan in the Starlink app before finalizing placement.
Do Gen 2 and Gen 3 dishes use the same wall mount?
Most standard wall mounts fit both, but Gen 2 uses a slightly thicker mast. Check that your mount includes bushings or adjustable clamps for both diameters, or verify compatibility with your specific dish generation before purchasing.
What size drill bit do I need for masonry walls?
Use a 5/16-inch masonry bit for brick or concrete, drilling 3 to 4 inches deep. Insert the provided anchors, then fasten the bracket with masonry screws. For wood studs, a 1/4-inch bit and 3-inch lag bolts are sufficient.
How high should I mount the dish above ground?
Mount at least 8 feet high to avoid ground clutter, snow drifts, and accidental contact. Higher is better for clear sky view, but make sure you can safely reach the mount for maintenance and adjustments.
Can I reuse the same mount if I move?
Yes, wall mounts are reusable. Remove the lag bolts, patch the holes with exterior filler, and reinstall the bracket at your new location. Bring the original hardware or purchase replacement bolts that match your new wall type.