
How to Install a Heat Shield on Your Wood Stove Safely

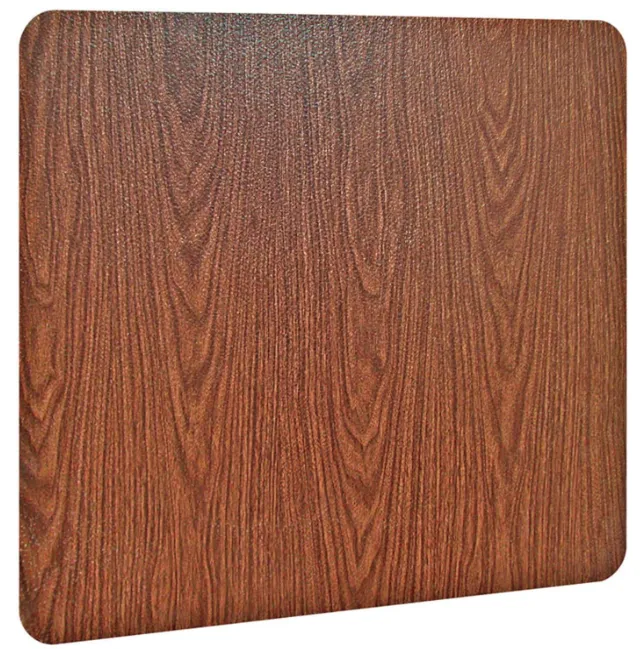
Why a Wood Stove Heat Shield Matters
A wood stove heat shield protects walls, floors, and nearby combustible materials from dangerous radiant heat and reduces required clearance distances. Without proper shielding, drywall, studs, and flooring can char, crack, or ignite over time. Installing a heat shield for wood heater lets you place your stove closer to walls while meeting fire codes, making it essential for smaller rooms or corner installations.
Most building codes require 36 inches of clearance between an unprotected stove and combustible walls. A properly installed wall heat shield for wood stove can cut that distance to 12 to 18 inches, depending on your shield design and local regulations. We tested multiple configurations and break down the installation process so you can do it safely.
Choosing the Right Heat Shield Type
You have three main options when shopping for a wood stove heat shield:
- Wall-mounted shields: sheet metal or modular panels that mount directly to studs with standoffs to create an air gap behind the shield. These work well for side and rear wall protection.
- Free-standing heat shields: L-shaped or flat panels that sit on the floor and do not attach to walls. A free standing heat shield for wood stove is ideal for renters or when you cannot drill into masonry.
- Floor heat shields: metal or tile pads that protect wood or vinyl flooring from ember drops and bottom heat. Often sold as wood stove heat shield kits that include both wall and floor components.
Check your local fire marshal's requirements before buying. Most codes specify minimum air gaps (typically 1 inch behind wall shields) and acceptable materials. When you grab the current price and our discount code, confirm the shield meets NFPA 211 or your regional standard.
Measuring and Planning Your Installation
Measure the required protection zone before you buy. Stand at the stove's center and measure outward to walls, accounting for stovepipe clearance and door swing radius. Your heat shield for wall next to stove should extend at least 6 inches beyond the stove's footprint on each side.
For wall shields, locate studs with a finder and mark drilling points every 16 to 24 inches vertically. You will mount standoff spacers (usually ceramic or metal) to these studs, then attach the shield to the spacers. The air gap behind the panel is critical because it allows convection currents to carry heat away from the wall.
Floor shields should extend 18 inches in front of the loading door and 8 inches beyond the sides and rear. If you are building a wood stove heat shield diy setup, use 24-gauge sheet steel or thicker for walls and non-combustible tile backer board topped with ceramic tile for floors.
Step-by-Step Wall Heat Shield Installation
Gather your tools: drill, level, stud finder, screwdriver, spacers or standoffs (often included in wood stove heat shield kits), sheet metal screws, and safety glasses.
- Mark stud locations and drill pilot holes for standoff brackets. Use at least four standoffs per 2×4 ft panel to prevent sagging.
- Screw ceramic or metal standoffs into studs, ensuring each extends 1 inch from the wall surface (check your code for the exact gap requirement).
- Hang the shield panel on the standoffs and secure with screws or clips provided. Overlap seams by at least 1 inch if using multiple panels.
- Verify the air gap with a ruler at multiple points. The gap must remain open at top and bottom to allow airflow.
- Install a top trim cap if desired, leaving ventilation slots so hot air can escape upward.
Never mount the shield flush to the wall or pack insulation into the air gap. Both mistakes trap heat and defeat the shield's purpose. If you are protecting a corner, install shields on both walls and maintain the air gap around the corner joint. Browse heat shield for wood heater options that include corner brackets for easier two-wall setups.
Installing a Floor Heat Shield
A wood stove heat shield for floor sits under the stove legs and catches embers. Most codes require a non-combustible pad that is at least Type 1 (brick, stone, or metal) or Type 2 (hollow masonry or sheet metal over a non-combustible substrate).
- Lay a cement backer board or sheet metal base directly on the existing floor.
- Top with ceramic tile, slate, or a factory-made steel pad if you prefer a finished look.
- Ensure the pad extends the required distances in all directions. Front clearance is typically largest because of door use.
- Seal tile grout lines to prevent ash infiltration, but leave the pad edges unattached to the wall for independent movement.
If you are working on a wood subfloor, add an air gap using metal legs or a second layer of backer board separated by spacers. This ventilated design keeps the subfloor cooler and extends its life. Compare wood stove heat shield installation materials and check current deals to stay within budget.
Testing and Maintaining Your Heat Shield
After installation, run your stove at normal operating temperature and check the shield and adjacent walls with an infrared thermometer after one hour. Wall surfaces behind a properly installed shield should stay below 117°F above room temperature (the typical code limit for combustible materials).
If you detect hot spots, increase the air gap or add a second shield layer spaced 1 inch from the first. Inspect fasteners and spacers every season because vibration and heat cycling can loosen hardware over time. Wipe down metal shields with a damp cloth to remove soot buildup, which can reduce reflectivity and trap heat.
Never store firewood, kindling, or furniture against the shield. Maintain the same clearances you would use without a shield for anything you place in front of the stove. Review wood stove heat shield ideas online for decorative facing options like faux stone or tile that add style without compromising safety.
Common Mistakes to Avoid
We have seen several recurring errors that compromise safety:
- Skipping the air gap: mounting sheet metal directly to drywall provides almost no protection. Always use standoffs.
- Using combustible spacers: wood blocks or plastic anchors melt or char. Stick with ceramic, steel, or purpose-made standoffs.
- Undersized shields: a shield that barely covers the stove's outline leaves edges exposed. Add 6 to 12 inches on all sides.
- Blocking ventilation: sealing the top or bottom of the air gap behind the shield traps heat and overheats the wall.
Consult your stove's manual for manufacturer-specific clearances, which sometimes exceed code minimums. When in doubt, have your setup inspected by a certified chimney sweep or fire inspector before the first burn. You can also cross-reference installation steps with other heating accessories like a small electric fireplace manual, which often includes similar clearance diagrams.
Who Should Install a Heat Shield
Any wood stove owner working with limited clearance or combustible walls benefits from a heat shield. Corner installations, mobile homes, and older houses with wood paneling especially need them. If you are handy with a drill and comfortable working around studs, this is a straightforward afternoon project.
Hire a professional if you are uncertain about local codes, have a masonry or stone wall that requires anchors, or plan to modify your chimney pipe route at the same time. Many fireplace shops offer installation packages that bundle the shield, spacers, and labor. For DIY installs, find the latest deals and our exclusive code to save on materials.
A wall heat shield for wood stove not only meets safety regulations but also gives you flexibility in furniture layout and room design. With the right materials, accurate measurements, and attention to air gaps, you will enjoy worry-free heating all season long.
Frequently asked questions
How far should a wood stove heat shield be from the wall?
Most codes require a 1-inch air gap between the heat shield and the combustible wall to allow convection airflow. Always use ceramic or metal standoffs to maintain this spacing, and verify local fire code requirements before installation.
Can I make my own wood stove heat shield?
Yes, you can build a DIY heat shield using 24-gauge or thicker sheet steel mounted on non-combustible standoffs. Ensure you maintain the required air gap and meet NFPA 211 or local fire codes for materials and clearances.
What materials work best for a heat shield behind a wood stove?
Sheet steel, cement backer board topped with ceramic tile, and factory-made metal panels all work well. Avoid aluminum, which can warp under high heat, and never use combustible materials like plywood or drywall alone.
Do I need both a wall and floor heat shield?
Most installations require both. The wall shield protects vertical surfaces from radiant heat, while the floor shield catches embers and protects flooring from bottom heat. Check your stove manual and local codes for specific requirements.
How much clearance can a heat shield save?
A properly installed wall heat shield typically reduces required clearance from 36 inches down to 12 to 18 inches, depending on shield design and local regulations. Always confirm the exact reduction with your fire marshal or building inspector.
Can I install a free-standing heat shield without drilling into walls?
Yes, free-standing L-shaped or flat shields sit on the floor and lean against or near the wall without fasteners. They are ideal for renters or masonry walls where drilling is difficult, but verify they meet your local code requirements.