
How to Install an Eonon Head Unit in Your Car Without Professional Help

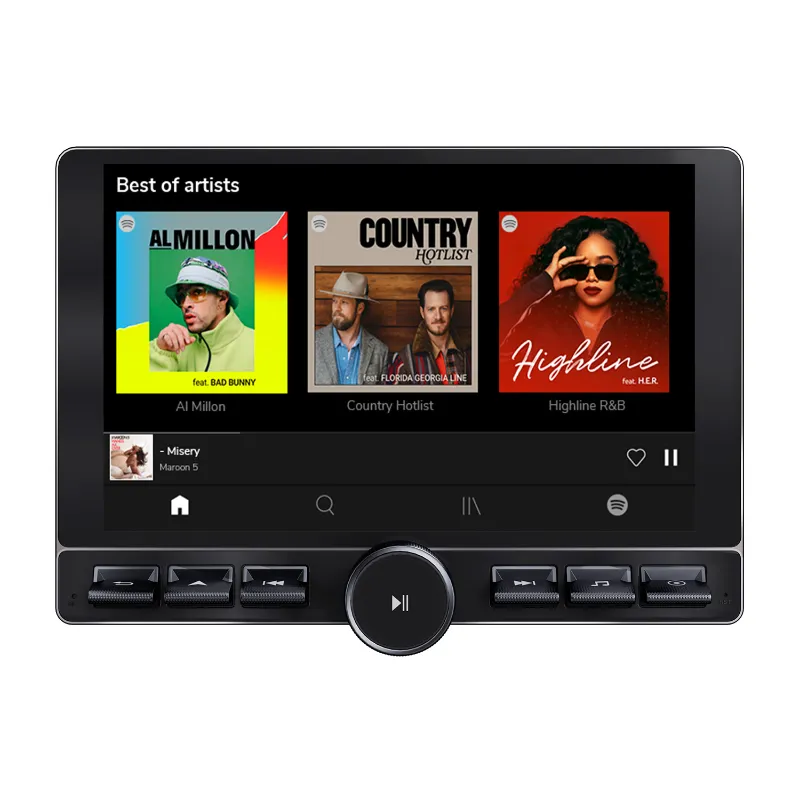
How to Install an Eonon Head Unit in Your Car Without Professional Help
Installing an eonon head unit yourself saves money and gives you complete control over your car's audio upgrade. Most models, including the popular gmx6s-pro, are designed for DIY installation and come with detailed instructions. With basic hand tools and a couple of hours, you can achieve a professional result without paying shop labor rates.
Tools and Materials You Need Before Starting
Gather everything before you disconnect your old stereo. You'll need a trim removal tool set to avoid scratching your dashboard, a socket set or screwdriver set that matches your car's fasteners, wire strippers and crimpers for making secure connections, and electrical tape or heat-shrink tubing to insulate splices.
Most installations also require a dash kit specific to your vehicle's make, model, and year, plus a wiring harness adapter that plugs into your factory connector. Check whether your eonon head unit includes these accessories or if you need to order them separately. A panel removal tool prevents cracked trim, and a multimeter helps verify power and ground connections if you run into trouble.
If your car uses steering wheel controls or a backup camera, confirm compatibility before you start. Many modern units support these features through additional adapters, and it's easier to install everything at once rather than reopening the dash later.
Step by Step Installation Process
Start by disconnecting your car's negative battery terminal to prevent shorts and protect the electronics. Wait at least five minutes for capacitors to discharge, especially if your vehicle has airbags in the steering column area.
Remove the factory stereo by prying off trim panels with your plastic tools, working gently around clips. Most dashboard bezels snap into place, so feel for the clip locations rather than forcing them. Once the trim is off, unscrew the mounting brackets that hold the old head unit in place. Pull the stereo forward and disconnect the antenna cable, wiring harness, and any auxiliary plugs.
Connect your new wiring harness adapter to the vehicle's factory plug, then match wire colors from the adapter to your new stereo harness. Typical connections include constant 12V yellow, switched ignition red, ground black, and speaker wires in pairs. Solder or crimp each connection, then cover it with heat shrink or electrical tape. Never twist wires together without a proper crimp, as vibration will loosen them over time.
Before mounting the unit, connect everything and turn on the ignition to test audio, display, and controls. This is your chance to fix any wiring mistakes without unbolting the dash again. Once confirmed, secure the eonon head unit into the dash kit sleeve or brackets, slide it into the opening, and reinstall trim panels in reverse order.
Common Wiring Challenges and How to Solve Them
Many installers struggle with identifying the correct power source. The constant 12V wire keeps memory and clock settings alive, while the ignition wire powers the unit on with your key. If your stereo resets every time you start the car, these two wires are likely reversed.
Ground connections cause the majority of stereo problems. A poor ground leads to alternator whine, weak audio, or a unit that won't power on at all. Always ground to bare metal by scraping away paint and securing the wire with a screw and ring terminal, not by tapping into another wire.
If you're adding accessories like a cigarette lighter adapter or cig lighter to usb port for charging devices, connect them to a switched power source so they turn off with the ignition. Running constant power to USB ports drains your battery overnight. For video inputs like a cvbs in 1 connection, route cables away from power wires to avoid interference.
Check the latest pricing and grab our discount code before ordering any accessories to save on your entire installation kit.
Choosing the Right Eonon Model for Your Dashboard
Dashboard space determines which form factor fits your car. A single din touch screen monitor works in older vehicles with compact stereo openings, while a 12 inch head unit requires custom mounting or a larger double-DIN slot. Measure your existing stereo opening before ordering to avoid fit issues.
Features matter as much as size. If you want wireless Apple CarPlay or Android Auto, confirm your model supports it natively rather than requiring a dongle. Built-in navigation, backup camera inputs, and e obd diagnostic connectivity add functionality without cluttering your dashboard with extra devices.
Consider your audio priorities. If you drive a car with a factory amplifier, you may need an adapter to retain it, or you can bypass it entirely by running new speaker wires. Some units include built-in amplifiers powerful enough for aftermarket speakers, while others perform best with an external amp.
What to Do After Installation Is Complete
Reconnect your battery and start the car. The head unit should power on immediately if you've wired the ignition circuit correctly. Navigate through the setup menu to configure time, audio settings, and any connected accessories like steering wheel controls or parking sensors.
Test every function before reassembling trim. Play audio from multiple sources, check all speaker channels for output, and verify touchscreen responsiveness across the entire display. If you installed a backup camera, shift into reverse and confirm the video feed switches automatically.
Take the car for a test drive to identify rattles or loose trim panels you may have missed. Temperature changes and road vibration can reveal poor connections, so listen for static or audio dropouts. If everything works smoothly, visit our Eonon coupon page to share your installation success and help others save on their upgrades.
Troubleshooting Tips When Things Go Wrong
No power usually means a blown fuse, a disconnected ground, or reversed constant and ignition wires. Check the inline fuse on the stereo's power harness first, as these are easier to access than the vehicle's fuse panel. Use your multimeter to verify 12V at the yellow constant wire and at the red ignition wire when the key is on.
If the display works but there's no sound, confirm speaker wire polarity and check for shorts where bare wire might touch metal. Speakers wired out of phase produce weak, tinny audio because the cones work against each other. Swap the positive and negative on one speaker at a time until sound improves.
For touchscreen issues or frozen displays, perform a factory reset through the settings menu or by holding the reset button on the unit's faceplate. Software glitches are common after initial power-up and usually resolve with a reboot. If problems persist, double-check firmware updates on the manufacturer's website and install the latest version via USB.
Static or alternator whine points to a grounding problem or poorly shielded RCA cables running too close to power wires. Reroute signal cables away from the power harness and confirm your ground connection uses a short, direct path to the chassis. Adding a ground loop isolator between the head unit and amplifier can eliminate noise without rewiring the entire system.
Frequently asked questions
How long does it take to install an eonon head unit yourself?
Most DIY installations take one to two hours depending on your vehicle's dashboard complexity and whether you need to run new wiring for accessories. Vehicles with integrated factory systems may require additional time for bypass modules or adapters.
Do I need special tools to remove my factory stereo?
You need trim removal tools to avoid cracking plastic panels, plus basic screwdrivers or sockets for mounting brackets. A wiring harness adapter eliminates the need to cut factory wires, making the job fully reversible.
Can I keep my steering wheel controls with an aftermarket head unit?
Yes, most Eonon models support steering wheel controls through an additional adapter that learns your car's button signals. Check compatibility for your specific vehicle year and model before purchasing.
What causes my new stereo to reset every time I turn off the car?
This happens when the constant 12V yellow wire and switched ignition red wire are reversed. Swap these two connections so the yellow wire provides continuous power to maintain memory settings.
Will installing a head unit void my car warranty?
Aftermarket stereo installation typically does not void your warranty unless the modification directly causes damage to another system. Use a plug-and-play wiring harness to keep the installation reversible and avoid cutting factory wires.
How do I fix alternator whine or static noise after installation?
Alternator whine comes from a poor ground connection or signal cables running too close to power wires. Move your ground to a better chassis point and separate RCA cables from the power harness by at least six inches.