
Best Way to Remove Bug Splatter and Road Tar From Your RV Without Scratching

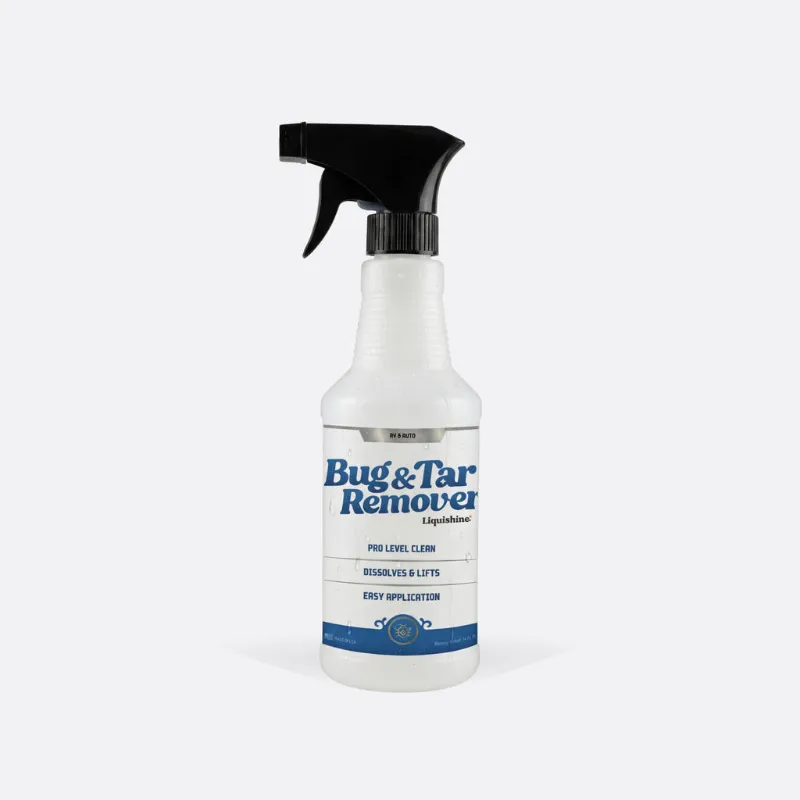
The Best Way to Clean Bug Splatter and Road Tar From Your RV
A quality bug & tar remover cuts through insect residue and road grime faster than soap and water alone, and when used properly it won't scratch your RV's gelcoat or painted surfaces. We've tested methods on fiberglass, aluminum, and painted finishes to find the safest approach that actually works.
The key is choosing a formula designed for RV exteriors and applying it before scrubbing, so the chemistry does the work instead of abrasive force.
Why Bug Splatter and Tar Need a Dedicated Cleaner
Standard RV wash solutions struggle with the proteins in bug splatter and the petroleum base of road tar. Both bond aggressively to surfaces, especially in summer heat. Scrubbing with soap alone typically requires enough pressure to risk swirl marks or hazing on fiberglass and clear coats.
A proper tar and bug remover for car and RV use contains solvents that break these bonds chemically. This lets you wipe away residue with minimal mechanical action, protecting your finish from micro-scratches that accumulate over seasons.
What sets the best bug & tar remover products apart:
- Safe solvent blends that dissolve organics and petroleum without attacking gelcoat or paint
- Spray or gel consistency that clings to vertical surfaces instead of running off
- No harsh acids or alkalis that etch fiberglass or dull clear coats
- Compatibility with wax and sealant layers you've already applied
Step-by-Step Method to Remove Bug and Tar Safely
We recommend this process after testing it on multiple RV types. It works on fiberglass front caps, painted aluminum siding, and acrylic windshields without damage.
1. Rinse first. Use a hose or pressure washer on low setting to remove loose dirt and dust. This prevents dragging grit across the finish during cleaning.
2. Apply remover generously. Spray the bug & tar remover directly onto affected areas. For heavy buildup, let it dwell for two to three minutes so the solvents can penetrate. Don't let it dry on the surface.
3. Wipe with a microfiber towel. Use a folded microfiber cloth and light pressure. The residue should lift away easily. Flip to a clean section of the towel frequently.
4. Rinse thoroughly. Remove all cleaner residue with fresh water. Leftover solvent can interfere with wax or sealant.
5. Follow with a wash and wax. Use an rv wash and wax to restore shine and protection. This also removes any remaining cleaner film and reseals the surface against future bug strikes.
For stubborn tar spots on the lower panels, apply a second round of remover and let it soak longer. Avoid abrasive pads or brushes unless the manufacturer explicitly approves them for use with their formula.
Comparing Popular Bug and Tar Remover Options
We looked at formulas RVers actually use and how they perform on different materials. Check the latest price to see current offers on our recommended products.
| Product Type | Best For | Application Style |
|---|---|---|
| Liquified Bug & Tar Remover | Fiberglass front caps, painted aluminum | Spray, 2-3 min dwell time |
| Turtle Wax Bug and Tar Remover | Quick spot cleaning, light buildup | Spray and wipe immediately |
| 3D Bug and Tar Remover | Professional detailing, heavy residue | Foam applicator or spray |
| Lifter 1 Bug and Tar remover | Commercial fleets, bulk cleaning | Spray, agitate with soft brush |
Liquified RV's formula works especially well on the textured gelcoat common to Class A and Class C front caps. The gel consistency stays where you spray it, even on vertical windshields. Grab the code to save 15% on your first order.
Materials That Need Extra Care
Not all RV surfaces tolerate the same solvents. Test any new cleaner on an inconspicuous spot before tackling the entire front end.
Acrylic and polycarbonate windshields can haze or craze with petroleum-based removers. Look for formulas labeled safe for plastics, or dilute the product slightly and minimize dwell time.
Vinyl graphics and decals may soften or lift at the edges if you soak them too long. Spray remover around decals, not directly on them, and wipe away from the graphic edge.
Rubber seals and gaskets around windows and slide-outs can swell with prolonged solvent contact. Rinse these areas quickly and thoroughly.
Matte or satin wraps require non-gloss-specific cleaners. Some tar removers leave a shiny residue that's difficult to remove from matte finishes.
How Often to Use Bug & Tar Remover on Your RV
We clean the front cap and lower panels after every long trip, especially during bug season from May through September. Letting splatter bake on for weeks makes it exponentially harder to remove and increases the risk you'll need aggressive scrubbing.
Maintenance schedule we follow:
- After each road trip: Spot-treat the worst buildup on the front cap, mirrors, and hood.
- Monthly during travel season: Full front-end detail with remover, wash, and wax.
- Before winter storage: Deep clean to prevent organic residue from etching the finish over months of sitting.
If you park under trees or near highways when you're not traveling, check the front every two weeks. Tree sap and industrial fallout create similar bonding issues and respond to the same chemistry.
Pairing your exterior care with the right maintenance products for the rest of your rig keeps everything road-ready. Liquified RV offers a full line, including rv roof cleaner for rubber and TPO membranes, water tank cleaner for fresh water systems, and rv drain cleaner for sink and shower lines.
Who Should Skip the Dedicated Remover
If you travel only a few times a year in cool weather and wash your RV within a day or two of each trip, a quality wash solution may be enough. Bug splatter that's fresh and hasn't been heat-cured will often come off with a soft sponge and patience.
You also don't need a separate product if your RV wash already contains bug and tar solvents. Check the label: some all-in-one formulas include light degreasers that handle moderate buildup.
For owners who primarily boondock in desert areas with minimal insect activity, the investment in a dedicated remover may not pay off. Focus your budget on products that match your actual conditions, like dust suppressants or UV protectants.
Keep Your Entire RV Road-Ready
Exterior care is only one part of RV maintenance. We test and recommend products for every system, from holding tanks to roof membranes. Liquified RV's lineup covers the essentials: rv black tank cleaner and rv toilet cleaner break down waste and control odors, while toilet tank cleaner prevents buildup in the flush mechanism.
Using the right products in each area saves time and prevents damage from mismatched chemistry. The 15% discount on all orders makes it easy to stock up on everything you need in one shipment.
When you remove bug splatter and tar correctly, your RV's finish stays glossy and protected season after season. The method matters as much as the product: let the chemistry work, use soft materials, and rinse thoroughly. Your gelcoat and paint will thank you.
Frequently asked questions
Can I use bug & tar remover on RV windshields?
Most bug and tar removers are safe for glass windshields, but check the label before using on acrylic or polycarbonate windows. These plastics can haze with petroleum solvents, so test on a small area first or choose a formula labeled plastic-safe.
How long should I let the remover sit before wiping?
Two to three minutes is ideal for most products. This gives the solvents time to break down the bond without drying on the surface. For extremely stubborn tar, you can extend dwell time to five minutes, but rinse immediately if the product starts to dry.
Will bug and tar remover damage my RV's wax coating?
Quality removers won't strip wax if you rinse thoroughly, but they can reduce its effectiveness over time. We recommend reapplying a wash and wax product after each use to restore protection and shine.
What's the difference between bug remover and tar remover?
Bug removers target protein-based insect residue with enzymes or mild alkalis, while tar removers use petroleum solvents for asphalt and road grime. Most RV products combine both chemistries in one formula so you don't need separate bottles.
Can I use household products instead of RV bug & tar remover?
Some RVers use WD-40, cooking oil, or peanut butter in a pinch, but these aren't designed for automotive finishes and can leave oily residue that attracts dirt. A purpose-built remover cleans more effectively and rinses completely without extra steps.
Is it safe to use bug and tar remover on vinyl graphics?
Use caution around decals and wraps. Spray remover near the graphic and wipe away from the edges to avoid lifting them. Avoid soaking vinyl for more than a minute, and rinse thoroughly to prevent solvent from migrating under the adhesive.