

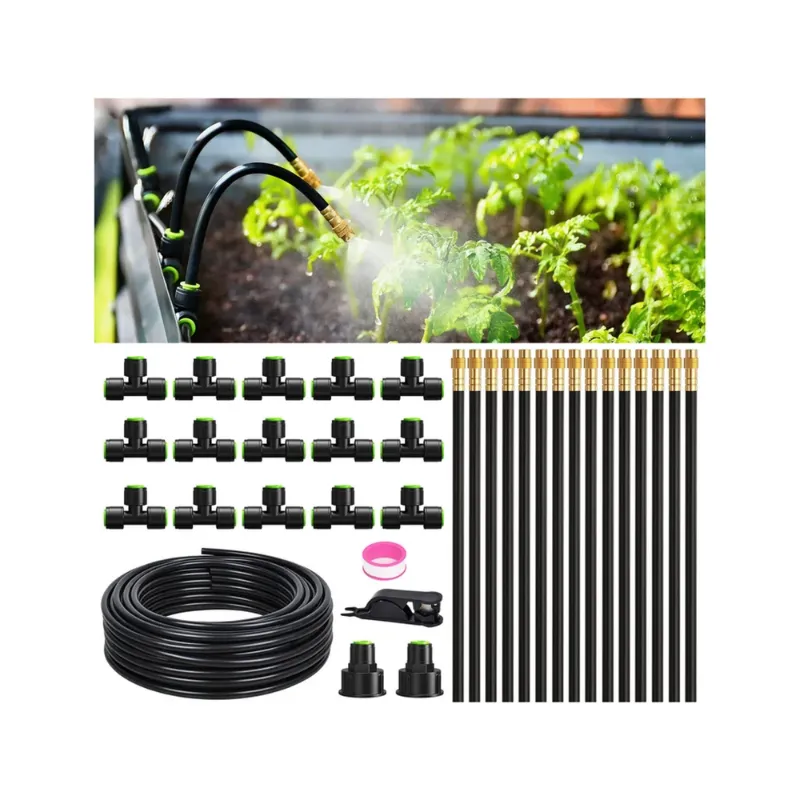
WiFi smart timers turn your garden watering system into a hands-free operation that waters on schedule or when soil moisture drops, no manual watering required. The rainpoint wifi water timer and similar smart controllers let you monitor and adjust watering from your phone, even while away. This guide covers setup, pairing with moisture sensors, automation schedules, and how to choose the right system for your yard.
Setting Up Your WiFi Water Timer
Getting started with a smart timer is straightforward. Download the companion app, create an account, and power on the device. Most WiFi timers connect to your home network via 2.4 GHz WiFi (5 GHz typically is not supported). Once paired to the app, you'll link the timer to your outdoor water source or main line.
Position the rainpoint wifi water timer in a sheltered location near your water valve to prevent weather damage and ensure a strong signal. Connect your hose or garden irrigation lines to the outlet, then set a test watering cycle to check for leaks and proper flow before automating.
Pairing Sensors for Automatic Watering
The real power of a smart garden watering system emerges when you add a soil moisture sensor. Wireless moisture sensors placed in your garden bed communicate soil wetness directly to the timer, triggering watering only when the soil dries below your target level.
Pair the soil moisture probe through the app following the product instructions. Most sensors use a simple pairing code or auto-discovery. Position probes 4-6 inches deep in the root zone of your plants. For garden drip irrigation system setups, place one probe near the drip line to represent the watered area.
You can pair multiple soil humidity sensor units across different zones. Set each zone to water independently based on its sensor reading, so shade areas and sun-exposed beds don't share the same schedule.
Creating Smart Watering Schedules
Smart timers offer two scheduling modes: time-based and sensor-based. Time-based schedules water at set days and times (e.g., Monday, Wednesday, Friday at 6 AM). Sensor-based mode waters only when soil moisture drops below your threshold, reducing waste in rainy weeks.
Combine both for safety: set a maximum interval (e.g., "do not exceed 10 days between waterings") alongside sensor thresholds. This ensures plants get watered even if sensors malfunction. Most apps let you preview your schedule and adjust run duration in 1-minute increments.
For a sprinkler hose or traditional sprinkler setup, time-based watering is often sufficient. For garden drip irrigation and container gardens using a moisture sensor, sensor-based automation saves the most water.
Choosing Between Smart Timer Types
| Feature | WiFi Timer | Hose-End Timer | Battery Controller |
|---|---|---|---|
| App control | Yes | No | Limited |
| Sensor pairing | Yes | No | Yes |
| Weather integration | Often | No | Rarely |
| Setup ease | 20 mins | 5 mins | 10 mins |
A water timer is the starting point if you want basic automation without sensor input. Hose-end timers screw directly onto your faucet and run on batteries, ideal for renters or simple schedules. WiFi timers offer more features and integration but require home network setup.
The rainpoint wifi water timer bridges cost and capability—app control plus sensor pairing without requiring professional installation. Check coverage and setup requirements before buying; most WiFi timers work with standard 3/4-inch hose connections.
Using Moisture Detection for Indoor Plants
An indoor plant watering system pairs a soil moisture detector with a small smart timer to water potted plants on demand. Place the detector in the largest pot or in a grouping of plants with similar water needs. Set the threshold to match your plant type (50% for tropical plants, 30% for drought-tolerant species).
Connect a small garden watering system line with a slow-drip nozzle or soaker line to each pot. The timer activates for 10-30 seconds when moisture drops, delivering a measured amount without overwatering.
Indoor setups work best in stable temperatures and away from heaters or AC vents that dry soil quickly.
Getting the Most from Automation
Review your schedule weekly for the first month. Note which zones dry fastest and adjust sensor thresholds or run times accordingly. Most apps show watering history and water usage, helping you spot broken hoses or sensor errors.
In winter, lower watering frequency or pause automations if your area freezes. Most smart timers have frost protection settings. Clean sensor probes monthly if they're in sandy soil or sediment-heavy water, as debris can affect readings.
Check the latest price and grab the 10% discount on RainPoint smart timers and sensors. Testing a system during a mild season lets you refine settings before peak summer demand.
Maintenance and Troubleshooting
Smart timers and sensors are low-maintenance once installed. Battery-powered sensors last 1-2 years before needing replacement. Check battery status in your app monthly. WiFi timers draw power from a USB adapter or low-voltage transformer, so confirm the power supply is weatherproof and plugged into a GFCI outlet.
If a moisture sensor stops reporting, restart it, check for corrosion on the probe, and verify WiFi signal in the app. Sensor range is typically 30-50 feet. Reposition your timer or add a WiFi extender if the garden is far from your router.
A garden watering system with smart automation cuts manual work and reduces overspray and runoff. Start with one zone, add sensors as needed, and adjust schedules based on seasonal rainfall and plant growth.
 Shopping at RainPoint US? See today's verified RainPoint US discount code
Frequently asked questions
Can I connect a soil moisture detector to any WiFi water timer?
Most modern smart timers like the rainpoint wifi water timer support wireless sensor pairing, but compatibility varies by brand. Check the product specs before buying to ensure the timer and sensor use the same frequency (usually 433 MHz or 868 MHz) and app ecosystem.
How often should I replace a soil moisture probe?
A quality soil moisture probe lasts 2-3 years with standard care. Replace it sooner if it shows corrosion, stops reporting readings, or gives erratic moisture levels. Keep the contacts clean and avoid leaving it in wet soil long-term without periodic removal.
Is a garden watering system with smart automation worth the cost?
Yes, especially if you have a large garden, travel frequently, or struggle with overwatering. Smart timers and sensors typically pay for themselves within one season by reducing water waste and plant loss. They also free up manual watering time.
Can I use a water timer on well water or rainwater tanks?
Yes, most smart timers work with any clean water source. If your water is heavily sediment-laden, add a filter before the timer to prevent clogs. Battery-powered timers work anywhere; WiFi timers need to stay within range of your home network.
What's the best schedule for a garden drip irrigation system?
Drip systems work best on sensor-based schedules that water when soil moisture drops below 50%. If sensors aren't available, water deeply 2-3 times per week in summer, once weekly in spring and fall. Drip lines are efficient and tolerate frequent short cycles.
How do I prevent my WiFi timer from getting damaged in freezing temperatures?
Most smart timers include frost protection that stops watering below 40°F. Drain hoses before freeze season, store battery-powered sensors indoors, and wrap outdoor wiring with insulation tape. Bring the timer or transformer inside if your area experiences extended sub-freezing weather.