
How to Install a Rain Shower Head Without a Plumber

How to Install a Rain Shower Head Without a Plumber
Installing a rain shower head yourself is easier than you think and typically takes 30 to 60 minutes with basic household tools. Whether you're upgrading to a rain shower head with handheld combo or mounting a large overhead fixture, most installations follow the same simple process: unscrew the old head, wrap the threads, and attach the new unit. We've tested dozens of models and walked through every installation type, so you can transform your shower without calling a pro or paying installation fees.
Tools and Materials You Need
Before you start, gather everything to avoid mid-project trips to the hardware store. Most rain shower head installations require just a few basic items:
- Adjustable wrench or slip-joint pliers
- Teflon tape (thread seal tape)
- Soft cloth or rag to protect finishes
- Step stool or ladder for overhead installations
- Penetrating oil (if removing a stuck old shower head)
For ceiling-mounted or rain shower head system installations, you may also need a drill, drywall anchors, and a pipe wrench. Check the latest price on complete kits that include mounting hardware and extension arms to simplify the process.
Step-by-Step Installation for Wall-Mount Models
Wall-mount rain shower heads replace your existing shower arm and are the easiest type to install yourself. Here's the complete process:
- Remove the old shower head. Turn it counterclockwise by hand or use an adjustable wrench wrapped with a soft cloth to avoid scratching the finish. If it's stuck, apply penetrating oil, wait 10 minutes, and try again.
- Clean the shower arm threads. Wipe away old tape, mineral deposits, and debris with a damp cloth. Dry the threads completely before moving forward.
- Apply Teflon tape. Wrap the threads clockwise 3 to 4 times, stretching the tape slightly as you go. This creates a watertight seal and prevents leaks.
- Attach the new rain shower head. Screw it on by hand first, turning clockwise until snug. Then use your wrench to tighten an additional quarter turn. Don't overtighten or you risk cracking the fitting.
- Test for leaks. Turn on the water and inspect the connection. A few drops during the first minute is normal, but continuous dripping means you need to tighten slightly or add more Teflon tape.
Most rain shower head with handheld combinations mount the same way, with a diverter valve that splits water between the overhead and handheld units. The process remains identical.
Installing a Rain Shower Head from Ceiling
Ceiling-mount installations create a true rainfall effect but require more planning. If you already have a ceiling shower arm in place, the installation mirrors the wall-mount steps above. If you're adding a new ceiling connection, here's what changes:
For existing ceiling plumbing: Simply remove the old head, apply Teflon tape, and attach your new rain shower head large fixture. Many high-end models include an extension arm to lower the head to a comfortable height.
For new ceiling installations: You'll need to run a new water line through the ceiling, which we recommend leaving to a licensed plumber unless you have advanced DIY skills. The cost and complexity jump significantly when cutting into drywall and soldering new pipes.
A practical middle ground is a rain shower head attachment that connects to your existing wall arm but extends upward and outward with an S-shaped or curved pipe. These "shower arm extenders" give you an overhead spray pattern without any ceiling work and install in minutes.
Choosing Between High Pressure and Large Coverage
The best rain shower head for your space depends on your water pressure and shower size. We've found these guidelines work for most bathrooms:
| Feature | Best For | Trade-Off |
|---|---|---|
| 6 to 8 inch diameter | Standard showers, moderate pressure | Concentrated spray, easier installation |
| 10 to 16 inch diameter | Spacious showers, strong pressure | Wider coverage, may reduce pressure |
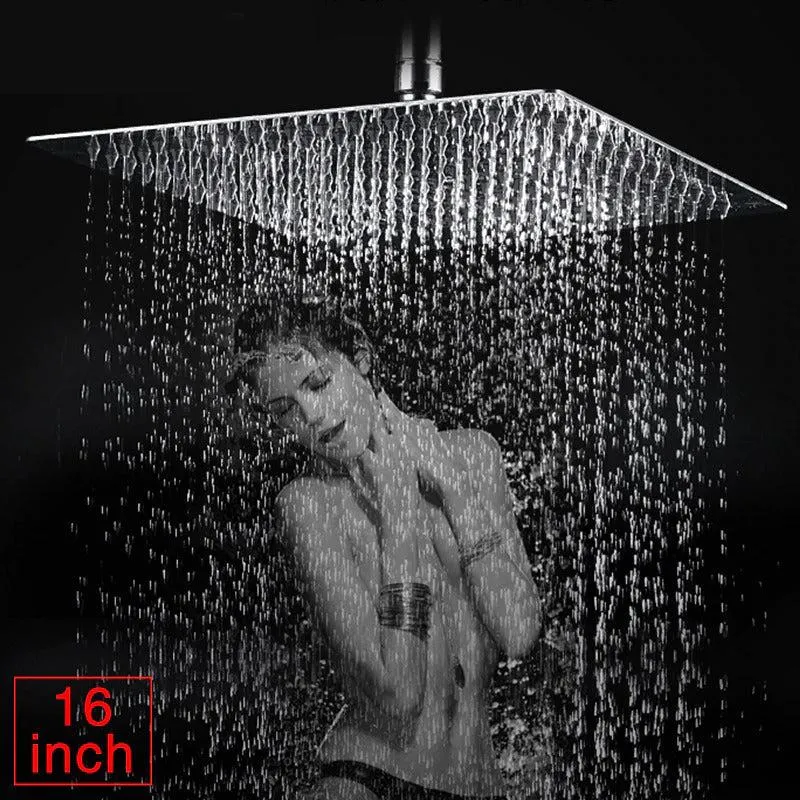
| 24 inch rain shower head | Luxury showers, excellent pressure | Full-body coverage, requires robust mounting |
If you have low water pressure, skip the oversized models. A rain shower head high pressure design with smaller nozzles and a focused spray pattern will feel more powerful than a large head that spreads weak flow across too much area. Consider pairing with other upgrades like a bathroom light fixture or corner shelf to complete your refresh.
Before you buy, grab the code for 10% off all orders and check flow rate specifications. Look for models rated at 2.0 to 2.5 gallons per minute for the best balance of coverage and pressure.
Avoiding Common Installation Mistakes
We've seen these issues trip up first-time installers, but they're all easy to prevent:
- Using too little Teflon tape. Three to four wraps is the minimum. One or two layers often leads to slow leaks that worsen over time.
- Cross-threading the connection. Always start threading by hand to ensure proper alignment before using a wrench.
- Overtightening. Brass and plastic fittings crack easily. Tighten until snug, then add just a quarter turn with your wrench.
- Ignoring the spray pattern. Mount adjustable heads so the ball joint has room to pivot. Fixed heads should point slightly forward, not straight down.
- Forgetting to check local codes. Some areas require flow restrictors or pressure-balancing valves. Verify requirements before installation.
If your new shower head drips from the face (not the connection), the issue is usually a worn valve seat or cartridge inside your shower valve, not the head itself. That repair is separate and may need professional help.
When to Consider a Complete Shower System
A rain shower head system includes the overhead fixture, handheld sprayer, body jets, diverter valves, and all necessary plumbing in one package. These make sense if you're remodeling your entire shower or building new construction, but they're overkill for a simple upgrade.
For most DIY installations, a standalone rain shower head or a combo unit with handheld attachment delivers the spa experience you want at a fraction of the cost and complexity. Pair it with practical additions like a soap dispenser mounted at the right height or a towel rack with towels within arm's reach to round out the functionality.
Installation follows the same basic steps as a simple head replacement. The difference is you'll mount the diverter valve (usually included) between your shower arm and the rain head, then attach the handheld bracket to your shower wall with screws or adhesive. Total time rarely exceeds 45 minutes.
Maintenance Tips to Extend Lifespan
Once your rain shower head is installed, a few simple habits keep it performing like new:
- Descale monthly. Soak the face plate in equal parts white vinegar and water for 30 minutes to dissolve mineral buildup. Use a soft brush on the nozzles.
- Wipe dry after use. A quick squeegee or towel wipe prevents water spots and slows mineral accumulation, especially in hard water areas.
- Check connections quarterly. A quick visual inspection catches small leaks before they damage walls or ceilings.
- Clean the filter screen. Most quality models include a small mesh filter where the head connects to the arm. Unscrew it once or twice a year and rinse away sediment.
The same maintenance applies whether you installed a compact model or a premium rain shower head with multiple spray settings. Consistent care means you won't need to replace rubber gaskets or deal with clogged nozzles for years.
If you're upgrading other fixtures, we've found the installation difficulty ranks: rain shower head (easiest), sink faucets, bathtub faucet, then full systems. Master the shower head first, and the others become much less intimidating.
Frequently asked questions
Can I install a rain shower head without replacing the shower arm?
Yes, most rain shower heads screw directly onto your existing shower arm threads. As long as the connection is standard half-inch NPT threading, you only need to remove the old head and attach the new one with Teflon tape.
Will a large rain shower head reduce my water pressure?
It can if your home has low baseline pressure. Larger heads spread the same flow across more nozzles, which feels gentler. If pressure is a concern, choose a model 8 inches or smaller with a focused spray pattern.
Do I need a plumber to install a ceiling-mounted rain shower head?
Only if you're adding new ceiling plumbing. If a ceiling arm already exists, installation is identical to a wall-mount model. For new ceiling lines, hire a licensed plumber to ensure proper routing and leak prevention.
How do I stop my rain shower head from leaking at the connection?
Remove the head, add two more layers of Teflon tape to the threads (wrapping clockwise), and reattach. Tighten by hand first, then use a wrench for a final quarter turn. Most leaks stem from insufficient tape or loose connections.
Can I use a rain shower head with handheld in a small shower?
Absolutely. Combo units with a diverter valve let you switch between overhead rain and handheld spray, giving you flexibility without taking up extra space. The handheld is especially useful for rinsing and cleaning the shower itself.
What size rain shower head works best for standard ceilings?
For typical 8-foot ceilings, a 6 to 10 inch diameter head provides good coverage without feeling too low. If your head hangs below 6.5 feet after installation, use a shorter shower arm or mount it at an angle to gain clearance.