
How to Use Drillbrush Polishing Pads for Drill to Restore Shine Without Scratching

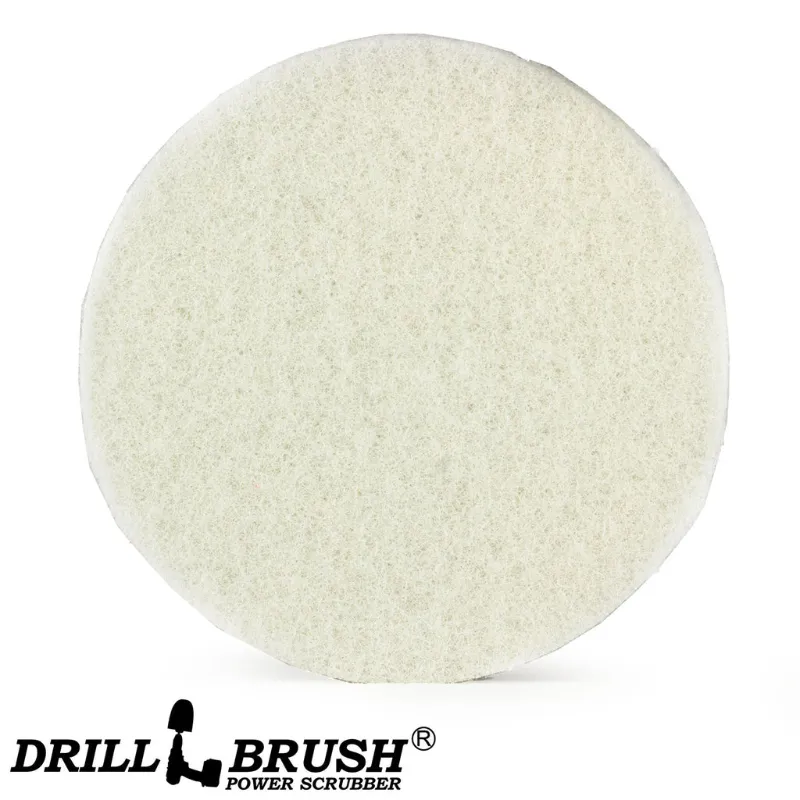
Using polishing pads for drill is one of the fastest ways to restore shine to cars, tiles, countertops, and furniture without the arm fatigue of hand polishing. Pair the right pad with a quality compound and a consistent technique, and you get a scratch-free finish in a fraction of the time. This guide walks through everything you need to know to get it right from the start.
What Are Polishing Pads for Drill and Why Use Them
A polishing pad for drill is a foam or microfiber disc that mounts directly to your drill via a quick-connect drill adapter. Unlike a dedicated polisher, your standard cordless drill is already in the toolbox, making this a low-cost entry point into machine polishing.
The core advantages:
- Speed - a drill spins the pad consistently so you cover more surface area with less effort
- Even pressure - machine contact is more uniform than hand buffing, which reduces swirl marks
- Versatility - swap pads to cut, polish, or finish on the same drill
- Compatibility - most pads from Drillbrush's drill brush attachments lineup use a universal shaft that fits cordless and corded drills
The trade-off is that a drill runs at higher RPM than a dedicated dual-action polisher, so technique matters more. Keep the drill below 1,200 RPM when polishing delicate surfaces and keep the pad moving at all times.
Choosing the Right Pad for the Job
Not every pad is built for the same task. Here is a quick reference:
| Pad Type | Best Use | Aggressiveness |
|---|---|---|
| Foam cutting pad | Heavy oxidation, deep scratches | High |
| Foam polishing pad | Light swirls, general polish | Medium |
| Microfiber finishing pad | Final gloss, wax application | Low |
| Wool pad | Paint correction, heavy compound | Very high |
For most home users tackling a dull car hood, a bathroom tile, or a scuffed countertop, a medium foam polishing pad paired with a multi purpose cleaning paste covers the majority of jobs. Save the wool or cutting pads for surfaces with visible scratches or heavy oxidation.
If you are unsure where to start, check the latest pricing and current offer on Drillbrush's pad and paste bundles before buying separately.
How to Set Up Your Drill for Polishing
Getting the setup right before you touch the surface prevents most beginner mistakes.
- Attach the drill adapter - thread the drill adapter into your drill chuck and tighten firmly. Wobble at this stage transfers directly to the pad and causes uneven contact.
- Mount the pad - press the pad onto the adapter's hook-and-loop face until it seats flat. Check that it runs true with a quick half-second spin.
- Apply compound - dab a small amount of paste for cleaning directly onto the pad, not the surface. Three to four pea-sized dots spread evenly is enough for a 12-inch section.
- Set your speed - start at the drill's lowest speed setting to spread the compound before increasing to a working speed. This stops product from flinging off the pad.
- Work in sections - divide the surface into manageable zones (roughly 18 x 18 inches on a car panel) and complete each one before moving on.
Technique: Getting a Scratch-Free Finish
This is where most people go wrong. The drill does the work; your job is to guide it.
- Keep the pad flat against the surface. Tilting the edge concentrates pressure and can burn clear coat or scratch softer materials.
- Move in overlapping passes, side to side then top to bottom, like mowing a lawn. Random circular motions leave swirl patterns.
- Never stop the drill while the pad is in contact with the surface. A stationary spinning pad will heat one spot and damage it.
- Use light to medium pressure. On painted surfaces especially, the weight of the drill itself is usually enough.
- Wipe residue with a clean microfiber after each section before it dries.
For textured surfaces like grout lines or matte tiles, switch from a polish pad to a soft bristle brush or a drill brush scrubber. These flex into the texture rather than skating over it, and a little multi purpose cleaning paste on the bristles handles grime that a flat pad cannot reach.
Matching Pads and Brushes to Different Surfaces
One set of drill brush attachments can cover most of the surfaces around your home and vehicle. Here is how to match tools to tasks:
- Car paint and clear coat - foam polish pad at low RPM, finishing pad for final gloss
- Chrome and metal trim - polish pad drill with a light metal polish compound
- Bathroom tile and grout - drill brush scrub for grout lines, polish pad for the tile face
- Countertops (stone, laminate) - medium foam pad with a gentle paste for cleaning
- Boat hulls and fiberglass - cutting pad first for oxidation, then finish with a polish pad
- Upholstery and vinyl - soft bristle brush only; pads are too aggressive for fabric
For heavily soiled surfaces before polishing, a quick pre-clean pass with a black brush or drill brush removes loose grime so the compound is not dragging debris across the surface.
Caring for Your Pads to Make Them Last
Pads are not single-use, but they do need consistent care.
- Clean after every session - rinse foam pads under warm water and work out the compound residue with your fingers. Let them air dry face-up.
- Never machine dry - heat degrades the foam cell structure and the hook-and-loop backing.
- Inspect before use - a pad with torn foam, hard residue buildup, or a loose backing should be retired. A damaged pad causes uneven pressure and potential scratching.
- Store flat - stacking pads under weight compresses the foam and changes the cut profile.
A well-maintained pad can last dozens of sessions. Investing in a few extras so you always have a clean, dry pad ready is worth it, and you can grab the code to save on a multi-pack order.
Who Gets the Most Value From This Setup
A drill-based polishing kit makes sense for a specific type of user:
- Weekend detailers who want professional-looking results without buying a dedicated dual-action polisher
- Homeowners tackling tile, appliances, and countertops across multiple rooms
- Boat and RV owners dealing with large oxidized fiberglass surfaces
- Anyone already owning a cordless drill who wants to expand what it can do with a simple drill adapter and a set of pads
If you are detailing cars professionally or working on high-end paint correction daily, a dual-action polisher gives you more control at lower RPM. For everyone else, a quality polishing pad for drill setup hits a strong value-to-results ratio.
Frequently asked questions
Can I use polishing pads for drill on car paint without causing swirls?
Yes, as long as you keep the pad flat, keep it moving, and run the drill at a low RPM. Swirl marks usually come from stopping the drill mid-surface or pressing one edge of the pad into the paint.
What is the difference between a polishing pad and a drill brush scrubber?
A polishing pad is a flat foam or microfiber disc designed to spread and work in compound or polish on smooth surfaces. A drill brush scrubber has bristles that flex into textured surfaces like grout, fabric, or rough tile where a flat pad can't make consistent contact.
Do I need a special drill adapter to use Drillbrush polishing pads?
Most Drillbrush pads use a universal hook-and-loop backing that attaches to a standard drill adapter. The adapter threads into your drill's chuck just like any other bit, so no special drill is required.
What cleaning paste works best with a polish pad drill setup?
A multi purpose cleaning paste works well for most surfaces including tile, countertops, and fiberglass. For car paint, choose a paste formulated for automotive clear coat and match the compound's cut level to the severity of the oxidation or scratches.
How often should I replace my polishing pads?
There is no fixed interval since it depends on use and how well you clean them after each session. Inspect the pad before each use and replace it if the foam is torn, the backing is loose, or hardened residue won't rinse out.
Can the same drill brush attachments handle both scrubbing and polishing jobs?
Yes. A full drill brush attachments set typically includes both bristle brushes for scrubbing and foam pads for polishing, so you can switch between tasks on the same drill with just a quick adapter swap.