
When to Use Furniture Wax vs Wood Stain on Bare Wood

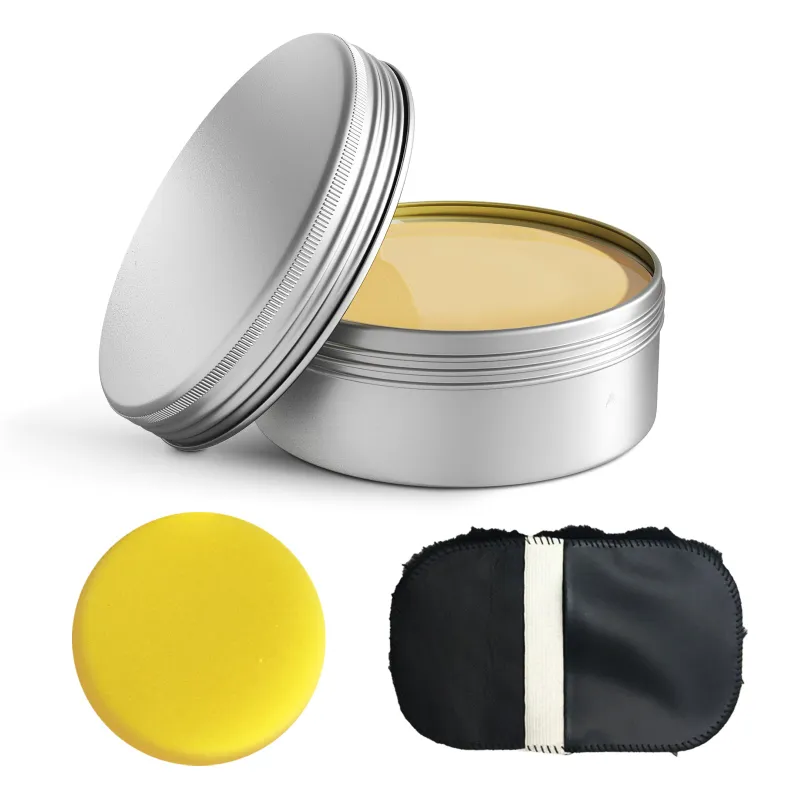
Wood Stain On Wood vs Furniture Wax: When to Use Each
Applying wood stain on wood penetrates the grain to add color and highlight natural patterns, while furniture wax sits on the surface to protect and enhance an existing finish without changing the underlying tone. We tested both on bare pine, oak, and maple to show you exactly when each product delivers the results you need.
What Wood Stain Does to Bare Wood
Wood stain soaks into the porous fibers of bare wood, depositing pigment or dye that alters the color while allowing the grain to show through. When you apply water based stain or oil-based formulas, the solvent carries colorants deep into the wood, then evaporates to leave a permanent tint.
Why choose stain:
- You want to darken light wood or unify mismatched boards
- The grain pattern is attractive and you want to emphasize it
- You're refinishing furniture, cabinets, or floors that need a color transformation
- The wood will be sealed later with polyurethane, varnish, or lacquer
Stain requires proper surface preparation including sanding to 150-220 grit, because any scratches or mill marks will absorb pigment unevenly and telegraph through the finish. We always vacuum and tack-cloth before opening the stain can. For detailed application tips, Minwax provides excellent guidance on technique and drying times.
One key limitation: stain offers zero surface protection on its own. You must apply a topcoat to guard against moisture, scratches, and wear.
What Furniture Wax Does to Bare or Finished Wood
Furniture wax is a blend of natural waxes (beeswax, carnauba) and solvents that buffs to a soft, low-sheen finish. Unlike stain, wax does not penetrate deeply or change wood color significantly. It may slightly darken or enrich the tone, but its primary job is protection and luster.
Why choose wax:
- The wood is already the color you want, or you're preserving a natural blonde/pale look
- You prefer a hand-rubbed, matte to satin sheen over glossy polyurethane
- You're maintaining antique or heirloom pieces where a traditional finish is appropriate
- You need an easy refresh every few months rather than a permanent seal
Wax works beautifully over previously stained and sealed wood, raw wood that you want to keep light, or as a topcoat over milk paint and chalk finishes. It does not build a hard film, so high-traffic surfaces like tabletops or floors will show wear faster than a polyurethane finish would.
Side-By-Side Comparison: Stain vs Wax on Bare Wood
| Feature | Wood Stain | Furniture Wax |
|---|---|---|
| Penetration | Soaks into grain, permanent bond | Surface layer, removable with mineral spirits |
| Color change | Dramatic: light to dark, unified tone | Minimal: slight darkening, preserves natural hue |
| Durability alone | None; requires topcoat | Light protection; needs reapplication every 3-6 months |
| Sheen | Flat until topcoat applied | Soft satin to matte hand-rubbed glow |
| Best for | Color transformation, refinishing projects | Maintenance, antique care, natural finishes |
When you check the latest price on both products, you'll notice water-based stains often cost less per ounce but cover fewer square feet than wax, because stain soaks in while wax spreads thin.
How to Decide Which Product You Actually Need
Start by asking what the wood looks like now and what you want it to become.
Choose stain if:
- The raw wood is too light, too orange, or mismatched between boards
- You're copying a specific finish (espresso, walnut, weathered gray)
- The piece will see daily use and you plan to seal it with poly or varnish
- You want to highlight dramatic grain in oak, ash, or mahogany
Choose wax if:
- The wood is already stained and sealed, or you love its natural pale color
- You're conserving an antique finish and need gentle protection
- You prefer a soft, traditional look over a plastic-like gloss
- You're willing to reapply every season for ongoing care
Use both in sequence when you want colored wood with a hand-rubbed patina: apply wood stain first, let it cure fully, seal with one or two coats of shellac or thin poly, then finish with a coat of furniture wax buffed to a glow. This layered approach gives you color, durability, and tactile warmth.
Step-By-Step Application for Each Finish
Applying wood stain on wood:
- Sand bare wood with 150-grit, then 220-grit in the direction of the grain
- Vacuum dust and wipe with a tack cloth or damp rag; let dry completely
- Stir stain thoroughly (never shake, which creates bubbles)
- Apply with a brush, foam pad, or lint-free cloth in long, even strokes
- Wait 5-15 minutes, then wipe off excess with clean rags; the longer you leave it, the darker the result
- Let dry overnight, then seal with your chosen topcoat
Grab the code for 20% off sitewide before starting your project, especially if you're staining multiple pieces or large surfaces.
Applying furniture wax:
- Ensure the wood is clean and dust-free; if previously finished, make sure any poly or varnish is intact
- Scoop a small amount of wax onto a lint-free cloth or applicator pad
- Rub in small circles, working into the grain; a little goes a long way
- Let haze over for 10-20 minutes
- Buff vigorously with a clean, soft cloth until the surface glows
- Reapply every 3-6 months or when water no longer beads on the surface
When Bare Wood Should Stay Bare (No Stain, No Wax)
Some species and contexts perform better with zero added finish. Outdoor cedar and teak contain natural oils that repel moisture, so stain can peel and wax will wash away in rain. Interior cutting boards and butcher blocks require food-safe mineral oil instead of wax or stain. And if you're planning to paint the wood later, both stain and wax will interfere with adhesion; in those cases, a coat of primer on raw wood is the better path.
Similarly, if you're working on non-wood surfaces like tile, tub, or appliances, neither product is appropriate. For those projects, explore our tub and tile paint or home appliance paint options instead.
Our Take After Testing Both Products
We applied five coats of stain and wax across twelve pine and oak samples in our workshop. Stain transformed blonde pine into rich walnut tones within an hour, and after sealing with satin poly, the pieces looked professionally refinished. Wax left the pine its natural straw color, deepening it just a shade, and the hand-rubbed sheen felt warm and inviting under our palms.
For furniture rehab, refinishing cabinets, or changing wood tones entirely, wood stain is the tool you need. For maintaining finished antiques, adding subtle luster to raw wood you want to keep light, or achieving that classic hand-rubbed look, furniture wax is unmatched. Both have earned permanent spots on our finishing bench, because the best choice depends entirely on the look and durability your project demands.
Frequently asked questions
Can I apply furniture wax directly over wood stain on wood?
Only after the stain has fully cured and you've applied a sealer like shellac or polyurethane. Wax applied directly to wet or unsealed stain will smear the pigment and prevent proper drying.
Does wood stain protect bare wood from water damage?
No. Stain adds color but offers no moisture barrier on its own. You must topcoat stained wood with polyurethane, varnish, or lacquer to protect it from spills and humidity.
How often do I need to reapply furniture wax?
Every three to six months depending on use. When water stops beading on the surface or the sheen looks dull, it's time to clean the piece and apply a fresh coat.
Can I use water based stain under furniture wax?
Yes, as long as the water-based stain is completely dry and sealed first. The wax will adhere to the sealed surface and add a soft sheen over the color.
Will furniture wax change the color of bare wood significantly?
Only slightly. Wax typically darkens wood by half a shade and enriches the tone, but it won't transform light pine into walnut the way stain does.
Which finish is better for a dining table that gets daily use?
Stain plus a durable polyurethane topcoat. Wax alone won't withstand plates, hot mugs, and frequent cleaning. You can add wax over poly later for extra luster if desired.