
Best OOSSXX Camera for Night Surveillance: Infrared Illuminator vs Built-In IR Compared

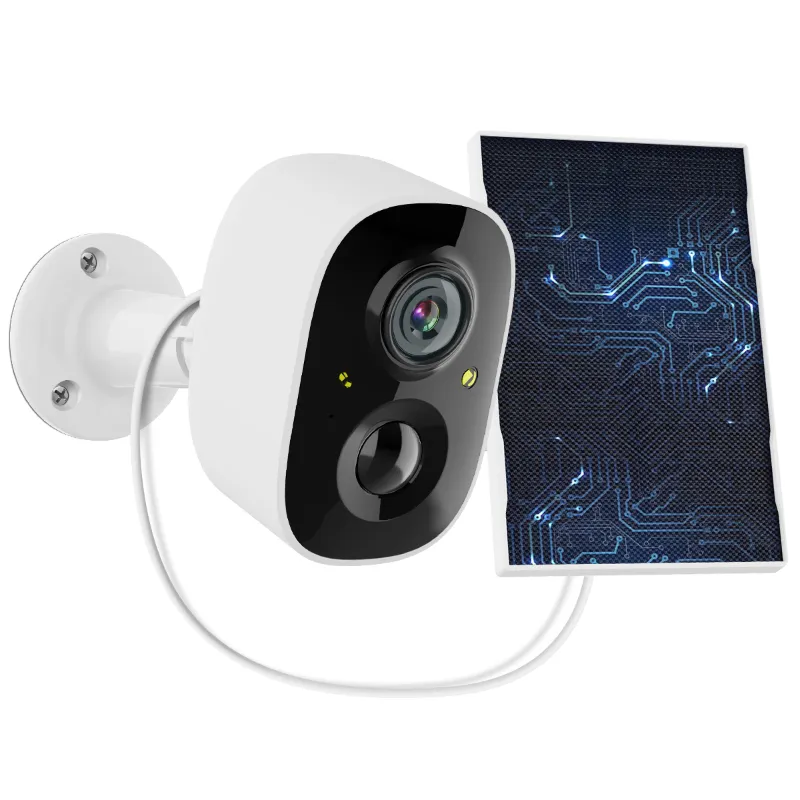
A dedicated external infrared illuminator beats built-in IR for night surveillance with an oossxx security camera in almost every yard: it throws light farther, spreads it more evenly, and keeps bugs and spiders away from the lens. Built-in IR is fine for close-range coverage, but once you want a clear image past about 30 feet or across a wide driveway, adding a separate infrared light is the upgrade that actually moves the needle. Below we compare the two setups with the OOSSXX gear we have tested, and show you how to pair them correctly.
Why Built-In IR Falls Short at Night
Every OOSSXX camera ships with infrared LEDs around the lens, and for a porch or doorway they work well. The problem is physics and placement:
- Limited throw. The small LED ring is designed for short range. Past roughly 30 feet, detail drops fast and faces become smudges.
- Uneven coverage. Built-in IR lights a hot spot in the center and leaves corners dark, which is exactly where intruders walk.
- Insect attractant. Bugs swarm the LEDs around your lens at night, triggering motion alerts and blocking the view.
- Reflection glare. If the camera sits under an eave or near a wall, IR bounces back off nearby surfaces and washes out the image.
The Fix: A Separate Infrared Illuminator
An external infrared illuminator 850nm mounts away from the camera and floods the scene with invisible light the camera sensor can use. Because it sits elsewhere on the wall or fascia:
- Bugs gather at the illuminator, not your lens.
- You can angle it to fill the whole driveway, gate, or backyard evenly.
- A dedicated ir flood lamp reaches much farther than a tiny LED ring, giving you usable detail at distances built-in IR cannot touch.
- Your camera's own IR can be turned off (or set to kick in only at very close range), reducing glare and reflections.
One thing to check before buying: 850nm illuminators produce a faint, dull red glow at night that is noticeable up close but easy to hide. If you need a truly invisible setup, look for 940nm units, though they trade some range for stealth. For most homes, 850nm is the practical pick.
Infrared Illuminator vs Built-In IR Compared
| Feature | Built-In IR | External Illuminator |
|---|---|---|
| Effective range | Short, close-range detail | Long-range, wide coverage |
| Evenness | Hot center, dark corners | Angle it to fill the scene |
| Bugs and spiders | Swarm the lens | Gather away from camera |
| Glare from eaves or walls | Common | Rare, easy to angle around |
| Cost | Included with camera | One-time small add-on |
| Best for | Porches, doorways, small patios | Driveways, yards, gates, alleys |
Which OOSSXX Cameras Pair Best With External IR
Any camera with infrared capability will pick up an external illuminator, but the sensor and placement matter. A wired poe security camera system is our favorite pairing, because power over ethernet means one cable per camera and no wi-fi dropouts when you least want them. If you already own an OOSSXX kit, the same logic applies: the cameras accept external IR light without any configuration beyond adjusting sensitivity.
Our picks by situation:
- Driveway or gate coverage: a poe outdoor camera mounted 8 to 10 feet high, with the illuminator mounted separately a few feet to the side.
- Whole-yard night vision: an oossxx security camera on one corner of the house, illuminator on the opposite corner, crossed so light falls on the approach path instead of the camera position.
- Rear fence or side alley: the compact oossxx camera with a low-angle flood lamp aimed along the fence line.
Before you buy, check the current bundle pricing and our 10% code on the OOSSXX discount page — adding an illuminator to an existing kit is one of the cheapest night-vision upgrades you can make.
How to Mount and Aim Your Setup
Placement decides whether the extra light helps or hurts. Follow this sequence:
- Mount the camera high, aim low and outward. Use a solid security camera mounting bracket at 8 to 10 feet. That height catches faces instead of heads-only, and keeps the unit out of easy reach.
- Mount the illuminator off-axis. Put it several feet to the side of the camera, aimed across the area you want to see. This stops light from bouncing straight back into the lens.
- Hide the wiring properly. A security camera junction box at the camera and at the illuminator keeps connectors dry and makes the install look clean instead of taped-up.
- Test at night before final tightening. Walk the whole coverage area, check the live view on your recorder, and adjust for dark corners or overexposed hot spots.
- Dial in alerts. With bugs now gathering at the illuminator instead of the lens, you can drop motion sensitivity a notch and still catch real movement.
Care and Troubleshooting
External IR gear is low maintenance, but a few habits keep night footage sharp:
- Wipe both the camera lens and the illuminator window monthly; dust films cut effective range noticeably.
- After storms, check that illuminator angle has not drifted from wind or branch contact.
- If footage looks washed out at night, reduce the camera's internal IR first, then soften the illuminator angle, before touching exposure settings.
- If a section of frame stays black, the illuminator is aimed too narrowly — widen the angle slightly rather than adding more light.
If you want a second opinion on the OOSSXX ecosystem before committing, this independent OOSSXX wireless security camera review covers real-home night performance and setup quirks in detail.
Who This Upgrade Actually Suits
Adding an external infrared illuminator is worth it if your camera watches anything beyond arm's length: a driveway, a gate, a yard, or a shared alley. If your oossxx security camera only covers a covered porch or a front door, built-in IR is genuinely enough, and the money is better spent on a second camera or a better mount. For everyone else, pairing one flood lamp per blind zone with an OOSSXX kit delivers the clearest night footage per dollar we have found. Check the latest price and grab the code before you order.
Frequently asked questions
Will an external infrared illuminator work with an OOSSXX camera out of the box?
Yes. OOSSXX cameras use standard infrared sensors, so they pick up any compatible external 850nm or 940nm illuminator. You can leave the camera's built-in IR on for close range and let the external unit handle distance.
Is 850nm or 940nm infrared better for home surveillance?
850nm is more common, reaches farther, and costs less, but it shows a faint dull red glow at night. 940nm is fully invisible but trades range for stealth, making it better for discreet placements near entryways.
Where should I mount the illuminator relative to my camera?
Mount it a few feet to the side of the camera, not directly above or behind it, aimed across the area you want covered. Keeping the light off-axis prevents IR bounce-back and draws bugs away from the lens.
How many infrared illuminators do I need for my property?
Most homes need one per major blind zone: a driveway, a rear yard, or a side alley. A porch or doorway is usually fine with built-in IR alone.
Do I need a POE security camera system for external IR to work?
POE models run power and video over a single ethernet cable, which simplifies mounting high on a wall and avoids the wi-fi dropouts that can interrupt night recordings. OOSSXX wireless models also work but need a solid signal at the mounting spot.
Why does my infrared illuminator glow faint red at night?
It is normal for the LEDs on an 850nm unit to show a faint dull red glow in the dark. If the whole unit glows or flickers abnormally, check the wiring connections and the junction box for water ingress.