
Can You Add a New Door to an Existing Shipping Container?

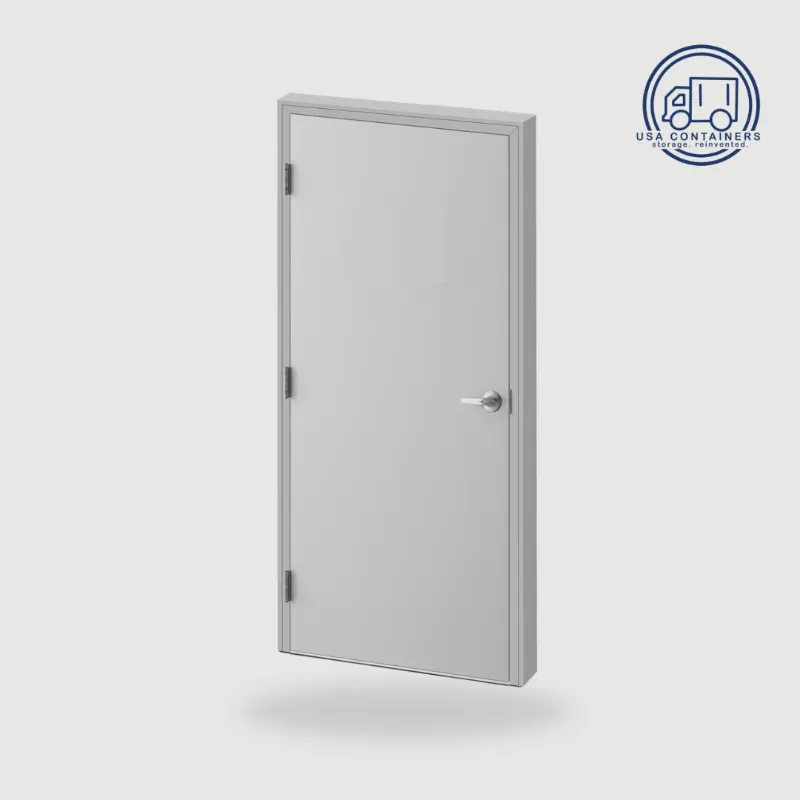
Yes, you can add a shipping container door to an existing container with the right kit, cutting tools, and reinforcement materials. Whether you're converting a 20ft 1-trip conex shipping container into a workshop or building shipping container homes, adding a personnel door or roll-up entry improves access and security without compromising the box's structural integrity.
We tested door installations on standard 20ft and 40ft containers and found that cutting into corrugated steel walls requires precise planning, proper framing, and weather sealing. Below, we walk through the tools, kits, materials, and step-by-step process to add a new door safely and efficiently.
Why Add a New Shipping Container Door
The factory double doors at one end of a container work well for loading, but they're inconvenient for daily access. Adding a side or end man door lets you enter without swinging open the massive cargo doors, which saves time and improves climate control if you're heating or cooling the space.
Roll-up doors are popular for garage conversions and workshops because they clear vertical space and allow vehicle access. A shipping container roll up door kit includes the track, springs, and panels sized for standard container openings, so you don't need custom fabrication.
If you're building out a container office or studio, a glass or insulated personnel door enhances natural light and curb appeal. Many shipping container door ideas incorporate windows, screen doors, or double-pane insulation to match residential aesthetics while maintaining the box's steel durability.
Shipping Container Door Kits vs DIY Framing
A shipping container door frame kit simplifies installation by bundling the steel frame, weather seals, and fasteners in pre-welded or bolt-together assemblies. These kits are designed to fit between vertical corrugations, so you cut a precise opening and bolt the frame into place. Most kits accommodate standard residential doors (32" or 36" wide) or roll-up garage doors (8' or 10' wide).
DIY framing is cheaper but demands welding skill and material sourcing. You'll cut the opening, weld a steel tube frame to the container's ribs, and then hang your door. We recommend kits for first-timers because they include the correct gauge steel and pre-drilled mounting holes, which reduces the risk of structural weakness or water infiltration.
Check the latest price on door kits and containers before you start; USA Containers offers a 10% sitewide discount that applies to accessories and modifications.
Tools and Materials You Need
Before you cut into your container, gather the following:
- Cutting tools: angle grinder with cut-off wheels, plasma cutter (optional but faster), or reciprocating saw with metal blades
- Welding equipment: MIG or stick welder, welding helmet, gloves, clamps
- Measuring and marking: tape measure, level, chalk line, square
- Door kit or frame materials: steel tube (2"×2" or 2"×3"), door hinges, latch hardware, weather stripping
- Fasteners: self-tapping screws, bolts, or weld-on tabs depending on your frame
- Safety gear: cut-resistant gloves, eye protection, respirator for metal dust
You'll also want a helper to hold the cut section steady and to lift the door into place. Container steel is 14-gauge corrugated corten, which is tough but manageable with the right blade and patience.
If you're lighting the workspace, indoor solar lights or a solar shop light provide bright, cord-free illumination during fabrication and finish work.
Step-by-Step: How to Install a Shipping Container Man Door
1. Mark the opening. Measure and mark the door height (typically 80" for residential doors) and width (32" or 36") on the container wall. Position the opening between vertical corrugations to minimize cutting through ribs. Use a level to ensure the outline is plumb and square.
2. Cut the opening. Score the outline with a grinder, then make the full cut with a plasma cutter or angle grinder. Cut slowly to avoid warping the steel from heat. Remove the cut panel and deburr all edges with a flap disc.
3. Install the frame. If you're using a shipping container door frame kit, bolt or weld the pre-fabricated frame into the opening, aligning it flush with the exterior wall. If you're DIYing, weld 2"×2" steel tube around the perimeter, attaching it to the container's vertical ribs and top/bottom rails. Add a horizontal header above the door to carry the load from the roof.
4. Reinforce and seal. Weld or bolt cross-bracing inside the frame to prevent flexing. Apply polyurethane or silicone sealant around the frame perimeter, then install weather stripping on the door stop.
5. Hang the door. Mount the hinges to the frame, lift the door into place, and secure it. Test the swing and adjust shims as needed to ensure a tight, even seal. Install the latch, lock, and strike plate.
Grab the code if you're ordering a container with pre-installed door options; many suppliers offer factory man doors at a lower cost than retrofitting.
Shipping Container Door Replacement and Upgrades
Replacing worn or damaged cargo doors is simpler than adding a new opening because the frame already exists. Cargo door hinges and twist lock hardware are standard, so you can source replacement panels and hardware from container parts suppliers. Upgrading to lockbox-style handles or adding a shipping barrels lock improves security without welding.
For side doors, swapping a basic hollow-core entry for an insulated steel or fiberglass door boosts energy efficiency and curb appeal. If you're building a container office or retail space, a glass door with an aluminum frame adds a professional look and pairs well with shipping container vents for natural ventilation.
Roll-up door upgrades are common in workshop conversions. A diy shipping container door project using an 8'×8' roll-up kit takes a weekend and opens up the entire end for vehicle or equipment access. Reinforce the opening with a steel header welded across the top ribs to support the door weight and guide track.
Maintaining Structural Integrity and Weatherproofing
Cutting into a container removes load-bearing steel, so you must reinforce the opening to prevent sagging or twisting. The vertical corner posts and top/bottom rails carry most of the load, but the corrugated walls provide lateral stiffness. Welding a steel frame around your door opening restores that stiffness and ties the new structure into the container's skeleton.
Water infiltration is the biggest long-term risk. Seal every joint, screw hole, and frame edge with marine-grade sealant. We recommend applying a bead of sealant under the frame before bolting it in, then adding a second bead on top after installation. Check the seal every six months and reapply as needed.
If your container sits outdoors, a shipping container roof or shipping container roof kit protects the door and prevents rust. Roof overhangs shed water away from the door frame and extend the life of your seals and paint.
For additional technical guidance on framing and installation, Super Cubes offers container door and partition resources with detailed diagrams and part lists. DryBox USA's man door tutorial walks through the cutting and framing process with photos, and The Container Guy's DIY kit video demonstrates a bolt-together frame installation that requires no welding.
Who Should Add a Container Door (and Who Shouldn't)
Adding a door makes sense if you're converting a container into a habitable or frequently accessed space: workshops, offices, studios, storage sheds, or shipping container homes. The convenience of a personnel door justifies the cost and labor when you're using the container daily.
Skip the modification if your container is strictly for occasional storage or if you lack metal fabrication experience and can't hire a professional. Improper cuts or weak framing can compromise the box's strength, lead to rust, and void warranties on newer containers.
If you're ordering a new container, ask about factory-installed doors. Many suppliers offer pre-cut man doors, roll-up doors, or double-door ends at competitive prices, and the factory weld quality often exceeds field modifications. Check current offers to see if door options are included in the 10% discount.
For mobile or temporary setups, consider adding shipping container wheels and container covers instead of permanent door modifications. You'll preserve the container's resale value and flexibility.
Frequently asked questions
Can you install a door in a shipping container without welding?
Yes, bolt-together shipping container door frame kits let you install a man door using self-tapping screws and structural adhesive instead of welding. These kits are easier for DIYers but may not be as strong as welded frames in high-wind or heavy-use applications.
How much does a shipping container door kit cost?
Door kits range from $200 for basic man door frames to over $1,500 for insulated roll-up door kits with tracks and hardware. Pricing depends on door size, material quality, and whether installation hardware is included.
Do I need to reinforce the container after cutting a door opening?
Yes, cutting into the corrugated wall removes structural steel, so you must weld or bolt a steel frame around the opening to restore rigidity and prevent sagging. Skipping reinforcement can cause the container to twist or leak.
What is the best size for a shipping container man door?
A 36-inch-wide by 80-inch-tall opening is standard for residential man doors and fits most pre-hung door units. This size provides comfortable access while minimizing the amount of steel you remove from the container wall.
Can I add a roll-up door to the side of a shipping container?
Yes, you can install a roll-up door on the side by cutting a large opening and welding a reinforced header across the top ribs. Side roll-up doors are common in workshop and garage conversions where end access is blocked.
How do I prevent a new container door from leaking?
Apply marine-grade polyurethane or silicone sealant around the door frame before and after installation, and install compression weather stripping on all door stops. Inspect the seals every six months and reapply sealant as needed to prevent rust and water damage.