

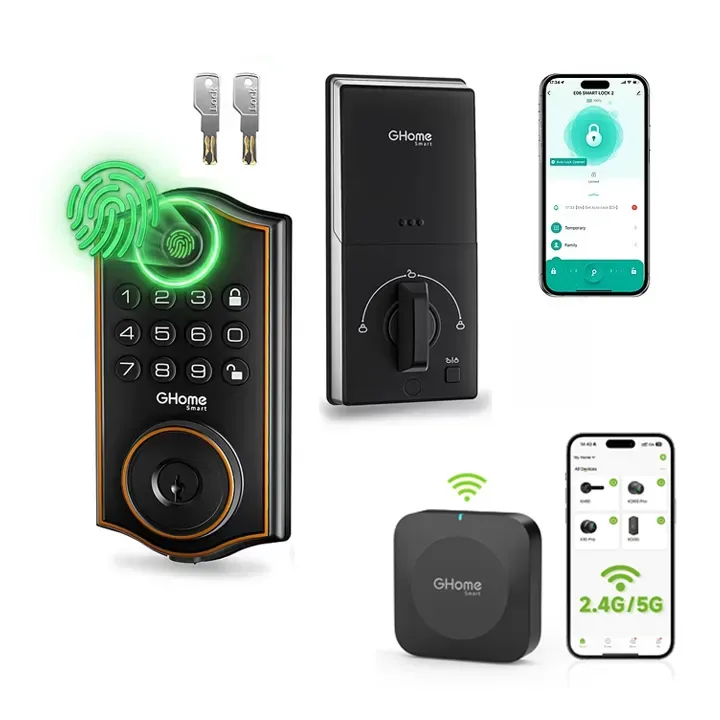
You get longer battery life out of a smart door sensor by fixing four things: signal strength, magnet alignment, how often the sensor reports, and the settings you leave running in the app. Most people replace the battery and assume the unit is failing when the real cause is a sensor fighting a weak Wi-Fi or hub link. We run the same routine on every GHome Smart smart door sensor we install, and it applies just as well to the Tuya and Google Home variants.
Why Your Smart Door Sensor Battery Drains Fast
A contact sensor is a tiny radio with a battery. Anything that makes it transmit more often than necessary shortens its life, even if nothing is technically broken.
- Weak signal. If the sensor sits at the edge of your router or hub range, it retries and re-sends every event. Retries are the single biggest drain we see.
- Constant re-pairing. Power blips or a router reboot that drops the device forces reconnection attempts, sometimes for hours.
- A loose magnet gap. If the magnet sits too far from the reed switch, small vibrations register as open and close events. Each one wakes the radio.
- High-traffic doors. A hallway door that opens forty times a day will always out-eat a closet sensor. That is normal, not a fault.
- Wrong or mixed batteries. Alkaline and lithium cells have different discharge curves. Mixing brands or old and new cells in the same unit causes early drop-offs.
- Cold spots. An unheated garage or porch door pulls voltage down faster in winter, which looks like a dead battery.
Placement and Signal Fixes That Add Months
Before you touch a setting, walk the house with the sensor in hand. Pairing it is one job, but where it finally lives matters more.
- Put the sensor within reliable range of your hub or router, with at most one interior wall in between.
- Keep it away from metal door frames, metal cabinets, and the back of a refrigerator. Those surfaces eat 2.4 GHz signal.
- Never mount the sensor body on the moving door leaf. Mount it on the frame so the unit stays still and only the magnet travels.
- Check the gap between the sensor and magnet with the door closed. It should sit snug, not touching, and close enough that a gentle push does not trigger a false event.
- If the frame is uneven, shim the smaller half rather than spacing both parts out.
If your wifi door sensor still drops offline in a spot you need, a cheap fix is a plug-in repeater or a hub placed more centrally. Moving the hub is free and usually beats buying anything.
Sensor Pairing Tips and App Setup Guide
Do the noisy work once, near the hub, then move the sensor into place. Pairing at the final location while the network is flaky is how you end up with duplicate entries and wasted setup time.
- Pair the device while standing next to the hub, confirm it reports, then relocate it.
- Run any firmware update immediately after pairing, and leave the sensor in place until it finishes.
- Set the report or sensitivity interval to the longest value the app allows for low-traffic doors.
- Turn on notifications for important doors only. Pushing every event does not drain the sensor, but it buries real alerts.
- Use app rules and schedules instead of leaving the device in a constant live-view or test mode. Test mode keeps the radio awake.
- If you use google home door sensor setup, link the account once and let Google pull states rather than polling your hub repeatedly.
Choosing the Right Sensor for the Job
Not every door needs the same hardware. Match the radio type and the mounting style to the door before you worry about batteries.
| Sensor | Best for | Battery point to check |
|---|---|---|
| smart door sensor | Standard interior and entry doors | Sealed body, so confirm the cell type before mounting |
| wifi door sensor | Homes without a hub | Wi-Fi radios are hungrier than low-power mesh, so keep it close to the router |
| tuya door sensor | Mixed-brand smart homes | Check it appears in your Tuya app before you mount it |
| wifi door window sensor | Sash and casement windows | Window frames get cold, so expect a shorter winter stretch |
| google home door sensor | Voice assistant support and routines | Confirm the routine fires locally, not through a cloud poll |
Our rule of thumb: hub-based sensors for doors you open constantly, Wi-Fi for the one or two doors where you do not want another hub.
Battery and Power Needs, Done Properly
Replace with the exact cell type listed for your model. A slightly thicker coin cell can bend the contact and cause intermittent cutouts that look like a battery problem.
- Change all cells in a multi-pack at the same time so the fleet ages together.
- For cold doors, lithium cells hold voltage better than standard alkaline in low temperatures.
- Write the replacement date on the inside of the mount cover with a pencil.
- Clean the contacts with a dry cotton bud if you see any white residue.
- Keep one spare cell per sensor on hand. The cost of a spare is small next to a door that quietly stops reporting.
Check the current price and offer on the GHome Smart discount page before you buy spares or a second sensor.
Wiring Requirements Elsewhere, and Why It Affects Your Sensors
Battery sensors get blamed for problems that start upstream. If your hub, router, or bridge loses power in a brownout, every paired device reconnects and burns battery doing it.
- A smart surge strip or smart power strips keeps the hub and router on a protected circuit and lets you power-cycle a stuck bridge remotely instead of pulling plugs.
- A 3 way smart switch or smart three way switch needs a neutral wire in the box. Check that before you buy, because a switch that browns out your circuit is worse than no switch.
- A light switch google install is a good time to confirm your neutral and ground, since the same box often feeds the hallway where your sensor lives.
- If you are building out home security basics, pair sensors with a door locks smartphone so a door event and a lock state tell the same story.
Care, Warranty and Support
Wipe the sensor body with a dry cloth, never a wet one, and recheck the magnet alignment every few months. Doors sag and frames swell with the seasons, so a gap that was perfect in summer can trigger false events in winter. If a sensor still eats batteries after you have fixed signal, alignment, and settings, contact support with your order details before buying a replacement. Shipping and returns terms and the full warranty and support policy are listed on the store, and you can grab the code here when you order a replacement.
Done in that order, most battery complaints turn out to be a placement or pairing problem, not a bad unit.
 Shopping at GHome Smart? See today's verified GHome Smart discount code
Frequently asked questions
How long should a smart door sensor battery last?
It depends on traffic, signal strength, and the radio type. A door that opens a few times a day on a strong hub link will always outlast a busy hallway door sitting at the edge of Wi-Fi range. Fix signal and magnet alignment first, then judge the battery.
Why does my wifi door sensor go through batteries faster than my other sensors?
Wi-Fi radios draw more power per transmission than mesh or hub-based radios, and they retry more when the router is far away. Mount the sensor closer to the router or add a repeater between them.
Can I use a different brand of battery in my tuya door sensor?
Use the exact cell type listed for your model and avoid mixing brands or old and new cells in the same unit. Mixed cells discharge unevenly and can cause early cutouts.
Does the app setup guide change how often the sensor reports?
Many apps let you set a report interval or sensitivity level. Choosing the longest interval your door tolerates reduces transmissions and extends battery life without losing useful alerts.
Will a smart power strip help my door sensors last longer?
It can help indirectly. Keeping your hub and router on a protected smart surge strip reduces brownouts and lets you power-cycle a stuck bridge remotely, which cuts the reconnect cycles that drain sensor batteries.
Should I mount the sensor on the door or the frame?
Mount the body on the frame and the magnet on the moving door. A sensor that travels with the door gets shaken on every open and close, which causes false events and faster battery drain.