

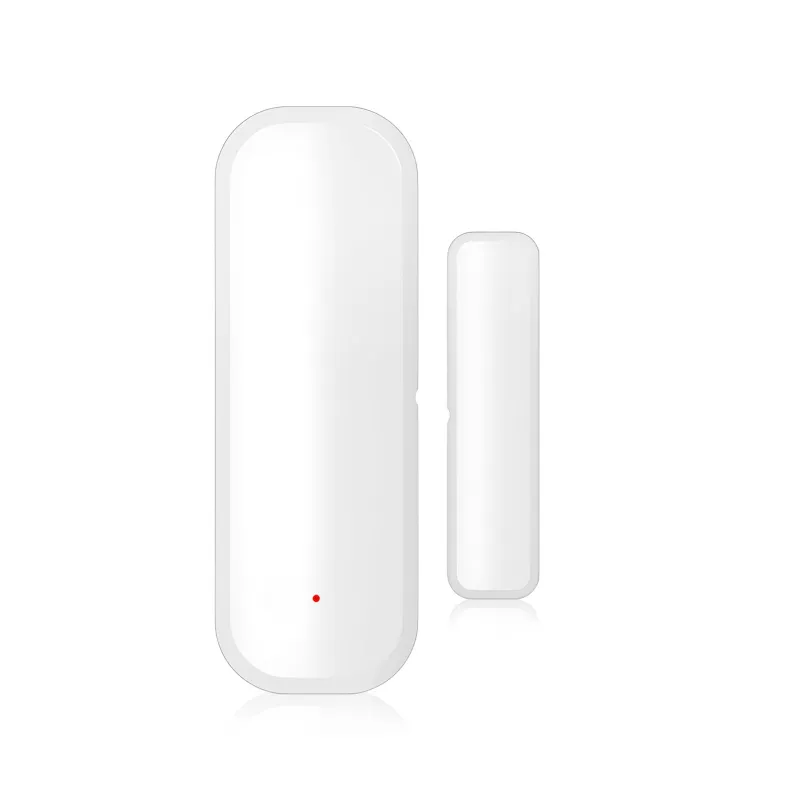
The smart door sensor from GHome Smart does not need a hub if you buy the Wi-Fi version: it connects straight to your 2.4GHz router and reports to the GHome Smart app on your phone. You skip the bridge, the base station, and the extra plug socket. The only sensors that still need a gateway are the ones sold as Zigbee or "requires hub" models, and that is a different product from the smart door sensor we list.
That single distinction answers most of the confusion people have before buying. Here is how to tell which one you have, what to check before you pair it, and how to slot it into a wider setup.
Does a Smart Door Sensor Need a Hub, or Just Wi-Fi?
Wi-Fi sensors are standalone. Each one has its own radio, its own battery, and its own connection to your router, so it talks to the internet and your phone without anything in between.
A hub earns its place only when the sensor has no Wi-Fi radio, which is the case with Zigbee and other low-power mesh protocols. Those models need a bridge to translate their signal into something your router understands.
- Wi-Fi label on the box: no hub, connect it directly in the app.
- Zigbee, Z-Wave, or "gateway required" in the listing: you need the matching bridge.
- "Works with Google Home" or "Works with Alexa": this describes voice assistant support, not a hub requirement. The sensor still talks to your router on its own.
One practical catch: these sensors use the 2.4GHz band, not 5GHz. If your router runs one network name for both bands, the pairing step can get fussy. Splitting them, or moving your phone to the 2.4GHz network during setup, saves a lot of retrying.
What You Need Before You Pair It
Getting the hardware ready first is the difference between a two-minute setup and a twenty-minute one.
- A 2.4GHz Wi-Fi network with the password to hand.
- The GHome Smart app installed and an account created before you start.
- Batteries fitted. Most door sensors ship with the cell loose or with a pull tab, so check the listing and the box.
- A clean, dry, flat mounting surface on the door or frame.
- Your phone close to the sensor for the pairing step.
Wiring requirements are the good news here: there are none. These are battery-powered, stuck-on or screwed-on sensors. No neutral wire, no electrician, no cutting into the frame. That is also why they suit renters and awkward side gates where running a cable is not realistic.
If you are pricing up a full set of doors and windows, check the latest price and code before you order multiples.
Which Sensor Fits Which Door
GHome Smart sells more than one version, and the differences matter more than the naming suggests.
| Sensor | Connection | Best for |
|---|---|---|
| wifi door window sensor | Wi-Fi, no hub | Front doors, windows, side gates, flat shares |
| tuya door sensor | Wi-Fi, Tuya-based app | Mixed-brand setups, automation-heavy homes |
| google home door sensor | Wi-Fi plus Google Home | Households that run routines by voice |
A few choosing notes that come up in real installs:
- Door or window, not both at once. A sensor monitors one opening. Count your openings before you order.
- Metal frames and metal doors can shorten wireless range, so keep the sensor and your router reasonably close.
- Thick or double doors sometimes need the magnet shimmed closer to the sensor body to register cleanly.
- Outdoors: cheap indoor sensors are not weatherproof. Under a porch overhang is fine; full rain exposure is not.
Sensor Pairing Tips That Work First Time
Most failed pairings are one of four things. Work through these in order:
- Put your phone on the 2.4GHz network for the whole pairing process, then switch back if you prefer.
- Trigger the sensor during pairing. Opening and closing the door once often wakes the radio and completes the handshake.
- Mount after pairing, not before. It is far easier to re-pair a sensor sitting on a table than one stuck to a door frame.
- Test the gap before the adhesive sets. With the door closed, the magnet and sensor body should sit close and aligned. Test open and closed in the app, then press it home.
- Re-pair rather than reinstall if the sensor drops off. Remove the device in the app, reset the sensor, then add it again.
Fitting It Into the Rest of Your Home
This is where a Wi-Fi sensor pays off: it can trigger other devices instead of just pinging your phone.
- Voice assistant support: link the GHome Smart skill in Google Home or Alexa and you can ask whether a door is open. That is the whole appeal of a google home door sensor setup.
- Door locks: a door locks smartphone paired with a sensor gives you a record of when the door opened and when it was unlocked, which is far more useful than either device alone.
- Lighting: a light switch google can fire when the sensor trips, so a hallway or porch light comes on the moment a door opens.
- Heating and cooling: a thermometer with app plus an open window alert stops you heating a room with the window wide open.
Keep automations simple at first. One sensor, one action, tested for a week. Stacking five routines on day one makes it impossible to tell what broke if something misfires.
Power, Care, and Buying With Confidence
Battery life depends on how busy the door is and how often the app pushes alerts. A front door on a family home will chew through cells faster than a spare-room window. Practical habits:
- Set the app's alert frequency sensibly rather than leaving everything on maximum.
- Keep a spare set of the correct cell size on hand, since sizes vary between models.
- Wipe the sensor and magnet with a dry cloth, and check the adhesive each season.
- Re-check alignment after hot or cold spells, as timber frames move.
Before ordering, read the shipping and returns terms on the product page, and note the warranty and support route. For multi-packs, grab the code first, then confirm the current offer on the store page. That is also the quickest place to check what the 10% off all orders deal covers before you add more sensors to the basket.
 Shopping at GHome Smart? See today's verified GHome Smart discount code
Frequently asked questions
Do GHome Smart door sensors need a hub to work?
No. The Wi-Fi versions connect directly to your 2.4GHz router and to the GHome Smart app, so there is no bridge or base station in the chain. Only models sold as Zigbee or listed as gateway-required need a hub.
Will a smart door sensor work with 5GHz Wi-Fi?
No, these sensors use the 2.4GHz band. If your router shares one network name across both bands, move your phone to the 2.4GHz network during pairing to avoid connection failures.
How long does the battery last in a wifi door window sensor?
It depends on how often the door opens and how many alerts the app sends. A busy front door drains faster than a rarely used window, so keep a spare cell of the correct size on hand.
Can I use a google home door sensor to trigger lights?
Yes. Once the sensor is linked in Google Home, you can build a routine so an opening triggers a light, such as a hallway or porch switch, when the door opens.
Do I need to screw the sensor into the door frame?
Not usually. Most models mount with adhesive pads, which suits renters. Screws are worth using on external doors or metal frames where the sensor may get knocked.
How many sensors do I need for one door?
One sensor covers one opening. If you have a double door or a door plus a nearby window, order two, and check the store page for current multi-pack pricing and the discount code.