

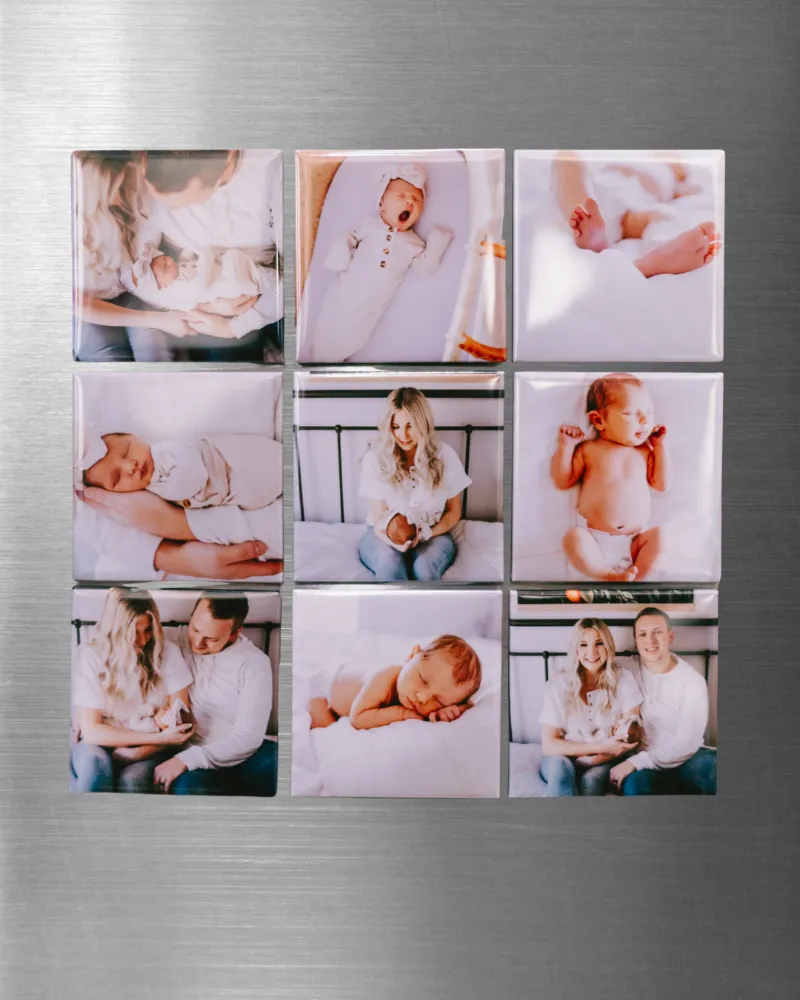
Most magnetic photo prints fade, peel, or curl for three fixable reasons: unstable dye ink, moisture reaching a cut paper edge, and a magnet layer pressed onto paper that was never fully dry. None of those are bad luck. They are process problems, and they are the same ones we see in our own test prints when we rush a batch.
Here is the routine we use to keep photo fridge magnets flat and bright for years, plus what to look for in a magnet maker machine and a magnet making kit before you buy.
Why magnetic photo prints fade, peel, and curl
Each failure has a different cause, so treat them separately instead of blaming the magnet.
- Fading is mostly UV light and ink chemistry. Dye-based inks look great on day one and lose saturation fast on a fridge door that catches afternoon sun.
- Peeling usually starts at an edge where scissors or a trimmer crushed the paper. That crushed edge lets humidity wick under the magnet sheet.
- Curling is uneven moisture or uneven pressure. One side of the paper absorbs more water than the other, and the sheet cups toward the drier side.
- Bubbles and silvery patches mean the magnet layer went down before the print was fully dry, trapping solvent.
Fix those four and the print behaves.
Print quality tips that decide how long a magnet photo survives
Before the magnet goes anywhere near the paper, get the print itself right.
- Use pigment ink if your printer offers it. It resists fading far better than dye on a sunlit surface.
- Print on matte or satin photo paper. High-gloss stock traps solvent and stays tacky longer, which is exactly when people laminate a magnet onto it.
- Let prints dry for a full 24 hours in a low-humidity room, not stacked on top of each other.
- Seal the face with a compatible spray or a UV-protective laminate film, then cut, not the other way around.
- Trim with a rotary trimmer. Clean edges seal better than scissor edges, and they look sharper on a fridge.
This is also where cheap kits fail. If the paper stock in the box is thin, the magnet sheet will telegraph every bit of grain in the photo. Our magnetic photo prints are built for this job, and we notice the difference in how evenly the magnet backing bonds.
How magnet makers work, and why peeling starts at the edge
A magnet maker is not magic. It takes your printed photo, aligns it with a magnetic backing sheet, and applies even pressure and sometimes heat to bond the two layers. That is the whole mechanism, which is why a bubbling, peeling result is almost always a pressure or dwell-time problem, not a bad magnet.
- Manual press or roller: cheapest, works fine, but pressure varies by hand. Go slowly from the centre outward.
- Heated machine: better bond on thick stock, but you must respect the dwell time in the manual.
- Pouch or sheet-fed machines: consistent and fast for batches of photo fridge magnets, and the ones we reach for when making gifts.
If your corners lift a week later, the machine is not broken. The print was not fully dry, or the backing was applied over a cold, humid surface.
Photo size compatibility and kit contents explained
The single most common shopping mistake is buying a machine that only handles one size. Check the working width before anything else, then confirm what is actually in the box.
| Option | Best for | Check before you buy |
|---|---|---|
| magnet maker | Occasional prints, gifts, small batches | Working width and whether backing sheets are included |
| photo magnet maker machine | Regular batches, consistent pressure | Dwell time settings and replacement rollers |
| magnet making kit | First-timers testing the hobby | Kit contents: paper, backing, trimmer, instructions |
| photo fridge magnets | Buyers who want finished magnets, not a machine | Print finish and backing thickness |
Photo size compatibility matters more than speed. A machine that handles up to a 4x6 print covers most fridge magnets, but if you want square or wallet-size output, confirm the guides and cutting templates exist. If you plan to make strips, check the maximum length rather than the width.
Kit contents explained, quickly: a good kit gives you photo paper, magnetic backing sheets, a trimmer or cutting guide, and clear setup instructions for the first print. Anything missing becomes a second order.
Setup and first print: a five-step routine
Run this once and your whole batch will behave.
- Set the printer to the photo paper profile, not plain paper, and print one test sheet.
- Let it dry 24 hours, face up, uncovered, away from a window.
- Seal the face if the print will sit in direct sun.
- Trim square, then align the print to the magnetic backing and burnish from the centre out.
- Label the back with the date so you can tell which batches age well.
Our magnet maker machine ships with a setup and first print walkthrough, which saves the guessing on dwell time.
Care, storage, supplies and refills
- Keep finished magnets off the sunniest part of the fridge door, or rotate them.
- Wipe with a dry microfibre cloth. Solvents and wet wipes lift the seal and the ink with it.
- Store spares flat, between sheets of paper, not in a stack pressed under books.
- Buy backing sheets and photo paper in the same finish so batches match.
- Keep the machine clean. Dust on the roller shows up as a pressure mark on every print.
Check supplies and refills before you start a big gift batch, and confirm shipping and delivery times if you are working to a date. Returns and warranty terms are worth a two-minute read on any magnet maker, and customer support options matter more than most buyers expect once you need a replacement roller.
Who this suits, and where to buy
If you make a handful of magnets a year, a simple press and a magnet making kit is enough. If you are making photo fridge magnets for wedding favours, classrooms, or a small shop, step up to a magnet photo machine with repeatable pressure and a real dwell timer.
Whatever you choose, buy the code first. You can grab the code for the current $50 OFF all orders offer, and check the latest price on the machine you are weighing up. We also keep the store offer page updated when the promotion changes, so you are not comparing an expired deal.
Get the dry time and the pressure right and your magnetic photo prints will outlast the photos on your phone.
 Shopping at Memory Magnets Co.? See today's verified Memory Magnets Co. discount code
Frequently asked questions
Why do my magnetic photo prints curl at the corners?
Uneven moisture is the usual cause. One side of the paper absorbs more humidity than the other, so the sheet cups toward the drier side. Let prints dry fully before adding the magnet layer and store them flat in a dry room.
Is a magnet making kit enough to make photo fridge magnets at home?
For small batches, yes. A kit gives you photo paper, magnetic backing, a trimmer, and setup instructions. What it usually lacks is consistent pressure, so thicker stock and larger batches are easier on a machine.
What photo size compatibility should I check before buying a photo magnet maker machine?
Confirm the working width and the maximum length first, then check whether cutting guides or templates exist for the shapes you want. A machine that handles up to a 4x6 print covers most standard fridge magnets.
How long should a print dry before I add the magnet layer?
We let prints sit a full 24 hours, face up and uncovered, in a low-humidity room. Applying magnetic backing to a tacky print is the most common reason bubbles and silvery patches show up later.
Do magnetic photo prints stick to stainless steel fridges?
Most stainless steel fridge doors are magnetic, but some finishes and panels are not. Test one finished magnet on the door before you commit a whole batch to that surface.
Where do I find supplies and refills for a magnet maker?
Buy backing sheets and photo paper in the same finish as your original order so batches match. Check the store page for the current code and offers before restocking.