
Do Pressed Flowers Change Color When Sealed in Epoxy Resin?

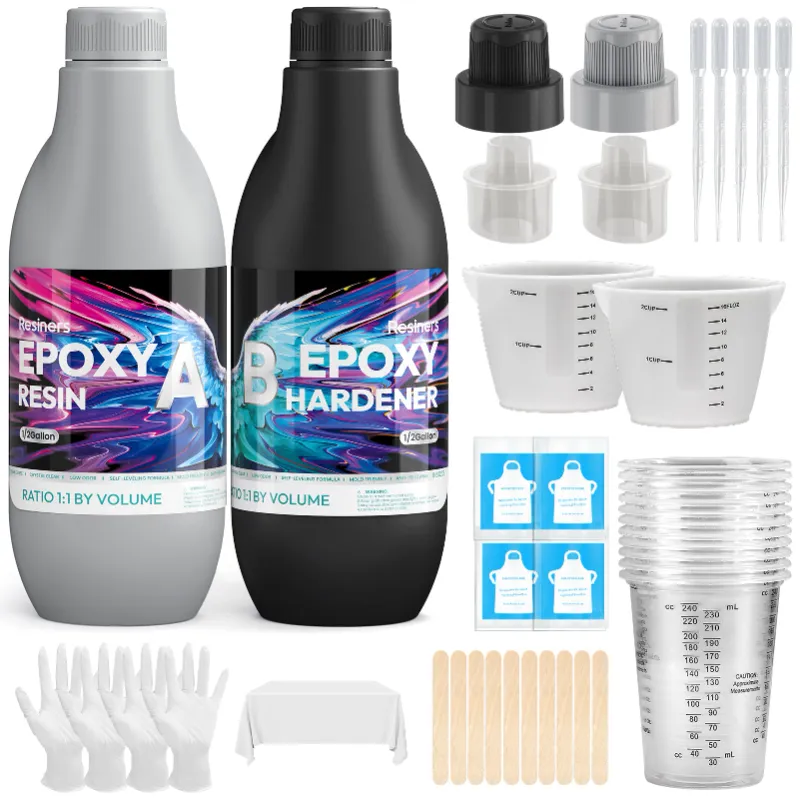
Pressed flowers do change color when sealed in epoxy resin, though the shift happens gradually rather than instantly. The degree of color change depends on the flower type, how well you dried and prepared it, and whether your finished piece gets exposed to direct sunlight. Most botanicals will retain their appearance for months or even years when you seal them properly, but some fading is inevitable with organic materials.
We've tested dozens of botanical resin projects and found that understanding why color shifts occur—and how to slow them down—makes the difference between a piece that looks vibrant for years and one that fades in weeks.
Why Pressed Flowers Fade in Epoxy Resin for Crafts
Epoxy resin creates an airtight seal that protects flowers from moisture and physical damage, but it cannot stop all chemical processes. Botanicals contain pigments that naturally degrade when exposed to ultraviolet light, even through a clear resin coating. The two-part chemical reaction in epoxy also generates minor heat during curing, which can accelerate pigment breakdown in delicate petals.
Flowers retain moisture even after pressing, and any remaining water can cause browning or discoloration once trapped inside the resin. We always press flowers for at least two weeks between absorbent paper, checking that petals feel papery and brittle before embedding them. A heat gun on low setting can help evaporate stubborn moisture spots, but keep it moving to avoid scorching.
Different pigments fade at different rates. Anthocyanins in purple and blue flowers are especially light-sensitive, while yellow carotenoids tend to hold up better. White flowers often turn cream or tan over time regardless of resin quality.
How to Preserve Color When Sealing Botanicals
Proper preparation gives your pressed flowers the best chance of staying vibrant. Start by selecting flowers at peak color and pressing them immediately—wilted blooms have already begun pigment degradation. Layer them between parchment paper inside heavy books, replacing the paper every few days to absorb all moisture.
Once fully dried, seal the flower surface with a thin coat of diluted white glue or clear acrylic spray before embedding. This creates a barrier that prevents the resin from soaking into the petals, which can cause translucency and darkening. Let the sealant dry completely on your crafting table before proceeding.
When mixing your epoxy resin for crafts, work in a climate-controlled space between 70-75°F. Temperature extremes can cause the resin to cure too quickly or trap air bubbles that scatter light and make colors look dull. Pour a thin base layer, position your flowers face-down, then cover with additional resin in layers no thicker than 1/8 inch to minimize heat buildup.
We recommend checking the latest formulation and pricing before starting a botanical project, since resin quality directly impacts clarity and UV resistance.
Choosing the Right Resin and Additives for Flower Projects
Not all epoxy resin formulations work equally well for botanical embedding. Standard epoxy works for most flowers, while 3D printer resin cures too quickly and generates more heat. Look for products labeled "art resin" or "casting resin" that include UV inhibitors in the formula—these slow pigment degradation significantly.
Epoxy resins and hardeners vary in viscosity and cure time, which affects how well flowers stay in position. Thicker resins prevent botanicals from floating to the surface but may trap more bubbles. We prefer medium-viscosity options that give you 30-40 minutes of working time.
Adding mica powder or the craft resin mica powder 30 colours pigment set creates background color that can mask subtle fading in flowers. A translucent tint also filters some UV rays before they reach the botanicals. Mix pigment thoroughly to avoid streaks, testing on a desk pad or scrap surface before committing to your final piece.
If you're creating molds rather than flat pieces, silicone molds with smooth interiors produce the clearest finish. Any texture or residue on the mold wall can diffuse light and make embedded flowers look hazy.
Finishing and UV Protection for Long-Term Color
Once your resin cures fully—usually 48-72 hours depending on temperature—you can refine edges and surfaces to maximize clarity. A dremel tool or dremel tool kit with polishing attachments removes any tacky resin residue and brings out depth. Start with 400-grit wet-dry sandpaper and progress through 800, 1500, and 3000 grit before buffing with a microfiber cloth.
The most effective way to prevent color change is keeping finished pieces away from direct sunlight. UV rays penetrate even UV-stabilized resin over time. Display botanical art in interior spaces with ambient lighting, or apply an additional UV-protective topcoat designed for outdoor use if sun exposure is unavoidable.
A UV light bulb can actually help cure specialty resin formulas faster, but standard two-part epoxy should cure naturally away from UV sources. Only use UV curing for resins specifically designed for it.
We've found that pieces stored in drawers or boxes for months show virtually no color change, while identical pieces on sunny windowsills fade noticeably within weeks. The resin itself remains clear, but the flower pigments break down.
Which Flowers Hold Color Best in Epoxy Resin Art
Through extensive testing, we've identified flowers that reliably maintain color for years versus those that fade quickly. Pansies, violas, and larkspur retain purple and blue tones better than most. Marigolds, coreopsis, and black-eyed Susans hold their yellow-orange pigments well. Ferns and most foliage keep green color longer than petals.
Avoid roses, hydrangeas, and morning glories if you want long-term color stability—these shift from vibrant to brown or tan within months even under ideal conditions. White flowers always discolor, so consider dyeing them first or accepting the cream patina as part of the aesthetic.
| Flower Type | Color Stability | Best Use |
|---|---|---|
| Pansy, viola | Excellent | Jewelry, coasters |
| Marigold, coreopsis | Excellent | Large castings |
| Fern, herb leaves | Very good | Backgrounds |
| Rose, hydrangea | Poor | Short-term projects |
You can grab the current discount code to stock up on both resin and pressed botanicals before starting a multi-piece project. Buying in bulk ensures color consistency across a series.
Tips for Working With Epoxy Resin and Organic Materials
Always embed flowers face-down in the first resin layer so viewers see the most colorful side through the clear top surface. Petals often have paler undersides that look washed out when facing up. Pour slowly from a central point and use a toothpick to position petals before the resin begins to gel.
Seal your workspace with a desk pad or silicone mat—resin drips are nearly impossible to remove from wood or fabric. Mix only as much epoxy as you can use in the pot life window, typically 20-45 minutes depending on ambient temperature. Unused resin will harden in the cup and cannot be saved.
For epoxy resin molds with intricate details, spray mold release first even on silicone. This ensures clean demolding without pulling on delicate petals. Tap the filled mold gently on your work surface to release trapped air, or pass a heat gun quickly over the surface to pop bubbles.
Temperature control matters throughout the process. Cold resin pours cloudy and traps microbubbles, while hot resin kicks off too fast and can scorch flowers. If your workspace is cool, warm the unmixed resin bottles in a water bath before combining parts A and B.
We've seen epoxy resin for wood projects and deep-pour applications where botanical color held up beautifully for years, and we've seen rushed jobs that faded in weeks. The difference always comes down to preparation, resin quality, and display location.
Frequently asked questions
How long do pressed flowers last in epoxy resin before fading?
Most pressed flowers retain good color for 1-3 years in epoxy resin when kept out of direct sunlight. UV exposure accelerates fading, so pieces displayed in interior spaces last significantly longer than those in sunny windows. Yellow and green pigments typically outlast purples and reds.
Can I stop flowers from changing color in resin completely?
No, organic pigments will eventually degrade even in sealed resin. You can slow the process dramatically by using UV-stabilized resin, sealing flowers before embedding, and displaying finished pieces away from sunlight, but some subtle color shift is inevitable over years.
Do I need to dry pressed flowers before putting them in epoxy?
Yes, flowers must be completely dry before embedding. Any remaining moisture will cause browning, cloudiness, or trapped condensation in the cured resin. Press flowers for at least two weeks until petals feel crisp and papery, then optionally use a heat gun on low to remove final moisture traces.
Which epoxy resin works best for preserving flower color?
Art or casting epoxy with built-in UV inhibitors gives the best color preservation. Avoid fast-curing resins that generate excess heat during the chemical reaction, as heat accelerates pigment breakdown in delicate botanicals.
Why did my white flowers turn brown in resin?
White flowers contain minimal protective pigments and oxidize quickly when sealed. The combination of residual moisture, resin heat during curing, and natural aging turns most white petals cream, tan, or brown within weeks. This color shift is nearly impossible to prevent with white botanicals.
Can I add anything to resin to protect pressed flower color?
Sealing flowers with diluted glue or acrylic spray before embedding helps prevent resin absorption and darkening. Adding a small amount of mica powder creates a tinted background that filters UV rays and can mask subtle fading, though it won't stop pigment degradation entirely.