
How to Remove Bubbles From Epoxy Resin With a Heat Gun

How to Remove Bubbles From Epoxy Resin With a Heat Gun
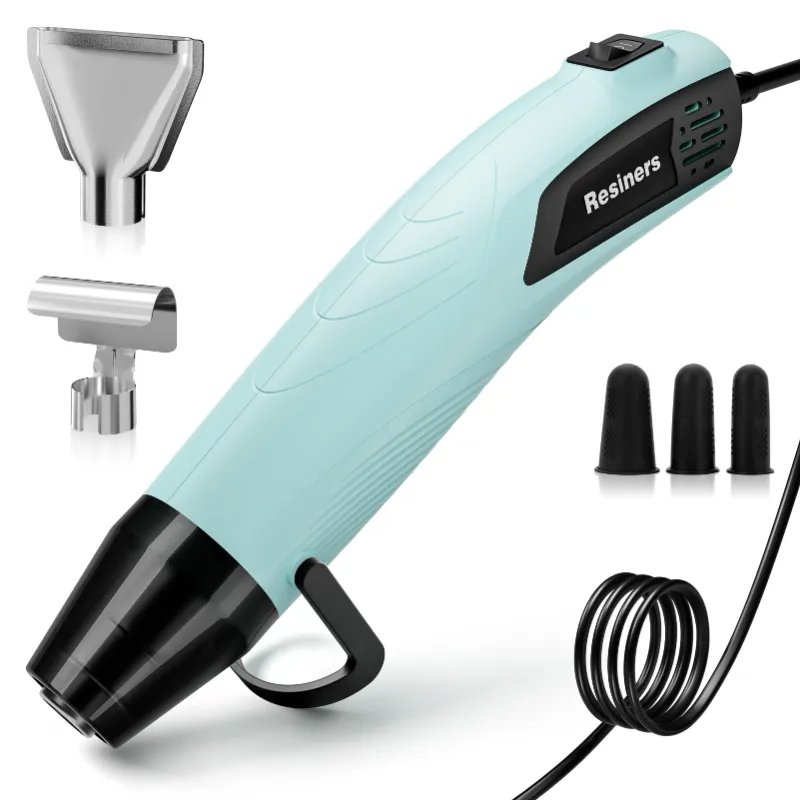
Removing bubbles from epoxy resin requires passing a heat gun 6 to 8 inches above the surface in slow, sweeping motions within the first 10 minutes of pouring. The heat reduces surface tension and allows trapped air to rise and pop before the resin begins to cure.
We tested bubble removal across epoxy resin for crafts, art projects, and deep pour applications. The heat gun method consistently delivers clear, professional results when you apply heat at the right distance and timing. Below we walk through the exact technique, tool settings, and troubleshooting tips we use in our workshop.
Why Bubbles Form in Epoxy Resin Projects
Bubbles appear in epoxy for three main reasons. First, vigorous mixing introduces air into the resin and hardener blend. Second, porous materials like wood or pressed flowers release trapped air when resin soaks in. Third, temperature changes cause air pockets to expand as the resin warms during the exothermic curing reaction.
Silicone molds and uneven surfaces trap more air than flat pours. Deep pour formulations cure slower and give bubbles more time to escape naturally, but surface bubbles still need heat intervention. If you skip bubble removal, your finished piece will have cloudy spots and divots that ruin the glass-like clarity epoxy resin art demands.
Step-by-Step Heat Gun Technique for Bubble-Free Epoxy Resin
Timing matters most. Apply heat within 5 to 10 minutes after pouring, while the resin is still liquid enough for bubbles to move. Wait longer and the resin thickens, trapping air permanently.
Set your heat gun to low or medium. High heat scorches resin, creates waves, or triggers flash curing. We keep ours at 250 to 350°F for most projects. Check the latest price on quality variable-temperature models that give you control.
Hold the heat gun 6 to 8 inches above the surface. Move in slow, steady passes across the entire pour. You will see bubbles rise and pop within seconds. Do not linger in one spot or you will create heat marks and uneven curing.
Make multiple passes if needed. Large projects or thick pours may need two or three rounds of heating spaced 5 minutes apart as deeper bubbles work their way up.
Work on a stable crafting table with good lighting so you can spot tiny bubbles. Protect your workspace with a desk pad since epoxy drips are sticky and permanent.
Alternative Tools and When to Use Them
A heat gun is our first choice, but other tools work in specific situations.
| Tool | Best For | Drawback |
|---|---|---|
| Heat gun | All epoxy resin types, large pours | Requires electrical outlet |
| Butane torch | Small crafts, jewelry molds | Risk of scorching, open flame |
| UV light bulb | 3D printer resin only | Does not remove bubbles from traditional epoxy |
A dremel tool with a polishing bit can smooth cured resin but will not remove bubbles from wet pours. Save your dremel tool kit for finishing work after the piece has fully hardened.
For epoxy resin deep pour projects over one inch thick, degassing in a vacuum chamber before pouring eliminates more bubbles than surface heat alone. Pair chamber degassing with heat gun finishing for the clearest results.
Preventing Bubbles Before You Pour
Mix slowly and deliberately. Stir for the full recommended time but avoid whipping air into the blend. Scrape sides and bottom to ensure thorough mixing without creating foam.
Warm your resin bottles. Place unopened bottles in a warm water bath for 10 to 15 minutes before mixing. Warmer resin flows better and releases bubbles more easily. This works especially well for epoxy resin for wood inlays and river tables.
Seal porous materials first. Brush a thin seal coat of resin onto wood, paper, or botanicals and let it tack up for 30 minutes before your main pour. This fills surface pores so they will not outgas during the flood coat.
Choose the right formula. Epoxy resins & gelcoats designed for casting have longer working times and lower viscosity, giving bubbles more opportunity to escape. For epoxy resin mold work with intricate details, a casting formula with 30 to 45 minutes of open time makes degassing easier.
Add colorants carefully. Mica powder and pigments can introduce air if you dump them in quickly. We fold in small amounts at a time, and for vibrant multi-color projects we rely on a craft resin mica powder 30 colours pigment set that disperses smoothly without clumping.
Troubleshooting Common Heat Gun Mistakes
Dimples or fish eyes after heating mean you held the gun too close or too long. Keep moving and maintain your 6 to 8 inch distance. If the surface looks disturbed, let it self-level for a few minutes before trying again with lighter passes.
Bubbles keep reappearing in thick pours because heat only affects the top layer. Pour in thinner lifts (no more than 1/4 inch for standard epoxy resin for crafts) or switch to a deep pour formula that allows thicker single pours.
Yellowing or brown spots indicate overheating. Lower your temperature setting and move faster. Some cheaper heat guns lack temperature control, making them risky for delicate epoxy resin art.
Resin cures too fast if your workspace is warm or you are using a fast-cure formula. Work in a climate-controlled area around 70 to 75°F. Grab the code for 15% off quality resin that gives you a comfortable working window.
If you are working on an epoxy resin floor or large horizontal surface, a heat gun with a stand or second person helps you cover the area before the resin starts to gel. For smaller projects, handheld passes take less than a minute and deliver professional clarity every time.
Frequently asked questions
How long do I have to remove bubbles from epoxy resin?
You have 5 to 10 minutes after pouring while the resin is still fully liquid. Once the resin starts to thicken or gel, bubbles become trapped and cannot rise to the surface even with heat.
Can I use a hair dryer instead of a heat gun?
A hair dryer can pop surface bubbles on very small projects, but it lacks the focused heat needed for most epoxy pours. Heat guns provide higher, more consistent temperatures that work faster and more reliably.
Why do bubbles keep forming after I heat the resin?
New bubbles appear when porous materials continue releasing trapped air or when thick layers allow deeper air pockets to migrate upward. Apply heat in multiple passes spaced a few minutes apart, or seal porous substrates with a thin coat before your main pour.
What temperature should I set my heat gun to for resin?
Set your heat gun between 250 and 350°F on low or medium. High heat above 400°F can scorch the resin, create surface waves, or cause uneven curing.
Does heating epoxy resin with a heat gun affect cure time?
Applying brief heat to remove bubbles does not significantly change overall cure time. The resin will still follow its normal cure schedule based on room temperature and the formula you are using.
Can I remove bubbles from deep pour epoxy resin the same way?
Yes, but deep pour formulas allow thicker single layers and cure slower, giving bubbles more time to escape naturally. Surface heat with a heat gun still helps eliminate any remaining bubbles that reach the top.