
Miniature Painting Handle Benefits: Is It Worth Adding to Your Tool Kit?

Why Add a Painting Handle to Your Miniature Tool Kit?
A painting handle earns its place in your miniature tool kit by keeping oils off your model, reducing hand fatigue, and giving you a stable grip during long sessions. If you paint miniatures for more than an hour at a stretch or find your fingers cramping around tiny bases, a handle solves both problems at once. We tested handles alongside our kolinsky sable brushes and precision craft knives to see whether they deliver real workflow improvements or just add clutter to the workbench.
Ergonomic Benefits That Actually Matter
The core advantage is grip comfort. Most painting handles use a cylindrical or bottle-shaped body that distributes pressure across your palm instead of pinching your fingertips around a 25 mm base. After two hours of edge highlighting, the difference becomes obvious.
Key ergonomic wins:
- Reduces thumb and index-finger strain by shifting the hold to your whole hand
- Keeps natural oils and moisture away from primed surfaces
- Lets you rotate the miniature without repositioning your grip
- Frees your other hand to brace brushes or hold a wet palette reference
Handles also improve control when you work on fine details. A stable, weighted grip means less micro-shake when you paint eyes, lenses, or freehand designs. We noticed the benefit most when switching between a handle and a bare base during the same session—the handle consistently felt steadier.
When a Painting Handle Pays Off (and When It Doesn't)
A handle makes sense if you batch-paint armies, work on display-quality single models, or deal with hand fatigue. It is less useful if you paint sporadically, prefer holding models by larger terrain features, or already use cork-and-pin setups.
Best for:
- Painters working through squads of identical infantry
- Anyone with arthritis, carpal tunnel, or grip-strength issues
- Detail work that requires rotating the model frequently under a lamp
- Keeping fingerprints off freshly primed or varnished surfaces
Skip it if:
- You paint vehicles or terrain that are too large to mount securely
- Your sessions are under 30 minutes and hand fatigue is not an issue
- You already use a custom cork jig that works for your workflow
If you are building out a complete miniature tool kit for the first time, add a handle after you have brushes, a palette, and knives sorted. It is a quality-of-life upgrade, not a necessity. Check the latest pricing and grab our discount code to save 10% on your order.
Material and Mounting Options
Most hobby painting handles use either spring-loaded grips, putty mounts, or magnetic attachment. Spring grips accommodate round and square bases up to about 40 mm. Putty mounts (often blue tack or poster putty) work for irregular shapes and let you angle the model. Magnetic mounts pair with steel washers glued to the base underside and offer the fastest swap time.
| Mount Type | Best For | Swap Speed |
|---|---|---|
| Spring grip | Standard round bases | Fast |
| Putty | Irregular shapes, angled holds | Medium |
| Magnetic | High-volume batch painting | Instant |
We prefer magnetic setups for production painting and putty for display pieces that need custom angles. Spring grips are the most versatile if you are only buying one handle. Whatever you choose, pair it with a plinth base or plinthy plinths for your finished work so the model gets a proper display after all that effort.
Real Workflow Impact in a Session
During a four-hour session painting a squad of ten space marines, we alternated between a handle and traditional cork-pin mounts. The handle group finished 20 minutes faster because we spent less time repositioning models and cleaning off finger smudges before the final varnish. Hand fatigue also hit noticeably later—around the three-hour mark instead of two.
The handle does add one step: mounting and dismounting each figure. For single display pieces that is trivial, but batch painters should factor in an extra 30 seconds per model. Magnetic mounts cut that overhead significantly.
If you are working on miniatures that need frequent touch-ups with precision craft knives or blending multiple thin coats from your wet palette, the handle keeps your fingers clear of the working area and reduces accidental smudges. It is especially helpful when you prime in humid conditions and the surface stays tacky longer.
Alternatives and Tool Kit Priorities
Before investing in a handle, consider whether a simple cork-and-pin jig meets your needs. Drill a small hole in a wine cork, insert a thumbtack or paperclip, and press the model's base onto the pin. This DIY approach costs almost nothing and works well for casual painters.
How painting handles compare:
- Cork jigs are free and work immediately but offer less control for rotation
- Alligator-clip holders grip smaller parts (heads, weapons) that handles cannot mount
- Miniature vises lock models for aggressive filing or cutting with precision craft knives
If budget is tight, prioritize a quality brush like kolinsky sable and a reliable wet palette first. A painting handle improves comfort and speed, but it will not fix poor brush control or dry paint. Once those foundations are solid, a handle becomes a logical next addition to your miniature tools for crafts.
Choosing the Right Handle for Your Needs
Look for a handle with enough weight to feel stable but not so heavy that it tires your wrist. Rubberized or textured grips prevent slipping during long sessions. Adjustable spring tension matters if you paint models with varying base sizes—cheap handles often lose grip strength after a few dozen swaps.
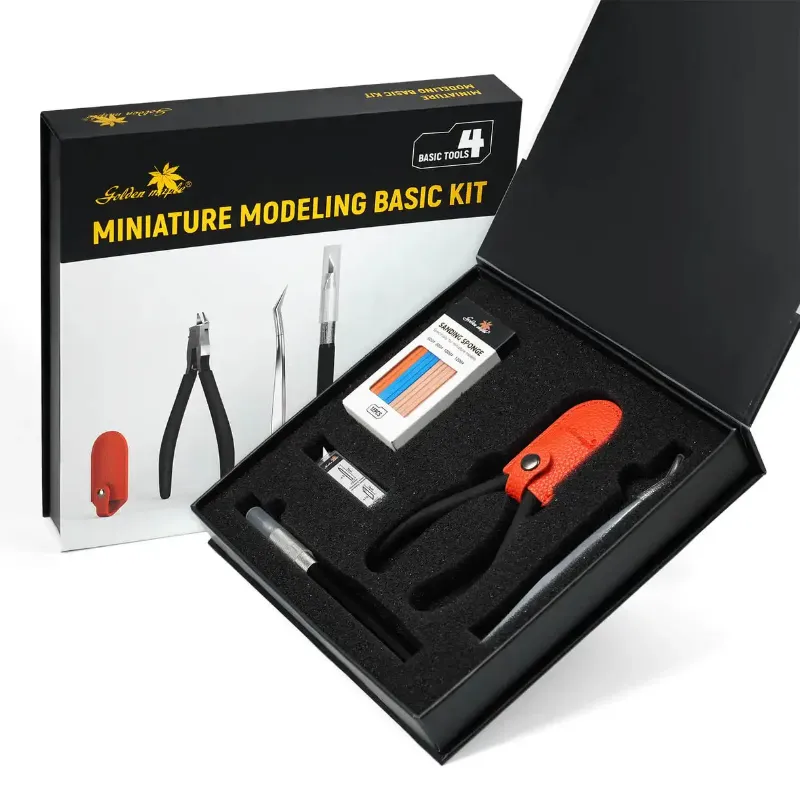
We recommend starting with a mid-range handle that supports magnetic, putty, and spring mounts. This flexibility lets you experiment and find what suits your painting style. Visit our Golden Maple discount code page to save 10% on hobby tools and supplies, including handles and the full miniature tool kit range.
A painting handle is not flashy, but it is one of those upgrades you will wonder how you lived without once it is part of your routine. If hand fatigue or fingerprint cleanup slow you down, it is worth the addition.
Frequently asked questions
Does a painting handle work with all miniature base sizes?
Most handles fit round bases from 25 mm to 40 mm using spring grips. Larger bases, square bases, or irregular shapes work better with putty or magnetic mounts that adapt to any size.
Can I make a DIY painting handle instead of buying one?
Yes. Push a thumbtack into a wine cork and press your miniature's base onto the pin. It costs almost nothing and works well for casual painting, though it offers less rotation control than a dedicated handle.
Will a painting handle actually reduce hand fatigue?
If you paint for more than an hour at a time, a handle shifts grip pressure from your fingertips to your whole palm, which noticeably delays cramping and strain. For short sessions under 30 minutes, the benefit is minimal.
What is the best mount type for batch painting miniatures?
Magnetic mounts offer the fastest swap speed when you are painting squads or armies. Glue a steel washer to each base, and models click on and off the handle in seconds.
Should I buy a painting handle or better brushes first?
Prioritize quality brushes like kolinsky sable and a wet palette before adding a handle. The handle improves comfort and speed, but it will not fix poor brush control or technique.
Do painting handles prevent fingerprints on miniatures?
Yes. Holding the handle instead of the model keeps natural oils and moisture off primed or freshly painted surfaces, which reduces cleanup and avoids ruining smooth finishes before varnish.